Download
1 / 3
40 likes | 49 Vues
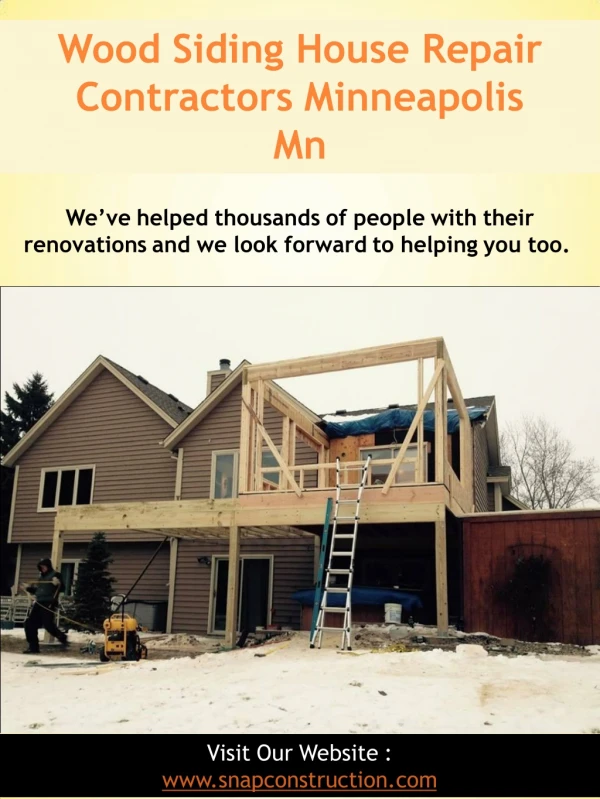
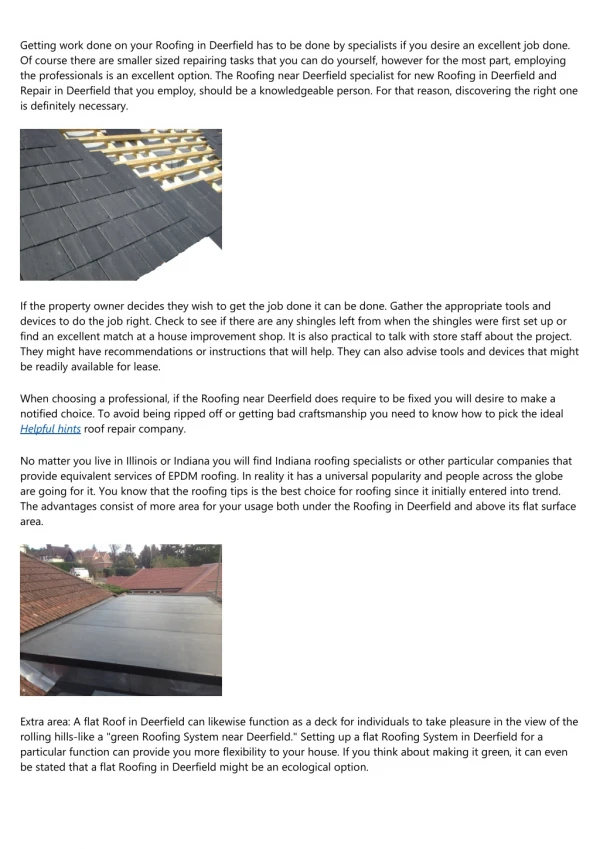
A wood siding installed and maintained carefully can hold up for 30 or 40 years. But without proper attention, it can rot and get damaged in isolated areas like near the foundation. Water splashes dam...<br><br>

E N D
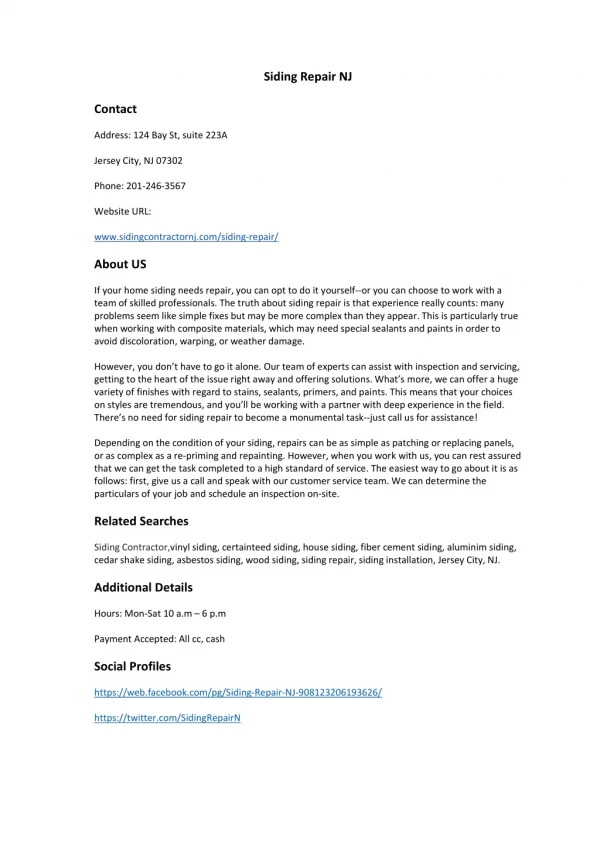
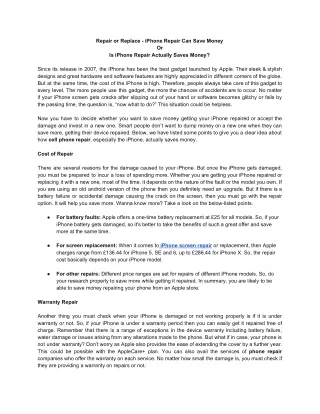
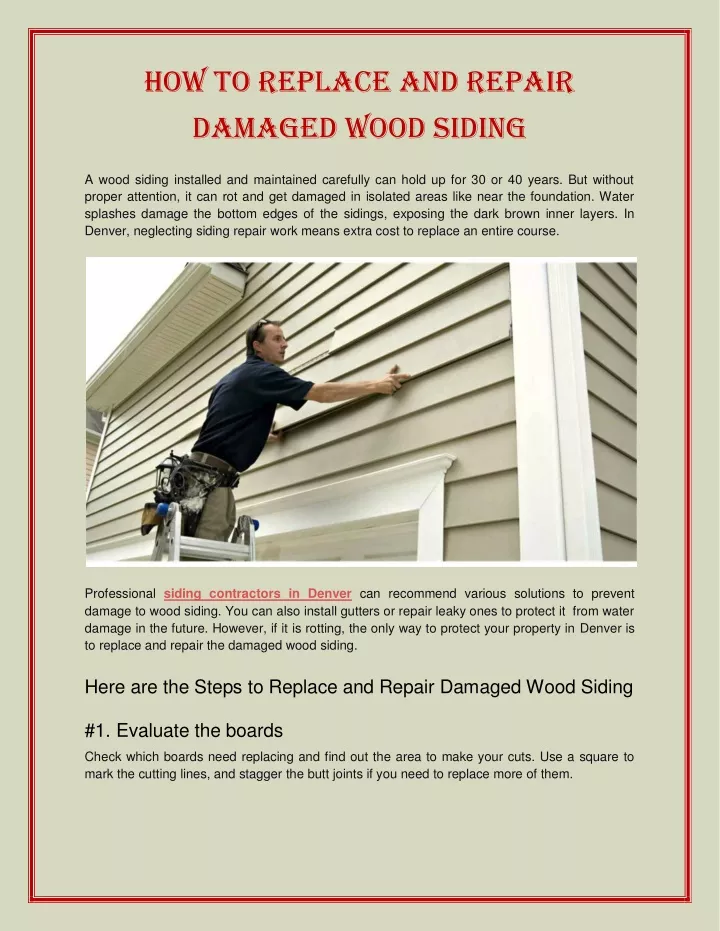
How to Replace and Repair Damaged Wood Siding A wood siding installed and maintained carefully can hold up for 30 or 40 years. But without proper attention, it can rot and get damaged in isolated areas like near the foundation. Water splashes damage the bottom edges of the sidings, exposing the dark brown inner layers. In Denver, neglecting siding repairwork means extra cost to replace an entire course. Professional siding contractors in Denver can recommend various solutions to prevent damage to wood siding. You can also install gutters or repair leaky ones to protect it from water damage in the future. However, if it is rotting, the only way to protect your property in Denver is to replace and repair the damaged wood siding. Here are the Steps to Replace and Repair Damaged Wood Siding #1. Evaluate the boards Check which boards need replacing and find out the area to make your cuts. Use a square to mark the cutting lines, and stagger the butt joints if you need to replace more of them.
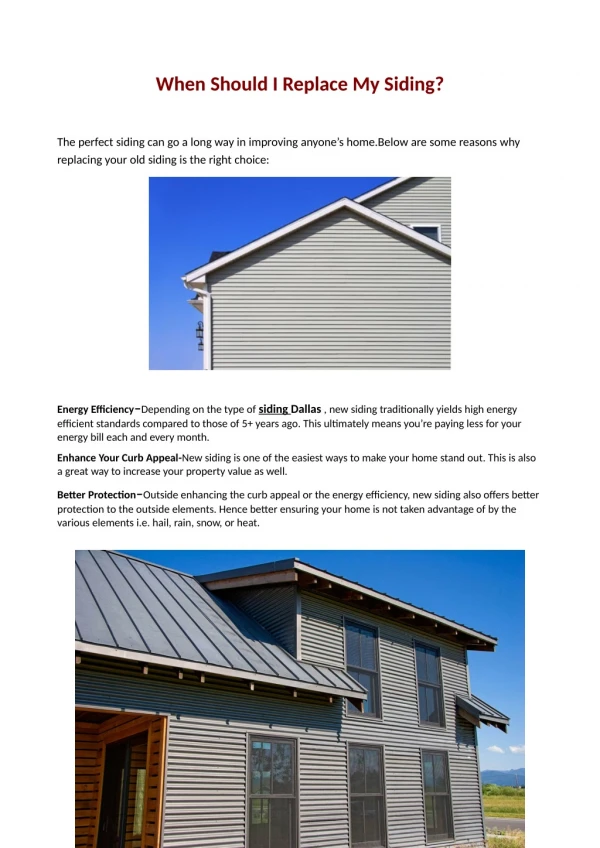
#2. Cut the nails Use a small hacksaw with a sharp blade to cut the nails at the bottom of the row, above the board you are replacing. Cutting the nails helps you remove rotted boards without damaging the sound ones. #3. Use a circular saw to make the first cut Most hardboard wood sidings are 7/16 inches thick. So set your blade depth carefully and cut out bad sections of sidings with a circular saw. You can also use a sharp utility knife but avoid cutting into other courses. #4. Finish the cut with a sharp utility knife or keyhole saw It is always risky to finish the cutting of siding with a circular saw. Most Denver siding repair companies use a sharp utility knife or keyhole saw to make the final cut while protecting the good ones. You can also follow the same trick. #5. Pry off the rotted boards Use a flat pry bar to remove rotted boards. You can also place a scrap piece of 1/4-inch plywood to protect the sound sidings. Once you remove the rotted courses, check for any protruding nail shanks. Use either a small hacksaw or pair of wire cutters to cut and remove it. #6. Install the new wood siding When you start replacing the sidings, begin from bottom to top. Ensure each course overlaps the other by at least 1 inch. Use 10d galvanized box nails to attach the sidings. While driving the nails, overlap them at least 1/2 inches above the bottom edge. Conclusion If you are not comfortable with tools, it is always risky to do it yourself without assistance. Instead of doing additional damage to wood sidings, it's wise to hire professional siding contractors in Denver for the job. Most Denver siding repaircompanies have trained personnel and necessary tools to replace and repair the damaged wood siding in a cost-effective manner. Source: https://mountaintoproofing.medium.com/how-to-replace- and-repair-damaged-wood-siding-8b07834c53e6