Download
1 / 9
90 likes | 113 Vues
Android Training in Mumbai offer by Asterix Solution covers core java and all android app development modules such as History, Architecture, installation, configuration, android activities and database connection etc. Visit : http://www.asterixsolution.com/android-development-training.html

E N D
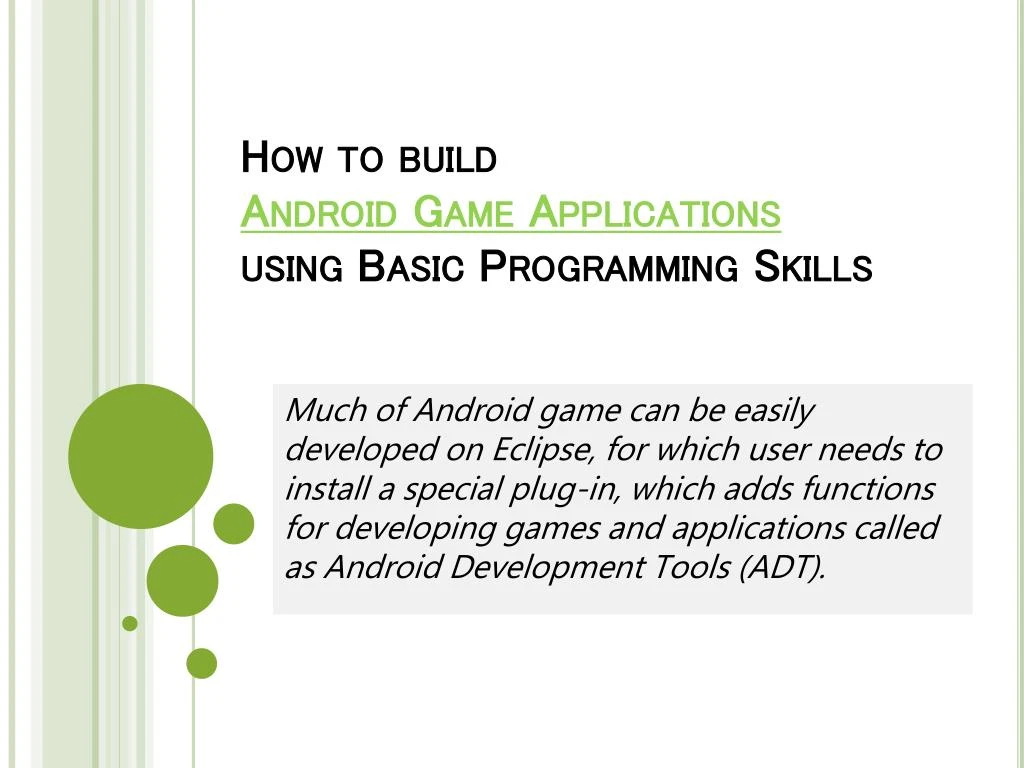
How to build Android Game Applicationsusing Basic Programming Skills Much of Android game can be easily developed on Eclipse, for which user needs to install a special plug-in, which adds functions for developing games and applications called as Android Development Tools (ADT).
ADT: It will help users to create an Android project and export it which can be uploaded on Play Store or your personal device. For, developing an application or game on Android, one need to make sure that computer must have the: • Java Development Kit: Primary component that contains a collection of programming tools. • Eclipse: Integrated development environment (IDE), containing workspace and an extensible plug-in, used for creating a customer’s environment. • Android SDK: Software development kit, it contains various tools and programs which you need to develop an application on Android. It enables you to download full Android versions, create an Emulator, download libraries which you can import in order to build applications on Android. • Eclipse ADT Plug-in: It acts as a bridge between the SDK and Eclipse, which enables you to access the Android SDK directly inside the Eclipse interface. To Create First Application:
Select File -> New ->Android Application Project. • Enter the following value: • Name: Our First App, which will automatically fill the Application • name and the project name box. • Leave the other settings as they are. • Just check that Target SDK, is filled up with the latest version of • Android, which enables you to use the latest features available • on Android in your applications.
Press Next. If you want, you can change some of the settings according to your choice.Then press NextCreate Activity screen appears, check that the BlankActivity is selected.Press Next. Press Finish.
Create an interface.Generally the following mention interfaces are required: –>A Game interface, which will ties interface together. –>An Audio Interface which includes Music interface, Sound –> Graphics interface, for an Image –>A Screen interface, used for displaying game screens. –>A FileIO interface, used for reading and writing files. –>An Input Interface, which will take input from user. Implement an interface. Press Run to run your project. Once it finishes loading, an error message appears saying no compatible devices were found. Press OK. Android Device Chooser, screen appears.
Click on Manager… Android Virtual Device Manager get open.Press New…Fill out the form as per your need. Press Ok. This will create a virtual Galaxy Nexus. Now, open the Android Device Chooser again. Click Refresh, you will see that virtual Galaxy Nexus is selected. Press OK.
To see if this application is working or not: Open the Android Virtual Device Manager.SelectGalaxyNexus. Press the Edit.. to the right.Change the RAM to 512.Press OK. This will fix the issue if any issue occurs.Press Run again.Wait ……. When you see this screen… Screen implies that, you have successfully created your first application. To run an application on a real device To Enable the USB Debugging This can be done by: On earlier versions of Android: Select Applications-> Development -> Check that USB Debugging is enabled. On other versions of Android: There is a Developer options button present
below System settings ->USB debugging option. To connect the device to the computer Open Eclipse -> run an application! [Source : https://intellipaat.com/blog/how-to-build-android-game-applications-using-basic-programming-skills/ ] Asterix Solution Provides Android Development Training Program is a complete Android Development package for new developers. Android Training in Mumbaioffer by Asterix Solution covers core java and all android app development modules such as History, Architecture, installation, configuration, android activities and database connection etc. Visit : http://www.asterixsolution.com/android-development-training.html
Web : http://www.asterixsolution.com/android-development-training.htmlCall : +91 982 168 1514 | +91 771 503 6251Mail : welisten@asterixsolution.com Get more details about Android Development Training