Download
1 / 9
90 likes | 234 Vues
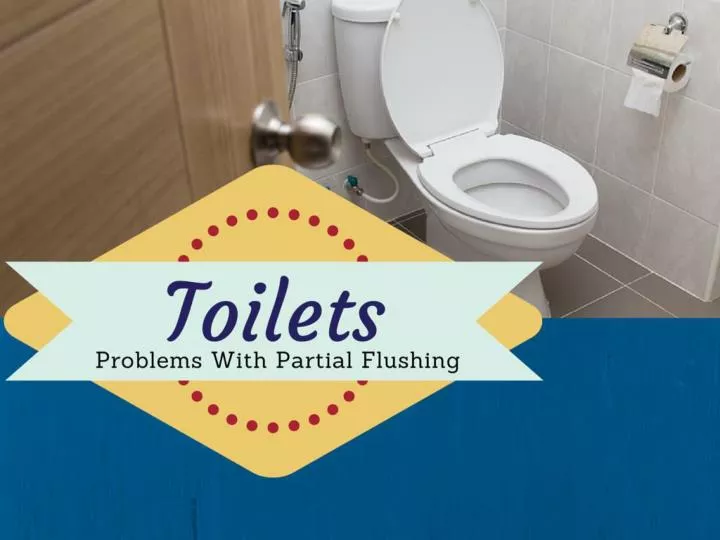
Do you have problems with partial flushing? Benjamin Franklin Plumbing provides you with easy to follow steps to help you out. Take a look at our ebook today!

E N D
Partial Flushing Not much is worse than having your toilet return debris flush after flush. The partial flush is a menace that affects almost every home toilet at some point, but it has a relatively easy and straightforward fix that anyone can apply. The steps are as follows.
Step 1: Plunge the toilet. Make sure water level is enough to cover the plunger if not add more. Add a squirt of dish detergent into the bowl. Step 2:
Step 3: Thrust the plunger straight down until its rubber ring creates a seal around the toilet trap. Step 4: Repeat step 3, drawing the plunger back toward the tank on the upswing to jar stuck material loose. Step 5: If step 4 does not successfully unclog the toilet proceed to steps 6 and on, which detail how to use a closet auger or coat hanger to root out deep-seated clogs.
Step 6: Place a bucket near the toilet and put rubber gloves on. Step 7: Obtain a closet auger (they can be found at any hardware store and are relatively cheap). A broken/extended coat hanger will also work in many instances.
Step 8: Extend the auger handle or grip the non-pointy end of the coat hanger. Step 9: Insert the butt end of the auger or pointy end of the coat hanger into the toilet trap. Push the auger handle or feed the hanger into the trap until you feel resistance, which means that you have contacted the clogging substance(s).
Step 10: Step 11: If using a coat hanger, repeat step 10 while grabbing all uprooted material and placing it in the bucket. If using an auger, extend the handle once again—this will remove the cable and whatever embedded material its tip has hooked. Place this material in the bucket as well. Crank the auger handle to rotate its cable. As you crank, push the handle inward to hook the clog with the end of the handle or break it up. Alternatively, attempt to hook the embedded material with the end of the hanger and drag it upward.
Step 12: Monitor the toilet to see if its water drains. If it does, the clog has successfully been removed and the excess material can be placed back in the toilet in intervals and flushed. Step 13: If the toilet is still clogged at this point, repeat the above steps until all jarred debris comes loose. If the endeavor proves fruitless after multiple attempts, throw in the towel and call a plumber.
conclusion For more information, download our free ebook: “Flush This! The DIY Guide to Gaining the Upper Hand on Wonky Plumbing Devices” http://benfranklinflorida.com/wp-content/uploads/2014/12/Flush-This-2.pdf