Download
1 / 9
90 likes | 97 Vues
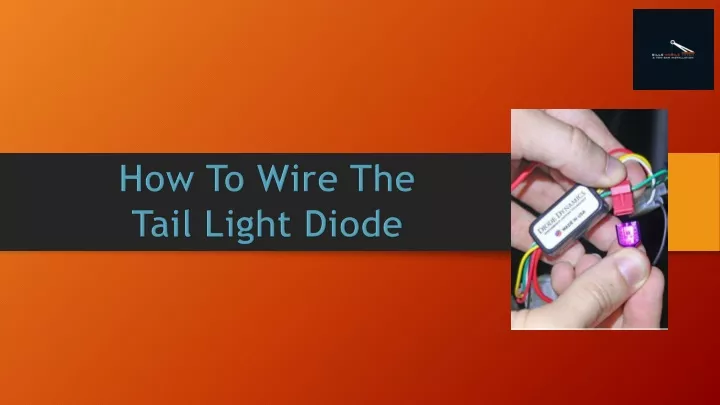
Follow these simple steps to perform the wiring of tail light diodes:<br><br>

E N D
1. First, identify the type of brakes and turn signals in your vehicle. Two types of lighting systems in the vehicle are separate and combined. In a combined system, the tail light flashes for the turn signal. On the other hand, tail lights work separately from the brake lights in a separate light system.
2. First, identify the type of brakes and turn signals in your vehicle. Two types of lighting systems in the vehicle are separate and combined. In a combined system, the tail light flashes for the turn signal. On the other hand, tail lights work separately from the brake lights in a separate light system.
3. Divide the wire into sections and include the split loom to protect the wires. Next, use the additional wire to secure each tail light wire.
4. Now, attach the diodes after reading the instructions in the manual. You will get the manual guide with your new tail lights. Next, separate the bonded wires and attach the tail light wires to the diodes.
5. After that, peel off the remaining wires and connect them to the other side of the diode. In addition, use the ring terminal and self-tapping screw to attach the ground wire. If necessary, drill the hole and seal the wire with a silicon sealant.
6. Once you route the wires, choose the mounting point for the tail light’s socket. Attach the socket to the mounting point if your vehicle has an EZ4 or EZ5 baseplate. Next, attach the wiring to the inner plug of the tail lights.
7. Apply the silicone sealant to fix the wire in position. After that, set the screws to make the socket weatherproof. Assemble the socket and other components of the tail light.
Contact Us Street: 5993 W Topeka Dr, Glendale, AZ, 85308 Telephone: +1 (623) 210-5427 Website: www.billsmobiletowingequipmentsalesandinstallation.com