Download
1 / 12
120 likes | 121 Vues
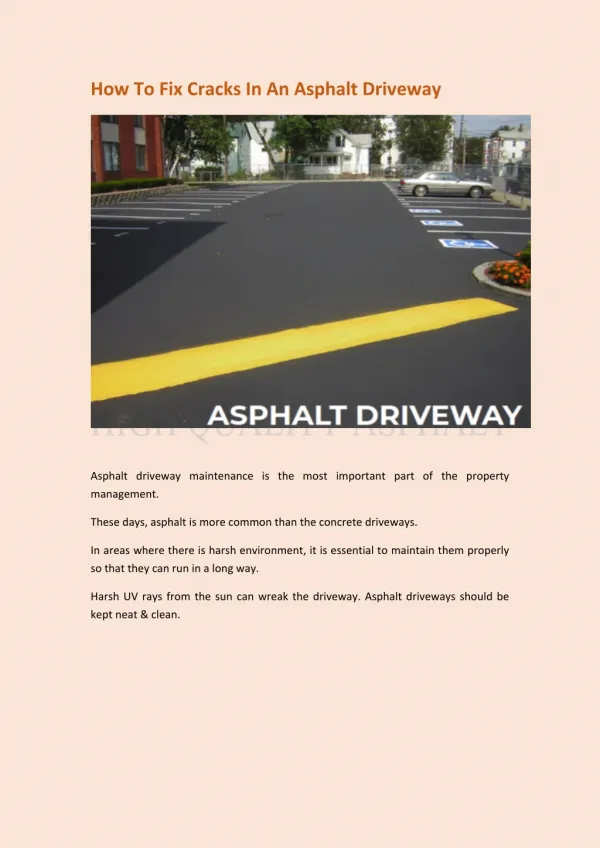
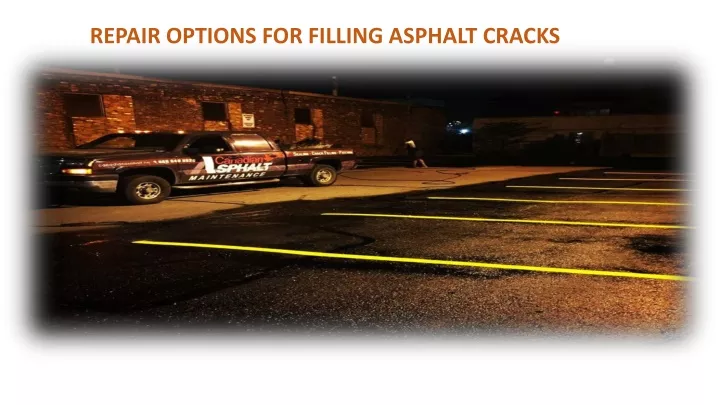
Fissures are sealed with hot sealant to prevent water from further damaging the pavement. <br>Because the sealant will adhere to the asphalt, no water or other substances will be able <br>to seep through and take advantage of the cracks in your pavement. One of the biggest <br>mistakes individuals make is delaying the sealing of pavement cracks for an excessive <br>amount of time. Over time, cracks will only get wider. A small crack that formerly <br>threatened your entire pavement surface may quickly turn into a pothole or an alligator <br>crack.<br>

E N D
In order to stop water from causing more harm to the pavement, fissures are filled with hot sealant. The sealant will stick to the asphalt, preventing water and other factors from soaking through and taking advantage of the cracks in your pavement. Waiting too long to have cracks in their pavement sealed is one of the biggest blunders people make. Cracks will only widen over time. A little fissure that once threatened your entire pavement surface might grow into an alligator crack or perhaps a pothole very fast.
Sealcoating Asphalt will be shielded by sealcoating against damage caused by weather, traffic, water, fuel, and oil. It should be done every three to five years, always during the warmer months, and is a quick and simple technique to help prevent damage. Instead of being applied to brand-new paving, asphalt sealcoating is used to increase the longevity of existing pavement. Your pavement looks smooth and dark after sealcoating. This is the ideal option if you want a quick and easy way to protect your asphalt from the elements while also improving its beauty.
Advantages of sealing • extends the life of pavement. • accelerates snow and ice melting and lowers long-term repair expenses. • safeguards paving against oxidation, spills of oil, chemicals, and water. • improves the way a property looks.
Milling By milling, the top layer of asphalt can be removed while leaving the subbase intact. If your subbase is in fine working order and your asphalt's top layer merely requires repair, this is a fantastic solution. The cost of milling is far lower than that of a complete reconstruction because only the top layer is taken out and rebuilt. The entire procedure can be finished in a little amount of time.
Advantages of milling • Effective in terms of cost • a quick project conclusion • recycles used materials
Patching Potholes are patched by filling them in. Although patching techniques vary slightly, the overall process involves the following five steps: Step 1: Removing the damaged pavement Depending on the extent and kind of the damage, several tools will be employed. Step 2: Cleaning the Pothole There must be no remaining detritus, and on occasion there might even be plant life peeping through, which must be removed from the root.
Continued…. Step 4: Filling the Pothole Depending on the weather and the size of the pothole, hot or cold mix asphalt will normally be used to fill them. Step 5: Tamping It will be necessary to slightly overfill the pothole before tamping it down. Different equipment or tools might be utilized for this depending on the size of the pothole.
Overlay An asphalt overlay can be compared to a significant amount of asphalt patching. When existing asphalt has some cracking and potholes but not quite enough damage to require a complete replacement, overlay is frequently used.
newly installation A fresh asphalt installation gives your surface a fresh start. Normally, it will proceed as follows: Step 1: Demolition and removal The first step is to remove and dispose of the surface that is already there. You can save money on materials by recycling the asphalt from an existing surface to be utilized in new asphalt surfaces. Step 2: Grading and Sloping Grading the surface is necessary before putting anything down since it will allow water to flow away from the pavement and into a grassy area. In order to give the space a sloping surface that will help divert the water away, your contractors may also need to reshape the area.
Step 3: Setting up the sub base The bottommost layer, known as the sub base, will support your new pavement. Step 4: Adding the Binder Layer Large aggregate that has been combined with oil to create the binder layer gives it strength and durability. After finishing this stage, it is ready for a proof roll.
Continued… A proof roll is a test to see whether the surface beneath the new asphalt can support it. If the proof roll identifies any soft regions, they can be fixed by undercutting. The procedure entails removing the soft soil with a stronger aggregate material and digging 2 to 3 feet below the surface. Step 5: Installing the fresh asphalt surface Asphalt was just placed. Step 6: Roll Following the installation of the asphalt, the surface will be buffed and compacted.