Download
1 / 10
100 likes | 105 Vues
Learn everything you need to know about web push notifications. Learn how the API works and the top web push service providers.

E N D
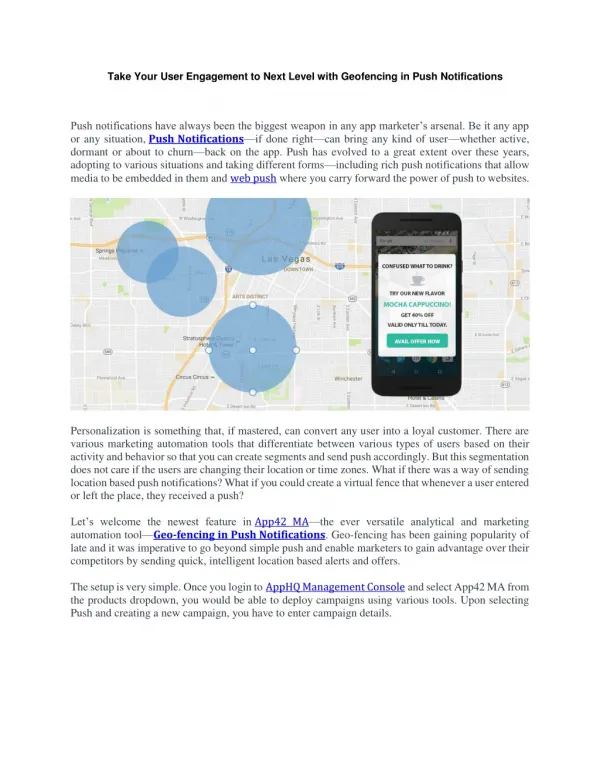
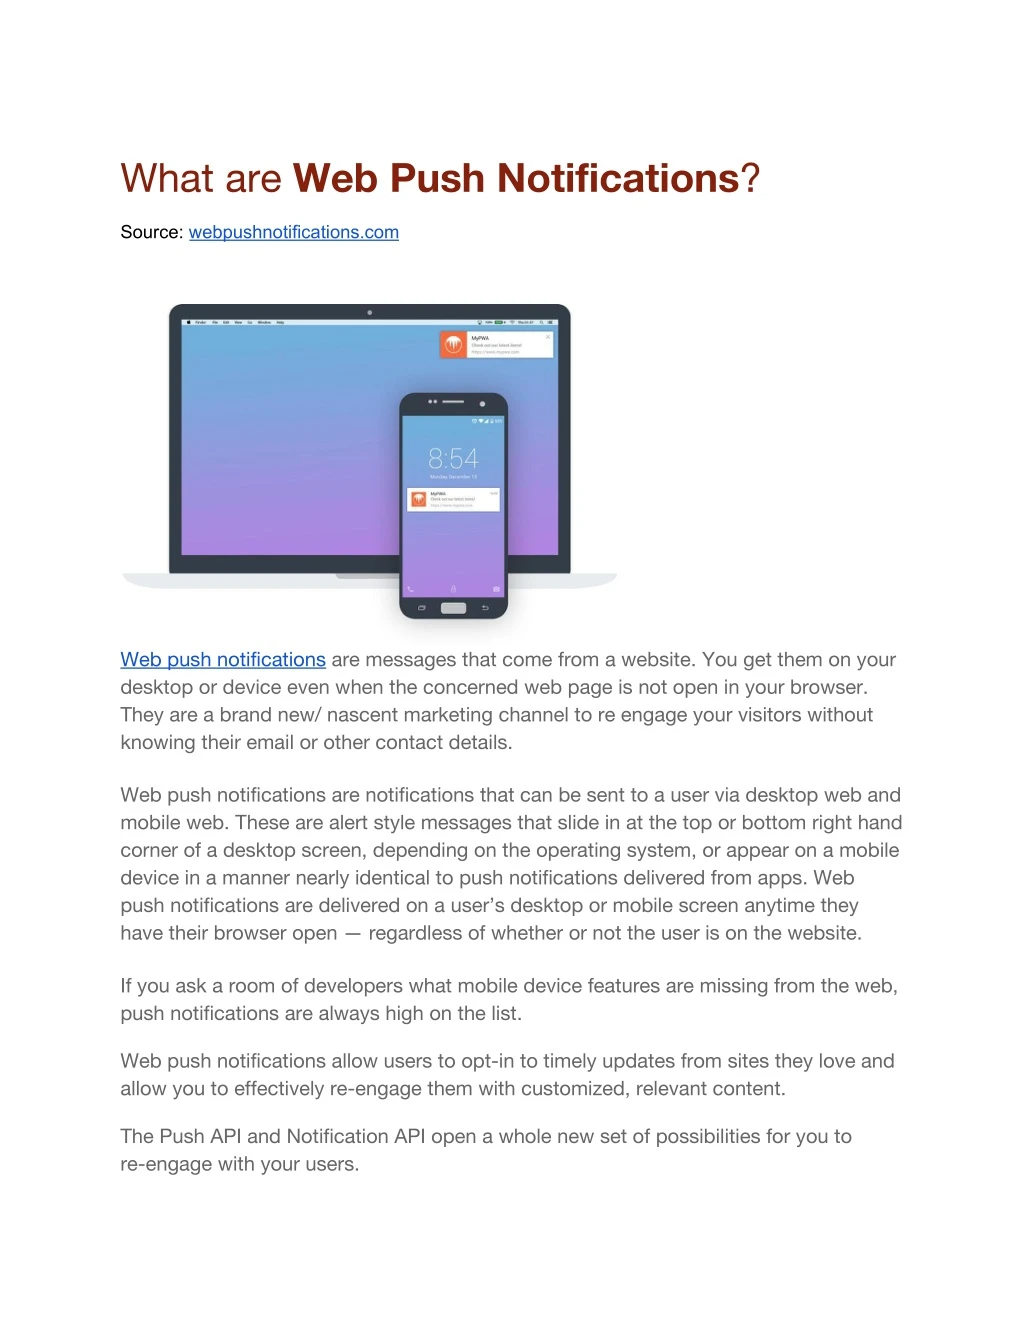
What are Web Push Notifications? Source: webpushnotifications.com Web push notifications are messages that come from a website. You get them on your desktop or device even when the concerned web page is not open in your browser. They are a brand new/ nascent marketing channel to re engage your visitors without knowing their email or other contact details. Web push notifications are notifications that can be sent to a user via desktop web and mobile web. These are alert style messages that slide in at the top or bottom right hand corner of a desktop screen, depending on the operating system, or appear on a mobile device in a manner nearly identical to push notifications delivered from apps. Web push notifications are delivered on a user’s desktop or mobile screen anytime they have their browser open — regardless of whether or not the user is on the website. If you ask a room of developers what mobile device features are missing from the web, push notifications are always high on the list. Web push notifications allow users to opt-in to timely updates from sites they love and allow you to effectively re-engage them with customized, relevant content. The Push API and Notification API open a whole new set of possibilities for you to re-engage with your users.
Why should you use Web Push Notifications – What are the advantages? No need to have a mobile app to get the benefit of mobile push notifications: ● Chrome push notifications work exactly like the native mobile push. So, you don’t have to create an app just to get the benefit of native push notifications on mobile. Wider reach across browsers: Safari, Chrome and Firefox when combined have a ● market share of about 61-77%. With these browsers providing support for web push the reach of web push notifications is immense. Access to users who are not on your website: Using web push notifications, you can ● reach out to those users who are not on your website Ability to re engage users without knowing their contact details: Web push ● notifications don’t need a user’s email or other contact details. If a user who once visited your website and has given his permission to send him notifications, he can be sent notifications anytime without needing his email Higher opt-ins as compared to emails: Since the users don’t need to give their email ● id or other contact details and they also have the ability to unsubscribe from receiving notification easily whenever they want, the opt-ins for web push notifications are higher than emails. Lower unsubscribe/ opt-out rates: Studies have shown that less than 10% of the ● subscribers who opted for notifications from a site, unsubscribed in a year. The number is still less. Prompt and assured content delivery: The moment you click on “send notification ● now”, it will be delivered to the users immediately. Unlike emails that sometimes fail to deliver or go to spam folder, these notifications are for sure delivered to the user. Higher conversion rates: Studies have shown that web push notifications have 30 ● times higher conversion when compared with mail. Greater mindshare of users: Sending notifications even when the users are not on ● your website, helps you capture their mindshare and then as the saying goes market share follows!
Tech savvy user base: Since this is a nascent technology, it is safe to assume that ● your content will reach to the most tech savvy user base. What are the best web push notification platforms? Rank 1: Webpushr Cost: $19/month for 50K Subscribers Pros The most comprehensive web push notifications platform that is also beautifully designed. It's ease of use makes it a great tool for marketers who are just starting out to use web push. Best-in-class set of features at an unmatched price point make it our top recommendation. Cons Webpushr does not offer customer support via phone or chat. Currently, customer support related queries can only be initiated and are responded to via e-mail. Bottom Line Webpushr checked most of the boxes in terms of functionality, ease-of-use and enterprise scalability. It also offers the best value in terms of pricing and therefore is our highest ranked product for October 2019. Read verified Webpushr reviews here. Rank 2: OneSignal Cost: $149/month for 50K Subscribers
Pros Smaller websites with low traffic will enjoy being able to use it for entirely free. It offers advanced A/B testing features for people looking to optimize push effectiveness. Cons Keep in mind that migrating from OneSignal to a different platform is not simple. This is an important factor to consider because the cost of using OneSignal increases dramatically (from $0 to $100+) the moment you exceed the 30K subscriber mark. You might want to consider other alternatives if you want to keep your subscriber information competely private. OneSignal has previously accepted to have sold customers' data. Bottom Line Great free option for small publishers/e-commerce stores with potentially less than 30K total subscribers. Read more on OneSignal alternatives What are web push notifications made up of? A Web Push Notification comprises of four key elements: Web Push Notification Title The title is the most crucial part of any Web push ● message. It catches the attention of the user and urges them to click on your notification. Send engaging titles like Buy 1 Get 1 Free, Last Day Of Sale or any other title to get user attention.
Web Push Message The message should be short, crisp and direct. It should be able ● to convey the idea instantly to the user without a second thought. But make sure that the content quality of the message doesn't go weak. Website Icon Show the icon of the website in the message. It is essential to convey ● the message confidently. Push Notification Image Include a large image which is the graphical presentation of ● the notification message. The image is optional. You can send push notification without an image as well. It is available only for Chrome. Call To Action Buttons Call to Action or the CTA Buttons is the most crucial element in ● a Push Notification. The CTA should contain the URL of the landing page so that the user directly lands on the landing page. With PushEngage, you can send multiple Call To Action in a single notification. It is available only for Chrome. Emoji In Push Notifications Include Emojis in your push notification. Emojis give a ● sense of personalization to your notification. Push Notifications with emojis show an 85% increase in open rate as compared to notifications without emojis. How do Web Push Notifications work?
Before getting into the API, let's look at push from a high level, start to finish. Then as we step through individual topics or API's later on, you'll have an idea of how and why it's important. The three key steps to implementing push are: 1. Adding the client side logic to subscribe a user to push (i.e. the JavaScript and UI in your web app that registers a user to push messages). 2. The API call from your back-end / application that triggers a push message to a user's device. 3. The service worker JavaScript file that will receive a "push event" when the push arrives on the device. It's in this JavaScript that you'll be able to show a notification. Let's look at what each of these steps entails in a little more detail. Step 1: Client Side The first step is to "subscribe" a user to push messaging. Subscribing a user requires two things. First, getting permission from the user to send them push messages. Second, getting a PushSubscription from the browser. A PushSubscription contains all the information we need to send a push message to that user. You can "kind of" think of this as an ID for that user's device. This is all done in JavaScript with the Push API. Before subscribing a user you'll need to generate a set of "application server keys", which we'll cover later on.
The application server keys, also known as VAPID keys, are unique to your server. They allow a push service to know which application server subscribed a user and ensure that it's the same server triggering the push messages to that user. Once you've subscribed the user and have a PushSubscription , you'll need to send the PushSubscription details to your backend / server. On your server, you'll save this subscription to a database and use it to send a push message to that user. Step 2: Send a Push Message When you want to send a push message to your users you need to make an API call to a push service. This API call would include what data to send, who to send the message to and any criteria about how to send the message. Normally this API call is done from your server. Some questions you might be asking yourself: ● Who and what is the push service? ● What does the API look like? Is it JSON, XML, something else? ● What can the API do? Who and What is the Push Service? A push service receives a network request, validates it and delivers a push message to the appropriate browser. If the browser is offline, the message is queued until the the browser comes online. Each browser can use any push service they want, it's something developers have no control over. This isn't a problem because every push service expects the same API call.
Meaning you don't have to care who the push service is. You just need to make sure that your API call is valid. To get the appropriate URL to trigger a push message (i.e. the URL for the push service) you just need to look at the endpoint value in a PushSubscription . Below is an example of the values you'll get from a PushSubscription: { "endpoint" : "https://random-push-service.com/some-kind-of-unique-id-1234/v2/" , "keys" : { "p256dh" : "BNcRdreALRFXTkOOUHK1EtK2wtaz5Ry4YfYCA_0QTpQtUbVlUls0VJXg7A8u-Ts1XbjhazAkj7I99e8QcY P7DkM=" , "auth" : "tBHItJI5svbpez7KI4CCXg==" } } The endpoint in this case is https://random-push-service.com/some-kind-of-unique-id-1234/v2/. The push service would be 'random-push-service.com' and each endpoint is unique to a user, indicated with 'some-kind-of-unique-id-1234'. As you start working with push you'll notice this pattern. The keys in the subscription will be covered later on. What does the API look like? I mentioned that every web push service expects the same API call. That API is the Web Push Protocol. It's an IETF standard that defines how you make an API call to a push service.
The API call requires certain headers to be set and the data to be a stream of bytes. We'll look at libraries that can perform this API call for us as well as how to do it ourselves. What can the API do? The API provides a way to send a message to a user, with / without data, and provides instructions of how to send the message. The data you send with a push message must be encrypted. The reason for this is that it prevents push services, who could be anyone, from being able to view the data sent with the push message. This is important given that it's the browser who decides which push service to use, which could open the door to browsers using a push service that isn't safe or secure. When you trigger a push message, the push service will receive the API call and queue the message. This message will remain queued until the user's device comes online and the push service can deliver the messages. The instructions you can give to the push service define how the push message is queued. The instructions include details like: ● The time-to-live for a push message. This defines how long a message should be queued before it's removed and not delivered. ● Define the urgency of the message. This is useful in case the push service is preserving the users battery life by only delivering high priority messages. ● Give a push message a "topic" name which will replace any pending message with this new message.
Step 3: Push Event on the User's Device Once we've sent a push message, the push service will keep your message on its server until one of following events occurs: 1. The device comes online and the push service delivers the message. 2. The message expires. If this occurs the push service removes the message from its queue and it'll never be delivered. When the push service does deliver a message, the browser will receive the message, decrypt any data and dispatch a push event in your service worker. A service worker is a "special" JavaScript file. The browser can execute this JavaScript without your page being open. It can even execute this JavaScript when the browser is closed. A service worker also has API's, like push, that aren't available in the web page (i.e. API's that aren't available out of a service worker script). It's inside the service worker's 'push' event that you can perform any background tasks. You can make analytics calls, cache pages offline and show notifications. That's the whole flow for push messaging. Lets go through each step in more detail. Sources: Webpushnotifications, How Push Works