Download
1 / 2
20 likes | 25 Vues
There are ample reasons why golf grips need replacing. It can be accumulation of sweat, routine wear and tear, and a damaging incident. These reasons make it important for re-gripping. <br>For more info visit: <br>https://golfnational.com.au/product/grip-it-rip-it-regripping-kit-13-size/

E N D
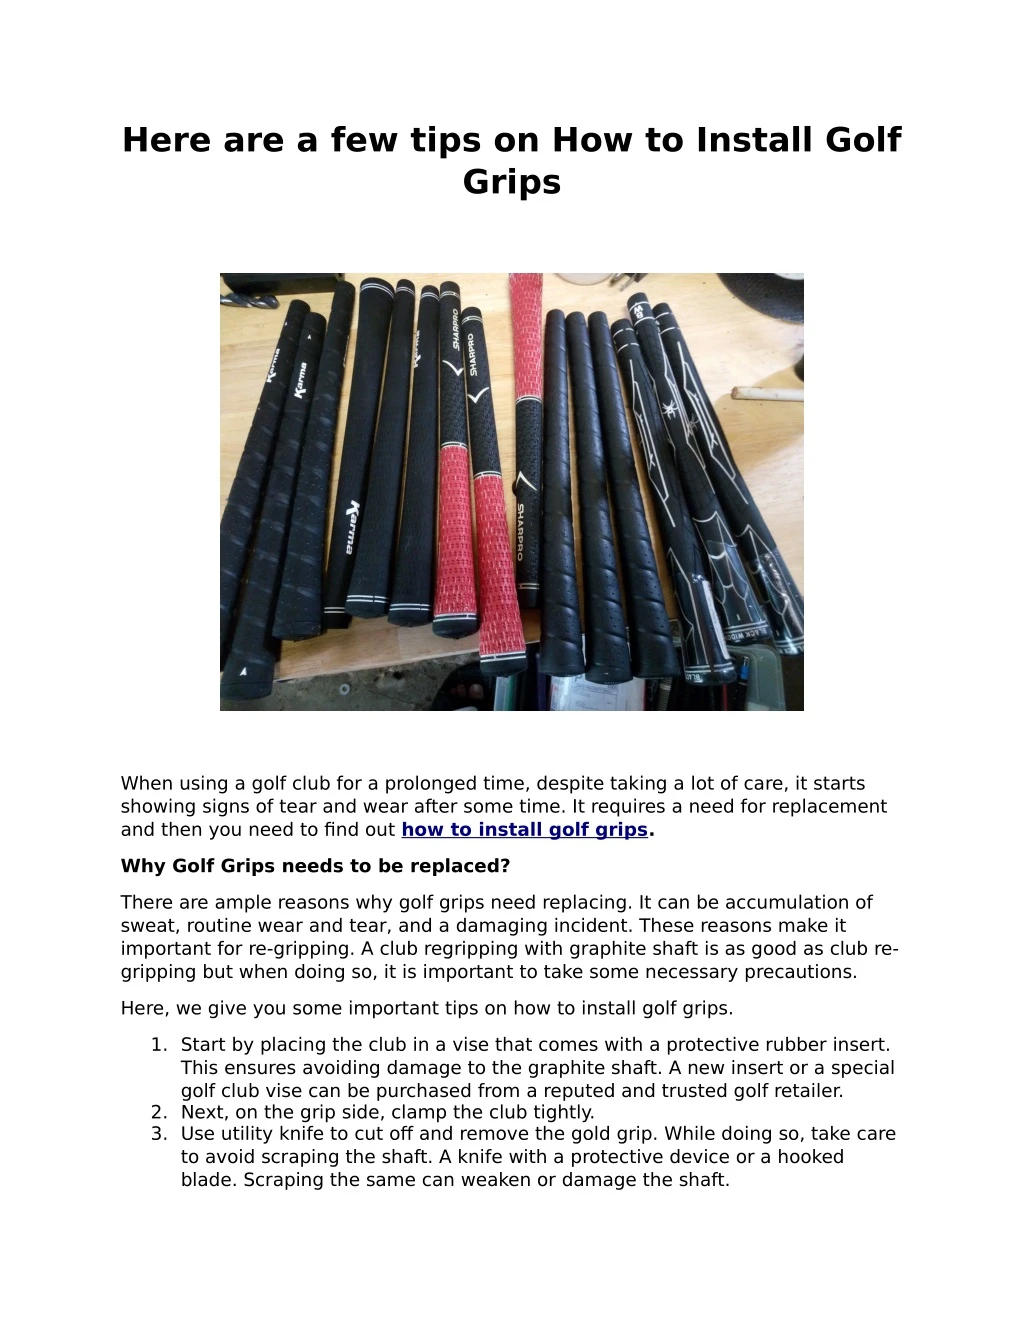
Here are a few tips on How to Install Golf Grips When using a golf club for a prolonged time, despite taking a lot of care, it starts showing signs of tear and wear after some time. It requires a need for replacement and then you need to find out how to install golf grips. Why Golf Grips needs to be replaced? There are ample reasons why golf grips need replacing. It can be accumulation of sweat, routine wear and tear, and a damaging incident. These reasons make it important for re-gripping. A club regripping with graphite shaft is as good as club re- gripping but when doing so, it is important to take some necessary precautions. Here, we give you some important tips on how to install golf grips. 1. Start by placing the club in a vise that comes with a protective rubber insert. This ensures avoiding damage to the graphite shaft. A new insert or a special golf club vise can be purchased from a reputed and trusted golf retailer. 2. Next, on the grip side, clamp the club tightly. 3. Use utility knife to cut off and remove the gold grip. While doing so, take care to avoid scraping the shaft. A knife with a protective device or a hooked blade. Scraping the same can weaken or damage the shaft.
4. The tape beneath the grip needs to be removed. The adhesive can be melted using a hair dryer. Remove all the tape. 5. Using a washcloth, apply mineral spirits and remove any remaining residue. 6. Cut long stripes of double sides grip tape. Cut the tape in length that covers the entire grip area. 7. Fasten the tape tightly to the shaft and place the tape vertically straight down the shaft. The thinner tape needs to be wound around the shaft spirally and covers the entire grip area. It also includes the end opening. 8. Some space needs to be left between these spirals so that no ridges are caused. The tape’s outer protective layer needs to be peeled off. 9. A paint tray or pan can be placed under the grip area. The hole needs to be covered in the butt of the group with a tee or finger. An ounce of activating liquid is next poured into the new grip, like mineral spirits. 10.The grip’s open end is covered with the thumb and it is gently shaken so that the entire is completely covered with the fluid. 11.The grip must be held over the club and the excess liquid is poured out of the grip. 12.The new grip must be slipped onto the club. The open end is then pinched, and the opening is snugly fitted onto the graphite shaft. The butt cap of the new grip must be flushed against the shaft end. 13.Check out the alignment aids of the grip and ensure aligning it with the clubface’s bottom edge. The new grip is properly adjusted so that it is well-aligned. The grip must be left to dry for at least half an hour. Choose high quality Golf pride grips and play an excellent game.