Download
1 / 1
10 likes | 13 Vues
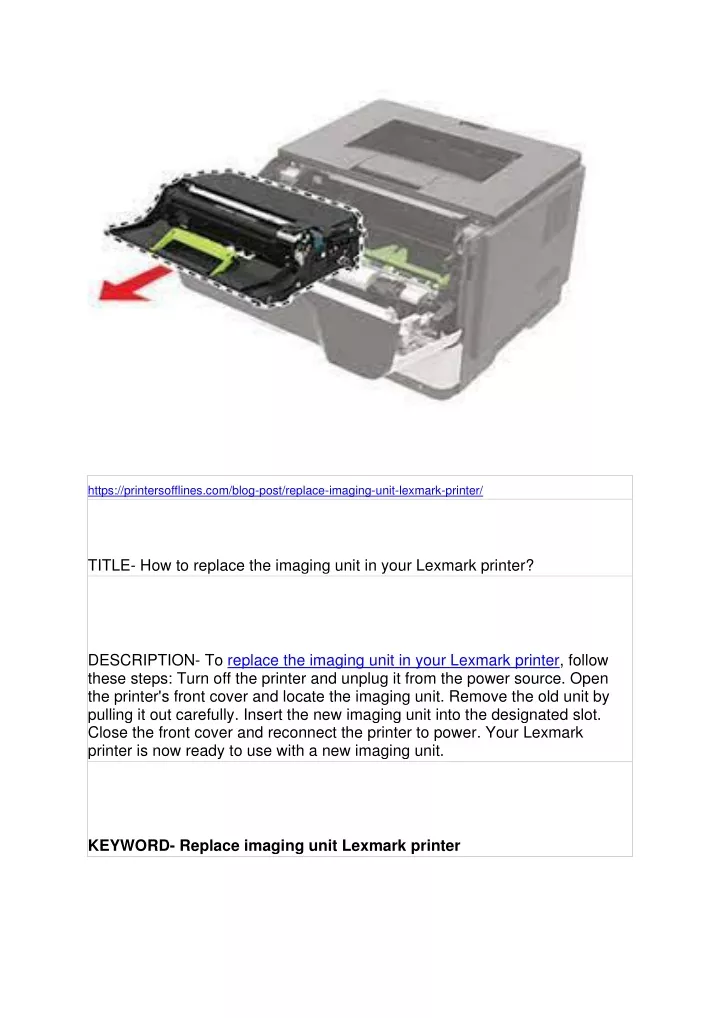
To replace the imaging unit in your Lexmark printer, follow these steps: Turn off the printer and unplug it from the power source. Open the printer's front cover and locate the imaging unit. Remove the old unit by pulling it out carefully. Insert the new imaging unit into the designated slot. Close the front cover and reconnect the printer to power. Your Lexmark printer is now ready to use with a new imaging unit.

E N D
https://printersofflines.com/blog-post/replace-imaging-unit-lexmark-printer/https://printersofflines.com/blog-post/replace-imaging-unit-lexmark-printer/ TITLE- How to replace the imaging unit in your Lexmark printer? DESCRIPTION- To replace the imaging unit in your Lexmark printer, follow these steps: Turn off the printer and unplug it from the power source. Open the printer's front cover and locate the imaging unit. Remove the old unit by pulling it out carefully. Insert the new imaging unit into the designated slot. Close the front cover and reconnect the printer to power. Your Lexmark printer is now ready to use with a new imaging unit. KEYWORD- Replace imaging unit Lexmark printer
