Download
1 / 1
10 likes | 14 Vues
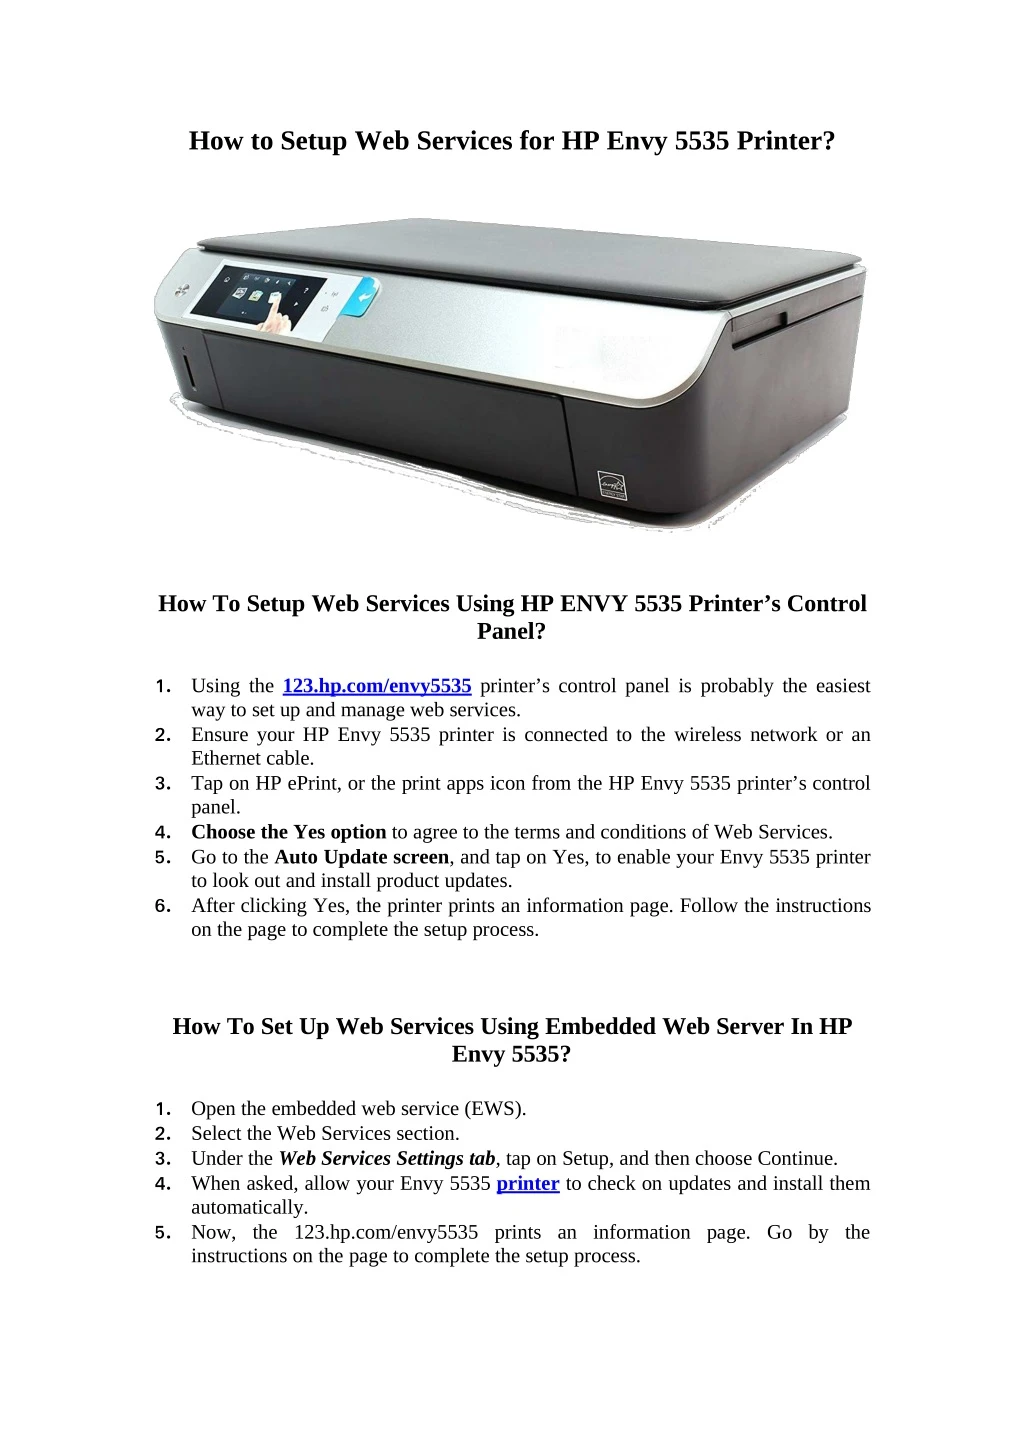
Make use of our detailed guide in setting up Web Services for HP Envy 5535 Printer.

E N D
How to Setup Web Services for HP Envy 5535 Printer? How To Setup Web Services Using HP ENVY 5535 Printer’s Control Panel? Using the 123.hp.com/envy5535 printer’s control panel is probably the easiest way to set up and manage web services. Ensure your HP Envy 5535 printer is connected to the wireless network or an Ethernet cable. Tap on HP ePrint, or the print apps icon from the HP Envy 5535 printer’s control panel. Choose the Yes option to agree to the terms and conditions of Web Services. Go to the Auto Update screen, and tap on Yes, to enable your Envy 5535 printer to look out and install product updates. After clicking Yes, the printer prints an information page. Follow the instructions on the page to complete the setup process. 1. 2. 3. 4. 5. 6. How To Set Up Web Services Using Embedded Web Server In HP Envy 5535? Open the embedded web service (EWS). Select the Web Services section. Under the Web Services Settings tab, tap on Setup, and then choose Continue. When asked, allow your Envy 5535 printer to check on updates and install them automatically. Now, the 123.hp.com/envy5535 prints an information page. Go by the instructions on the page to complete the setup process. 1. 2. 3. 4. 5.