Download
1 / 12
130 likes | 232 Vues
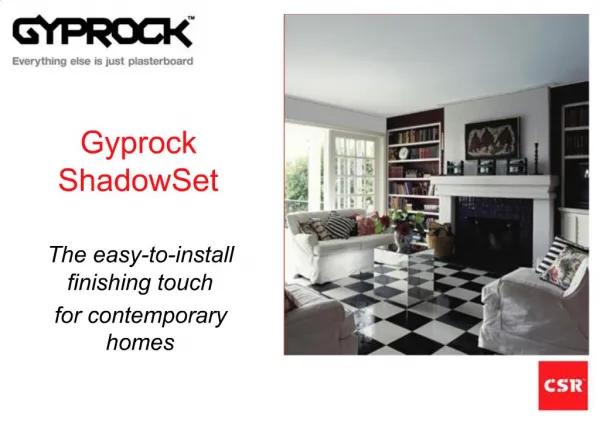
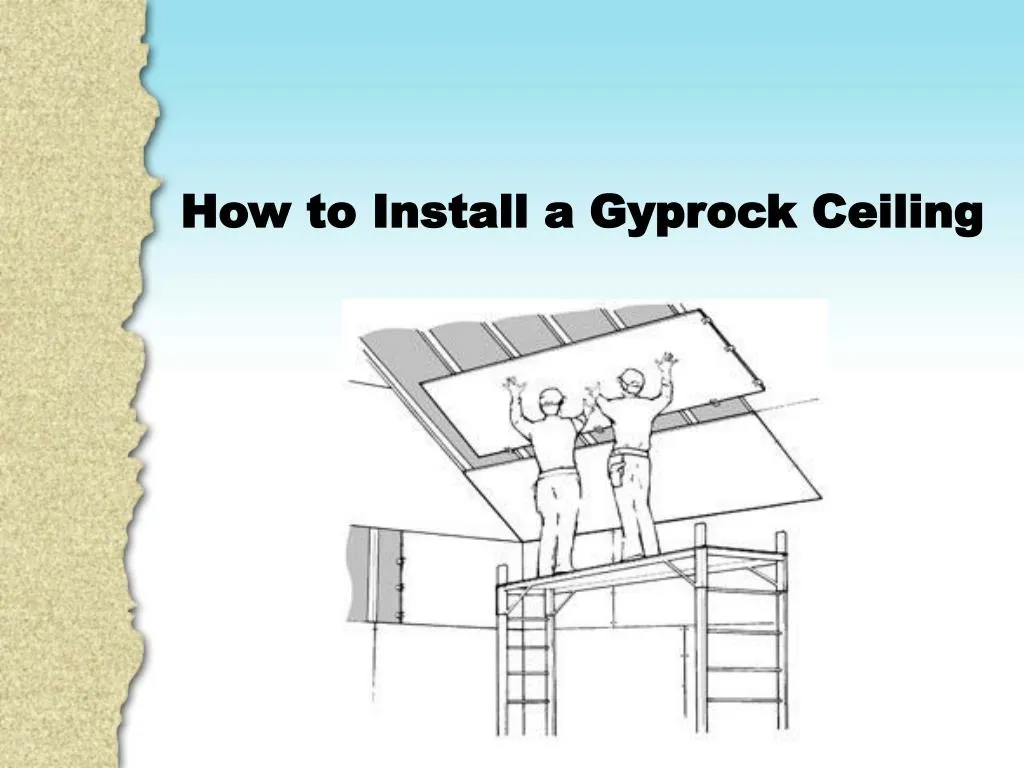
Just Link shares the information about, how to install a gyprock ceiling. Here are the steps to installing a gyprock ceiling.

E N D
There are various benefits to installing a gyprock ceiling in your home. For starters, it does not cost much. Gyprock ceilings are more capable of providing better insulating to your home. Of course, they are incredibly versatile when it comes to aesthetics. You can create an amazing room with these ceilings.
Be that as it may, you have to ensure that they have installed correctly if you want to enjoy the benefits they offer. You can certainly hire a company offering gyprock ceiling Sydney. They can do the job for you. On the other hand, you may consider working on the ceiling on your own. Keep in mind that you will have to put in a lot of effort and time into this job. If you are ready to do so, you can go ahead with the following guide.
What You Need To Know Before Starting Before you start working on the ceiling, there are a few things you need to know. First, you need to get all the necessary equipment and tools. It is never a good idea to leave in the middle of work to head down to a store for purchasing things you have forgotten.
Here are the steps to installing a gyprock ceiling . . . . . .
Ensure That the Trusses Are Level For this, you will be requiring a spirit level. Before you go ahead with the measurements, you should check the wooden trusses. They should be perfectly leveled. This will ensure that your ceiling is one smooth and balanced plane after the gyprockboards have been attached.
Measure the Ceiling Now that you have ensured the levelness of the trusses, you can go ahead and measure the ceiling’s length. Use the tape measure for measuring from one internal corner to the other internal corner. Mark out these lengths on the gyprockboards. Once done, you can transfer those measurements to the gyprock sheet. You will have to measure the width of the room as well. This will help you understand how many gyprockboard sheets will be necessary. Mark the points where the sheets will have to be cut.
Cut Precisely For cutting the gyprockboard sheets, you need the measuring tape and a utility knife. Use the knife for making a finger gauge first before running the knife along the gyprockboard carefully for a precise cut.
Finish Up Once done, apply glue thickly to the battens at regular intervals. Then, you can apply the pasteboards. Screw them into place. Make sure that you are not screwing where you applied glue. The above guide should be of help in the installation of gyprockboards. If you think it is too much for you, you can hire a gyprock ceiling Sydney to take care of the job.
Contact Us Phone: 1300 006 786Email:support@justlink.com.auLevel 19, 10 Eagle Street, Brisbane QLD 4000 For more Services Visit here: https://www.justlink.com.au/gyprockplaster-repair