Download
1 / 46
460 likes | 880 Vues
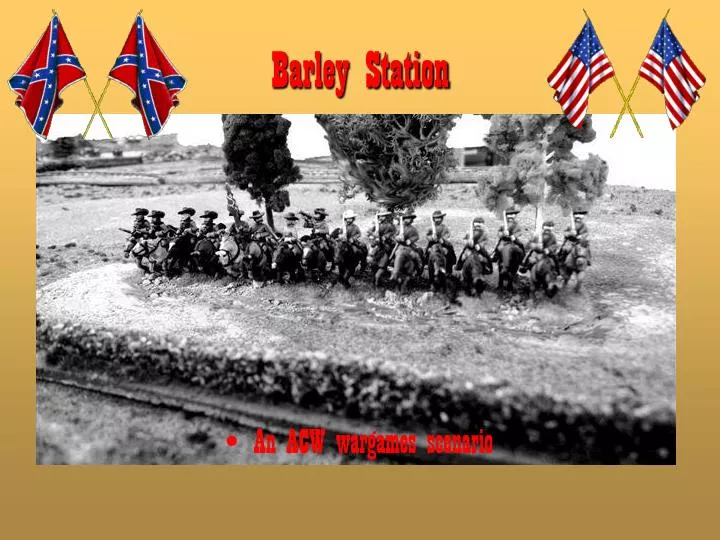
Barley Station. An ACW wargames scenario. From the games rules book. US CS. vs. States on Fire. Dinos Antoniadis , 1998 2 nd Edition 2002. The Union defend. = Command Ability. The Confederates attack. Confederate: +1 Attacking: +1. The battlefield. N. The Brook.

E N D
Barley Station • An ACW wargames scenario
From the games rules book US CS vs States on Fire Dinos Antoniadis, 1998 2nd Edition2002
The Union defend = Command Ability
TheConfederates attack Confederate: +1 Attacking: +1
The battlefield N The Brook North Turnpike West Turnpike Blackberry Hill Barleytown Barley Station Wheat Fields Central Road Twin Hills Sunken Road
Blackberry Hill CS HQ Barley Station US HQ
Barley Station • Barley station is an important rail junction • The previous day, Barley Station was bombarded by the Union • The light Confederate forces defending it, were chased away • Now, it is held by the Federals, who want to put a foothold on Barleytown
Blackberry Hill • Blackberry hill, is overlooking North Turnpike and the Brook crossing • It must be held by the Confederates at all costs • From up there, the Rebel artillery has a perfect command of the Wheat Fields, south of Barleytown
The Federal 2nd Div 3d Brigade moves, • skirmishers deployed in front… • and …
Alexander Chatz, CS General Dinos
I have a cunning plan… Van Mil, US General
Skoulix • …the other Union General, has another cunning plan… Gregorio “rattlesnake” Meracone
Union 1st Division in columns of brigades approach Barleytown
The Confederate centre, at the height of the Wheat Fields, leave the Central Road, deploy and advance rapidly…
The Confederate Cavalry Division gallops on the double… • …up to the Sunken Road… • …and dismounts
The Union Artillery Reserve • Was late to arrive, (entered the table on round 4) • is hindered by the rails and the tree rows of Central Road • as well as by the Green 2nd Div 2nd Brigade screening its front • and strives to find a decent place to deploy
Confederate far right flank… • Is threatened by the Union Cavalry • The Rebel ammunition Wagon… • …is attacked by Union scouts… • and …
Is saved at the nick of the time… • By the 2nd Div 2nd Brigade… • countermarching to cover the exposed right flank
Two Rebel artillery batteries… • The Rebel Infantry… • ..manhandling in the Wheat Fields…
…cross the Wheat Fields… • …and march to meet destiny…
As the Union Artillery Reserve was late to arrive… • We must hold Barley Station!
The Rebel elite Brigade emerges from the village • The Union deploys and surges forward
At the Twin Hills… • The Union is winning! • 2nd Div 1st (veteran) Brigade… • Aided by one Cavalry regiment… • climbing uphill…
…releases deadly volleys… • … annihilating two of the Rebel Cavalry Regiments! • (the Union General brought double sixes twice) • And forces the remaining two regiments… • To abandon the hill unhorsed…
The Union reserve artillery • Finally, find space to deploy their batteries… • …and are pounding the rebel positions
…while the Union parrots do their deadly work… • The green Brigade loses one regiment… • …their brigadier General is killed… • Low on morale, they retreat!
A view from the Twin Hills • As the remnants of the 2nd Div 2nd Green Brigade retreat… • …Rebel scouting cavalry plan to raid behind the Union lines
As the Federals go downhill • The Cavalry division falls back, behind the Sunken Road
… and in the Wheat Fields… • … comes to a standstill
But, on their right… • The Rebels are winning!
At the Confederate right, 2nd Div 2nd and 3d Brigades, advance • The Union left crumbles and is pushed back to Barley Station • Follows a general advance of the Rebel artillery
A winning draw for the South Scenario: Dinos Antoniadis Figure collection: Alex & Vangelis Hatziplis Basic terrain: Manolis “Great Worm” Skoulikas Photos: Dinos Antoniadis, Vangelis Miliarakis Guest star: Gregory Merakos Realisation: Dinos