Download
1 / 4
40 likes | 45 Vues
Welcome to our comprehensive tutorial on setting up and using a Victony AC1200 WiFi extender as an access point. Whether you wish to utilise your Victony AC1200 device as an access point or to extend your current WiFi network, we will lead you through the setup process in this post. Both WPS setup and manual configuration techniques will be covered. Let's get started!

E N D
Victony AC1200 wifi Extender setup This thorough guide will show you how to set up and operate a Victony AC1200 WiFi extender as an access point. We'll walk you through the setup procedure in this page, whether you want to use your Victony AC1200 device as an access point or to expand your present WiFi network. Techniques for manual configuration and WPS setup will also be provided. Let's get started!
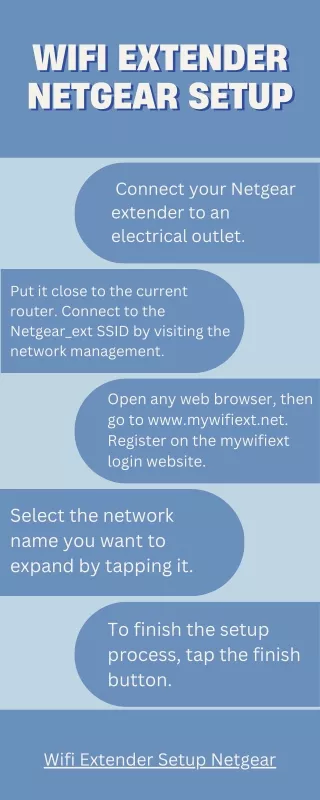
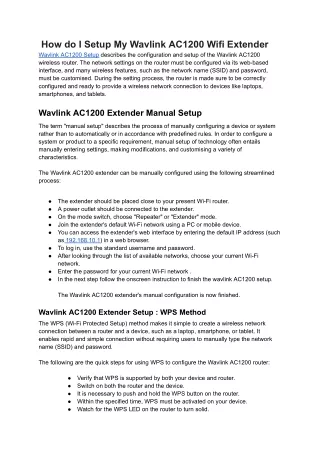
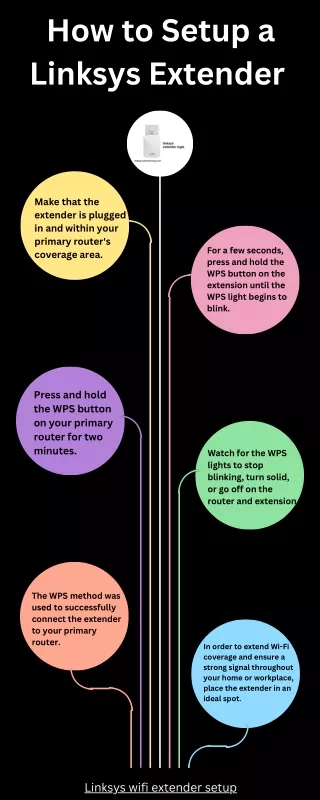
Setting Up Victony AC1200 as an Access Point If you want to use the Victony AC1200 as an access point, converting a wired connection to a wireless network, follow these steps: • Step 1: Establish a connection Connect the Victony AC1200 device's LAN port to your router using an Ethernet wire. • Step 2: Access the Configuration Page: Open a web browser, and in the address bar, type the extender's default IP address, which is frequently "192.168.0.1" or "192.168.1.1". To access the setup page, hit Enter. • Step 3: Login and Setup Enter your device's default login information or the ones that came with it. Access point mode can be enabled by going to the access point settings and choosing the appropriate option. If needed, change the SSID and password for the new wireless network. • Step 4: Placement Optimization For the best coverage, put the Victony AC1200 access point in the middle of the room. Make sure a power source is connected to it.
Factory reset If you encounter any difficulties with your Victony AC1200 router or need to start fresh, performing a factory reset can be an effective solution. Follow these steps to perform a factory reset: • Locate the reset button on your Victony AC1200 router. It is usually a small, recessed button. • Using a paperclip or a similar object, press and hold the reset button for approximately 10 seconds. • Release the reset button and wait for the router to reboot. This process may take a few minutes. Once the factory reset is complete, your Victony AC1200 router will be restored to its default settings. You can now proceed with the initial setup process.
Firmware Update Keeping your router’s firmware up to date is crucial for optimal performance and security. Here’s how you can update the firmware on your Victony AC1200 router: • Visit the Victony website and navigate to the support section. • Locate the firmware update for the AC1200 model and download the latest version. • Access your router’s web interface by typing the default IP address into your browser’s address bar. • Log in with your router’s credentials. • Navigate to the firmware update section and follow the on-screen instructions to upload the downloaded firmware file. • Wait for the firmware update process to complete. Do not interrupt the process or turn off your router during this time. • Once the firmware update is finished, your Victony AC1200 router will have the latest features and security enhancements.