Download
1 / 6
60 likes | 67 Vues
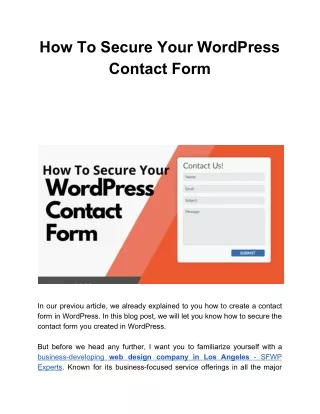
How to integrate Contact Form 7 to your WordPress site. Configure Contact form 7 on WordPress site. A guide to install Contact form 7.visit here https://www.wpcustomerservice.com/ or call FOR FREE SUPPORT Toll Free: 1-800-556-3577 (US & Canada)

E N D
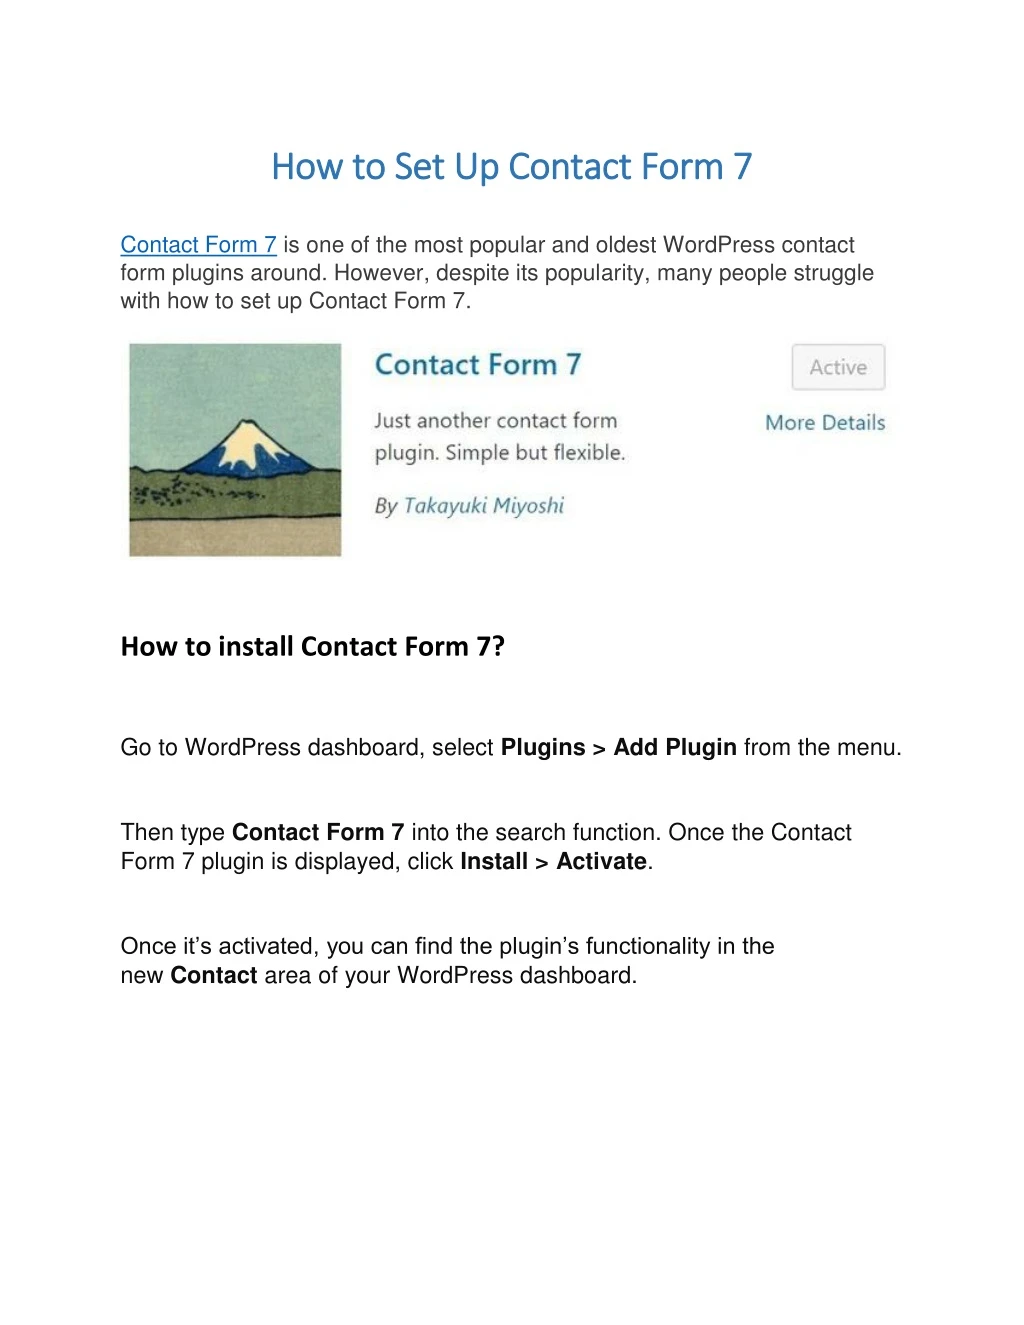
How to Set Up Contact Form 7 How to Set Up Contact Form 7 Contact Form 7 is one of the most popular and oldest WordPress contact form plugins around. However, despite its popularity, many people struggle with how to set up Contact Form 7. How to install Contact Form 7? Go to WordPress dashboard, select Plugins > Add Plugin from the menu. Then type Contact Form 7 into the search function. Once the Contact Form 7 plugin is displayed, click Install > Activate. Once it’s activated, you can find the plugin’s functionality in the new Contact area of your WordPress dashboard.
How to set up Contact Form 7 Click on Contact > Contact Forms. Here you will see the central administration panel where you can manage multiple contact forms. You will also find the Contact Form 7’s default contact form, labeledContact Form 1 Creating a new contact form Give your new contact form a name, and then scroll down to Form. Here you can edit the new contact form template.
However, you may want to add extra fields, depending on your site’s needs. To do this, you can select the appropriate tag-generator button to generate the correct form-tag. For example, to add a URL field, you just click on the URL button (as marked below).
Setting up mail to control email notifications Any extra fields you add to your contact form are not automatically reflected in the email notification template settings. Therefore, once you have finished customizing the Form, switch to the Mail, tab.
To add a field to your email template, just copy over the form field from your template. You can also add regular text around your fields. You can see how we did this in the screenshot below: Again, remember to click on Save once your mail settings are complete.
Insert a contact form into a page or post Select Contact > Contact Forms. Then copy the short code next to the form that you want to add to your site. Next, open the page or post where you would like to insert the contact form. Paste the short code in the text area of the post editor where you would like the contact form displayed. Preview the page, and if you are happy with the results, click Publish. Once your contact form has gone live, test it to check it is working. That’s all you need to follow to set up CONTACT FORM 7 For more information, visit our website https://www.wpcustomerservice.com/ Or you can call us FREE SUPPORT 1-800-556-3577(US- CANADA)