Download
1 / 2
20 likes | 25 Vues
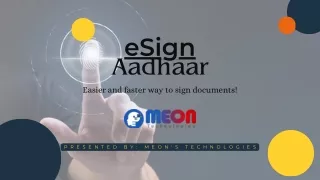
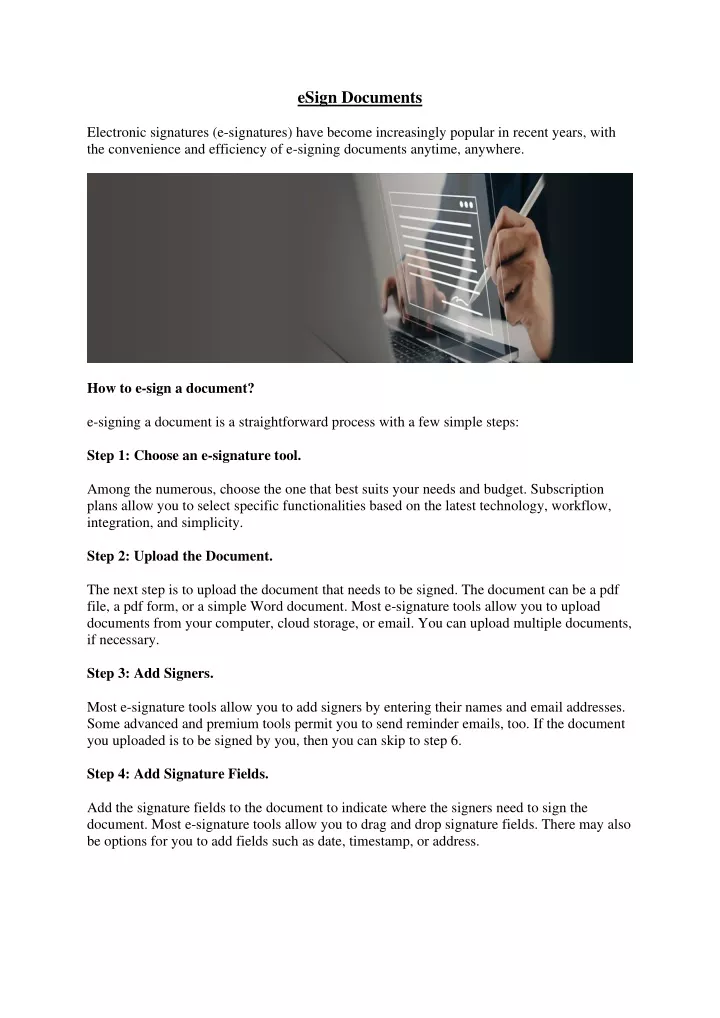
Electronic signatures (e-signatures) have become increasingly popular in recent years, with the convenience and efficiency of e-signing documents anytime, anywhere.

E N D
eSign Documents Electronic signatures (e-signatures) have become increasingly popular in recent years, with the convenience and efficiency of e-signing documents anytime, anywhere. How to e-sign a document? e-signing a document is a straightforward process with a few simple steps: Step 1: Choose an e-signature tool. Among the numerous, choose the one that best suits your needs and budget. Subscription plans allow you to select specific functionalities based on the latest technology, workflow, integration, and simplicity. Step 2: Upload the Document. The next step is to upload the document that needs to be signed. The document can be a pdf file, a pdf form, or a simple Word document. Most e-signature tools allow you to upload documents from your computer, cloud storage, or email. You can upload multiple documents, if necessary. Step 3: Add Signers. Most e-signature tools allow you to add signers by entering their names and email addresses. Some advanced and premium tools permit you to send reminder emails, too. If the document you uploaded is to be signed by you, then you can skip to step 6. Step 4: Add Signature Fields. Add the signature fields to the document to indicate where the signers need to sign the document. Most e-signature tools allow you to drag and drop signature fields. There may also be options for you to add fields such as date, timestamp, or address.
Step 5: Send the Document. Now, send the document to the signers for their signature. Most e-signature tools allow you to send it via email or through a link. Either way, signers will access the document even if they do not use the same e-signature tool. Step 6: Sign the Document. Once the signers receive the document, they can sign it by following the instructions in the email or link. Most e-signature tools allow signers to sign the document using their mouse, finger, or a stylus. So, you can draw your signature as you would on a piece of paper. There will also be an option to upload a scanned image of your signature. The recipient cannot edit certain parts of the document. If changes are required, they can choose not to sign it. They can contact you via email or text to make the alterations before signing. In cases with multiple signers, some tools can automate the process. Once the previous signer has signed, the document is automatically sent to the next signer. Step 7: Finalize the Document. Once all signers have signed the document, you can finalize it. For more information: https://rsign.com/glossary/esign-documents