Download
1 / 34
360 likes | 970 Vues
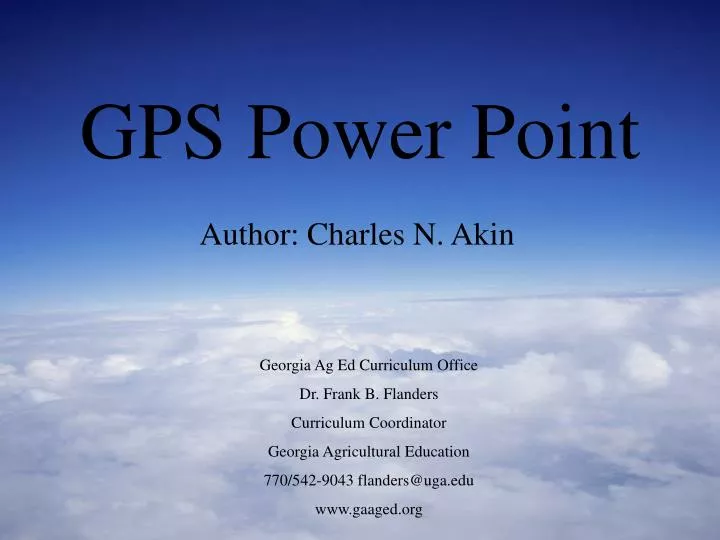
GPS Power Point. Author: Charles N. Akin. Georgia Ag Ed Curriculum Office Dr. Frank B. Flanders Curriculum Coordinator Georgia Agricultural Education 770/542-9043 flanders@uga.edu www.gaaged.org. MAIN. How GPS Works. Uses of GPS in Agriculture. Locating Your Position using GPS.

E N D
GPS Power Point Author: Charles N. Akin Georgia Ag Ed Curriculum Office Dr. Frank B. Flanders Curriculum Coordinator Georgia Agricultural Education 770/542-9043 flanders@uga.edu www.gaaged.org
MAIN How GPS Works Uses of GPS in Agriculture Locating Your Position using GPS Locating a Given Position using GPS
How GPS Works The GPS system is composed of 24 satellites orbiting the earth at an altitude of approximately 13,800 miles. Each satellite transmits a slightly different coded signal. These coded signals are picked up by a GPS receiver on the Earth which can then determine its location with an accuracy of less than than one foot.Let’s see how this works, click next MAIN NEXT
Satellite B Satellite A How it works.. • The GPS receiver has an almanac of all the satellites and their orbital information. This almanac is downloaded from the satellites each time the GPS unit is turned on and about every 12 minutes after that. Therefore, when it receives a signal from a satellite it automatically knows which satellite it is, and its location in orbit. NEXT
TOOTY FRUITY O…. MARY HAD A LITTLE LAMB…. HOME ON THE RANGE………. The GPS receiver knows which satellite it has received a signal from, and it knows that satellite’s position in orbit. It now has to determine the distance to the satellite in order for it to triangulate it’s position on Earth. The satellites contain four atomic clocks each. These atomic clocks can maintain extremely accurately time, down to less than a millisecond, for a very long period of time. The codes are different for each satellite but they are the exact same length. Kind of like a different song for each satellite but the songs are all the exact same length and the GPS receiver knows all of these songs by heart. NEXT
The GPS receiver knows all of the codes and when they are transmitted. Since these codes all travel at the speed of light approx 186,000 miles a second, the GPS receiver can determine the distance to the satellite by comparing when the code was transmitted to when it was received. The GPS receiver compares this time gap and can determine the distance to the satellite based on the length of this time gap. Speed X time = distance Time code is transmitted 186,000 X .07 = 13,020miles Time code is received Length of Time gap is .07sec NEXT
Ok, we know the satellite we received the code from, we know where the satellite is on its orbital path above the earth and we know the distance to the satellite. So, we must know exactly where we are right? ……WRONG! Actually we need more that one satellite to tell us our exact location. This is because the Earth is a sphere, and there would be more than one position on the earth that had the same distance to the satellite. You could actually draw a circle on the Earth, and all the points along that circle would be the same distance from the satellite, and you would be somewhere on that circle. NEXT You could be Here
With two satellites you could narrow your location down to two possible locations. You Could Be Here? NEXT
With three satellites you could get a better estimate on your location. It would narrow it down to one point. YOU ARE HERE NEXT
It is best if you identify and have distances to at least four satellites in order for your location to be accurately measured. Some GPS receivers will not give you a location at all, unless you have at least four satellites. YOUR ARE DEFFINATELY RIGHT HERE NEXT
By having a distance from a fourth satellite it increases the accuracy of your location and can also give you an accurate altitude as well. Because of how the 24 satellites are arranged in orbit there will be between 5 and 8 satellites above you no matter where you are on Earth. Most GPS receiver can handle as many as 12 satellite contacts at a time, so you shouldn’t worry about receiving too many satellite signals at any one time. NEXT
C F G A In short, a GPS receiver works by receiving and identifying signals from at least four satellites. By measuring the time lag in the signals it can determine the distance to each satellite. Once the receiver has determined the distance from the four satellites it can then determine its Latitude, Longitude, and altitude above sea level. NEXT
Things to Know! Because the satellite is using radio waves there are some things to keep in mind. • Radio waves cannot pass through some objects. Ex: buildings, some trees, mountains. You will not receive a signal. • Radio waves can bounce or be reflected off of certain objects. Ex: water, large metal objects, buildings. Your signal will not be accurate. These can result in an inaccurate measurements. NEXT Obstructed Reflection
To get the best measurement: • Remain in the open. • Avoid buildings and tall trees. • Take several measurements. • Wait, have patience. Remember the satellites are orbiting, and a satellite that was not visible earlier may come into view of the receiver and give you a more accurate measurement. NEXT
Uses For GPS GPS was primarily designed to be used by the military. However, many industries have found it to very useful including Agriculture. BACK NEXT
Farming Farmers can use GPS to help them plow very straight rows to enable them use their land more efficiently. NEXT
Agriculture Farmers can use GPS to help mark areas for pesticide or fertilizer application. Thus reducing waste. NEXT
Forestry Foresters can use GPS to help them cruise timber, determine the size of land tracts, locate and mark areas of importance. NEXT
How to Locate Your Position For the next two exercises we are going to be using the Magellan GPS 315. This is a relatively inexpensive yet rugged hand held GPS unit. First press the red PWR button. At the bottom of the screen a message will appear “PRESS ENTER TO CONTINUE” If you do not press enter the unit will shut off. Press ENTER BACK NEXT
These are the satellites locations How to Locate Your Position cont.. Once you have pressed “ENTER” The status screen will appear. This screen displays the GPS satellite’s current locations, and which satellites are currently visible to the the unit. In the image to the right the positions are noted, but none are currently visible to the unit.When satellites become visible to the unit, small vertical lines will appear below the locations. Currently no satellites are visible to the unit. NEXT
Signal strength How to Locate Your Position cont.. Once the unit begins to receive signals from the satellites it will display the strength of the signals on the screen. When the unit has received good signals from at least 4 satellites the screen will change to the “POSITION” screen. NEXT
How to Locate Your Position cont.. POSITION SCREEN The position screen will display your: • Latitude • Longitude • Elevation (altitude above sea level) • Speed you are traveling if you are moving. • Distance traveled since last position mark. • If you are moving it will also display the direction you are heading. NEXT
How to Locate Your Position cont.. Therefore your current position is going to be… Remember, for your measurement to be accurate you must be able to receive signals from at least four satellites. To do this you need to be in the open and have as few obstacles between you and the sky as possible. NEXT
How to Locate A Given Position Ok, we know how to find exactly where we are. Now we need to know how to find a given position. A given position is simply the latitude and longitude of a location. It could be the Statue of Liberty, or it could be a golf ball in a field. We are now going to input the Latitude and Longitude of a given position into our GPS unit and then navigate our way there. BACK NEXT
How to Locate A Given Position First we need to be at the POSITION screen. If you are not at this screen hit the NAV button until the POSITION screen is in view. From the POSITION screen press the MENU button. NEXT
How to Locate A Given Position Cont.. Scroll down to PROJECTION using the down arrow. Once PROJECTION has been highlighted hit ENTER. This will bring up the PROJECTION screen where we will enter in our Lat. and Long. NEXT
How to Locate A Given Position Cont.. When you arrive at the PROJECTION screen the first number next to BRG will be highlighted. You will need to hit ENTER 3 times. This will highlight BRG and DST. Next we will hit the down arrow one time. NEXT
How to Locate A Given Position Cont.. Now LAT/LON should be highlighted. Hit enter once and only the first number under LAT/LON will be highlighted. By pressing the up and down arrows the number can be changed. By pressing the left and right arrows we can go to the next number. NEXT
How to Locate A Given Position Cont.. Once you have finished the LAT (the top set of numbers under LAT/LONG) you must press ENTER one time to be able to drop down to LON. When the LON has been entered press enter once and then LAT/LON will be highlighted. The PROJECTION or given location has been entered. We must now turn our projection into a landmark by pressing MARK. NEXT
How to Locate A Given Position Cont.. Be sure to note the landmark number given by the unit, especially if you will be trying to navigate to more than one location. You now need to hit the down arrow and highlight SAVE LMK, and hit ENTER. NEXT
How to Locate A Given Position Cont.. Now hit the GOTO button. Then select USER. This will bring up a list of landmarks that the user has entered. Scroll down and highlight the landmark you just entered. NEXT
How to Locate A Given Position Cont.. Once you have hit enter it will bring up the POSITION screen again. But this time it will have a small arrow above the compass. This arrow will point in the direction you will need to turn to find your given location. An easier screen to work with when navigating can be found by hitting the NAV button twice. NEXT
How to Locate A Given Position Cont.. This screen makes it much easier to navigate while walking. The arrow points in the direction of the given location. It even gives you two additional points of reference the Moon and Sun to help you make sure you are heading in the right direction. In this case the Sun should be behind you and slightly to your left. NEXT
How to Locate A Given Position Cont.. One thing to keep in mind while trying to navigate to a location is to keep moving. Yes, it sounds weird but, you have to remember that in order for the GPS unit to get you there it must havepoints of reference. It needs to know how far you have traveled in order for it to tell you how far you have to go to get there. It also has to update your path and tell you if you need to turn left or right. It is just plotting points and measuring distances between those points. Remember it is just doing the math. BACK