Download
1 / 2
20 likes | 27 Vues
Snapped sash cords can be a pain to handle. So, if you are dealing with one and want to ensure proper sash window restoration, you have come to the right place.

E N D
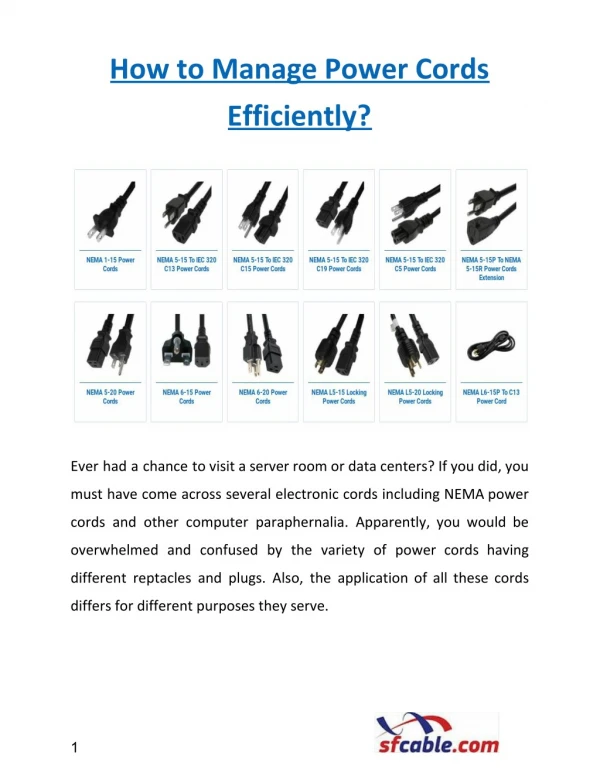
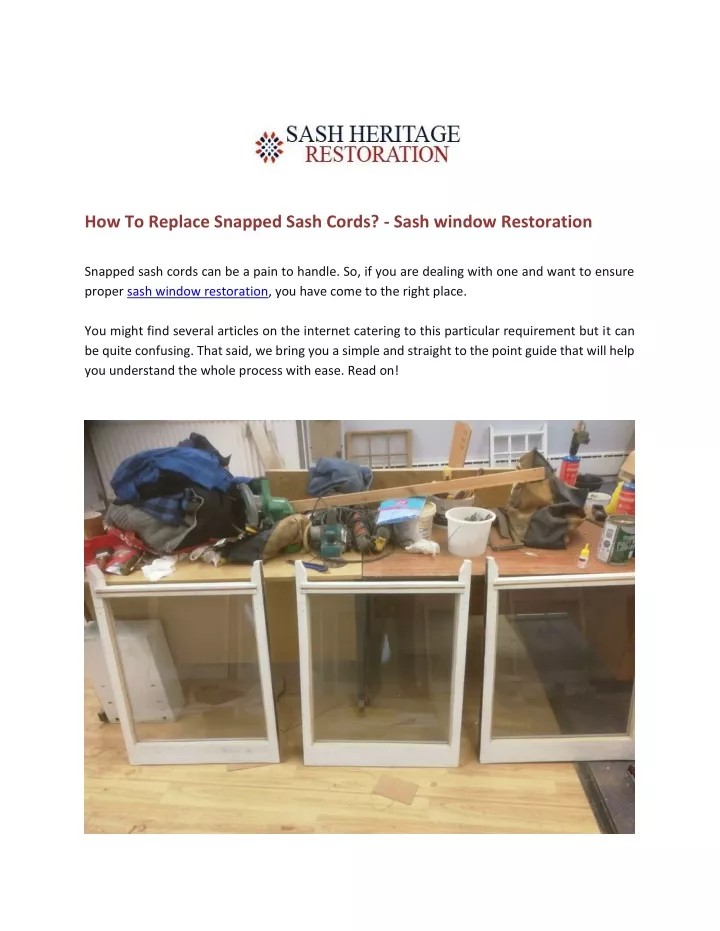
How To Replace Snapped Sash Cords? - Sash window Restoration Snapped sash cords can be a pain to handle. So, if you are dealing with one and want to ensure proper sash window restoration, you have come to the right place. You might find several articles on the internet catering to this particular requirement but it can be quite confusing. That said, we bring you a simple and straight to the point guide that will help you understand the whole process with ease. Read on!
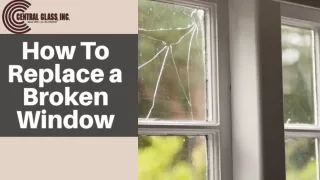
●Begin by removing the trim alongside the window with a sharp knife. ●If you are replacing the lower sash cord, you’ll have to remove the lower sash. However, if it’s the upper cord, you'll have to remove both sashes, upper after the lower. ●Use a mallet and chisel to remove the pocket covers. ●Hold the cord and lower the weights. Get rid of the broken cord and discard any leftovers. ●Now lubricate the pulley and install a new card in the pulley. ●Tie the weight and the cord and move it up and down a few times to ensure unrestricted movement. Now, pull the weight up, pass the cord through the channel, remove the excess, and tie it in a knot at the end of the channel. ●Your cord has been successfully replaced. ●Now, reinstall the sash windows- the upper one first and then the lower one. Place back the trim and the parting strips, fill in any gaps with compound and repaint for a neat touch up. Takeaway Even though it seems quite simple, it’s always better to let the experts take care of such challenging tasks. Feel free to reach out to our sash window restoration specialists at Sash Heritage Restoration and get a quote for your requirement. We deal in all types of sash window repairs and refurbishments and offer them at competitive prices. Contact Details: Sash Heritage Restoration Ltd Address: Sunnyside, Lower Dicker, Hailsham BN27 4BP, United Website - https://www.sashheritagerestorations.co.uk/ Ph. No. 07951007709, +44 7930 255559 Email- info@sashheritagerestorations.co.uk, info@sashheritagerestoration.com