Download
1 / 4
40 likes | 46 Vues
The above IP settings are ready to log in the web based interface of TP-Link Extender Setup for configuration. This allows the interface user extender to use the same wifi name (SSID) and password as your existing wifi network. Visit our website: https://www.wifiextenderhub.com/netgear-extender-installation-assistant/<br><br>

E N D
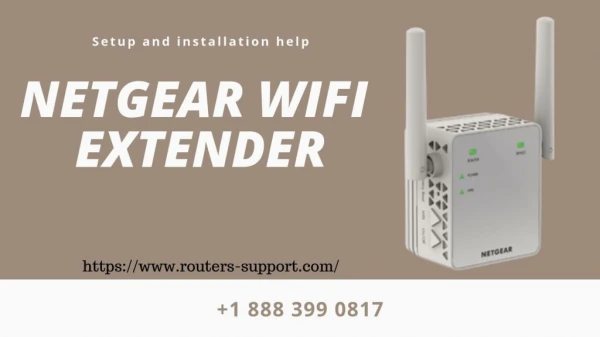
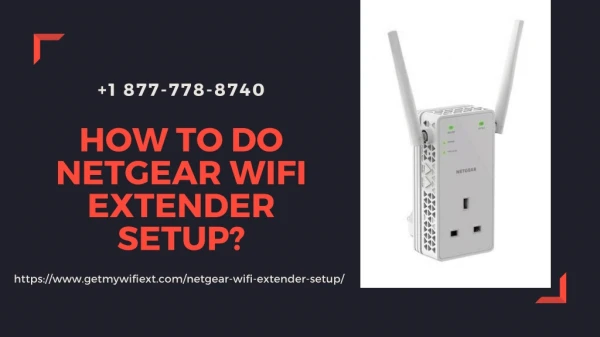
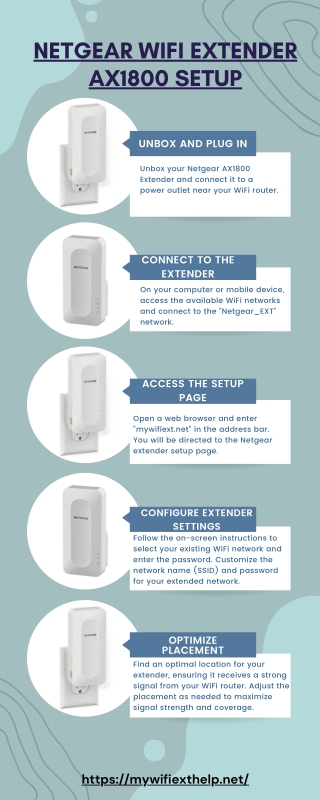
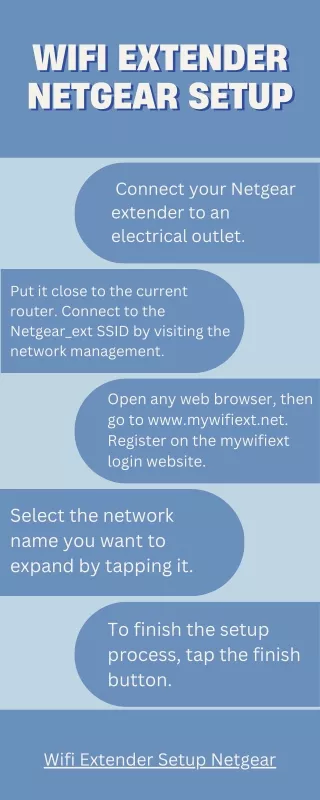
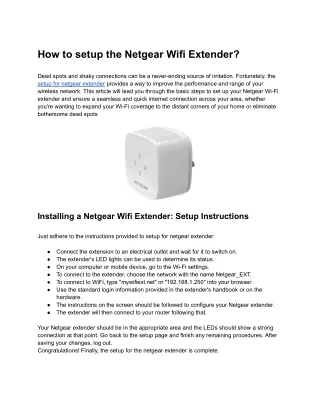
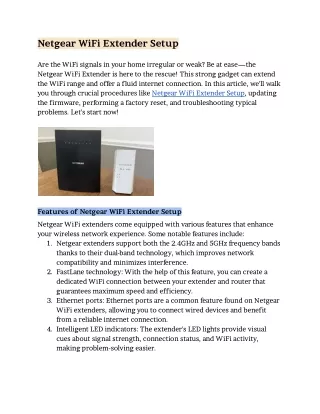
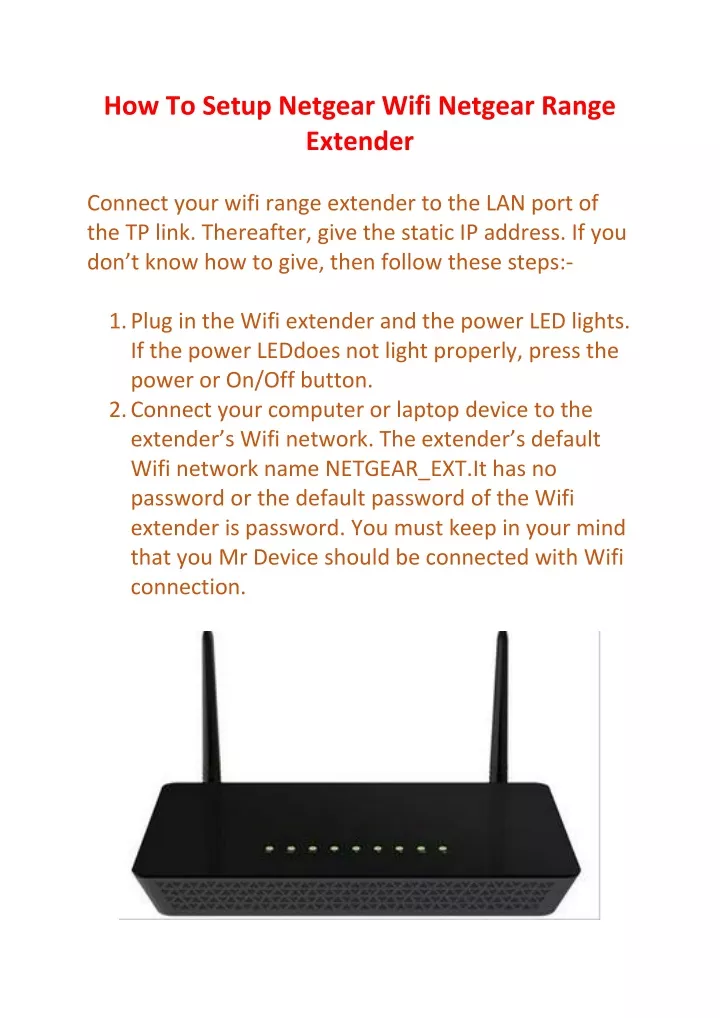
How To Setup Netgear Wifi Netgear Range Extender Connect your wifi range extender to the LAN port of the TP link. Thereafter, give the static IP address. If you don’t know how to give, then follow these steps:- 1.Plug in the Wifi extender and the power LED lights. If the power LEDdoes not light properly, press the power or On/Off button. 2.Connect your computer or laptop device to the extender’s Wifi network. The extender’s default Wifi network name NETGEAR_EXT.It has no password or the default password of the Wifi extender is password. You must keep in your mind that you Mr Device should be connected with Wifi connection.
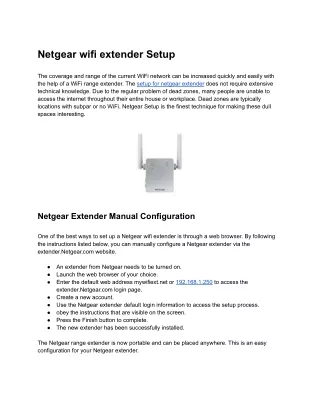
3.Launch a web browser and enter mywifiext.net and thereafter, the new extender setup page displays. 4.Then tap on the new extender setup. If prompted to accept terms and conditions, click on the yes or I agree. 5.Thereafter, choose the extender’s admin credentials. This criterion is used to access the previous extender’s settings on a web browser. Then we should recommend you crossing a password that is different from Wifi network password and leaving a default user name as admin. 6.Then select and answer the two security questions from the drop down box. There are so many questions which are used to know the extender’s admin credentials if you forget them. 7.Then hit the tap button and the Wifi extender searches for local wifi networks.
8.Thereafter, you should enter the existing network’s password and hit on the Ok button. 9.Then you should set the static IP address. Open the web page and type the IP address of the extender and press the enter button.Select the SSIDs and the passwords for the Wifi extender. 10. Then you should set the static IP address. Open the web page and type the IP address of the extender and press the enter button. 11. The above IP settings are ready to log in the web based interface of TP-Link Extender Setup for configuration. This allows the interface user extender to use the same wifi name (SSID) and password as your existing wifi network. 12. Then click on the yes. The Wifi extender applies the network settings and this can take a few minutes.
13. Thereafter, go to the Wifi settings and connect to the extender’s new network. Now, the Netgear extender setup is ready. Visit our website: https://www.wifiextenderhub.com/tp-link-extender- setup/