Download
1 / 24
240 likes | 508 Vues
Pegboard Toy. Assembly and Sides. Assembly. Please open up a “Standard.iam” file and place these objects in your window. Feeling Frustrated?. It will happen at some point or another, but don’t give up. Feeling frustrated is all a part of learning. Assembly.

E N D
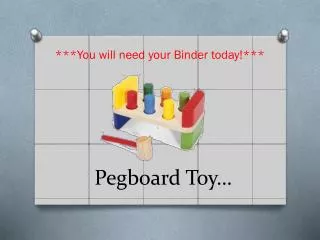
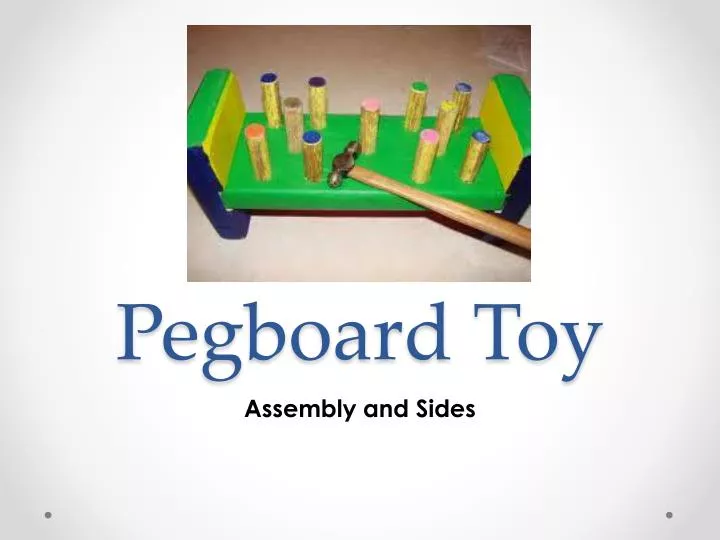
Pegboard Toy Assembly and Sides
Assembly • Please open up a “Standard.iam” file and place these objects in your window
Feeling Frustrated? • It will happen at some point or another, but don’t give up. Feeling frustrated is all a part of learning.
Assembly • PLACE the pegboard and pegs into an assembly window (.iam)
Constrain • Use the constrain feature to connect parts of your assembly.
Constrain Round Peg • Constrain the axis of both the peg and the hole in the pegboard.
Constrain Square Peg • For the square peg, you must constrain 2 adjacent sides.
Constrain Square Peg • For the square peg, you must constrain 2 adjacent sides.
Constrain Square Peg • For the square peg, you must constrain 2 adjacent sides.
Next… • We need to put ends on our Pegboard.
End to your pegboard Draw Extrude Save .75” wide .375” cut out
3 “Clicks” before you draw… • Click on the side you want to work on. • Click on “Create 2D sketch” • Click on the same side as you did in #1
Draw an End Piece • Use the line tool to draw around the end of the pegboard.
Finish Sketch and Extrude • Extrude the end 3” – the same as the width of the pegboard.
Work Planes… • In the browser, right click on the “WORK PLANE” button, and uncheck the visibility.
Other End… • “PLACE” the other end on the screen, and constrain it into place.
Viola! Finished!?! • Now you have a wonderful pegboard toy!