Download
1 / 10
140 likes | 526 Vues
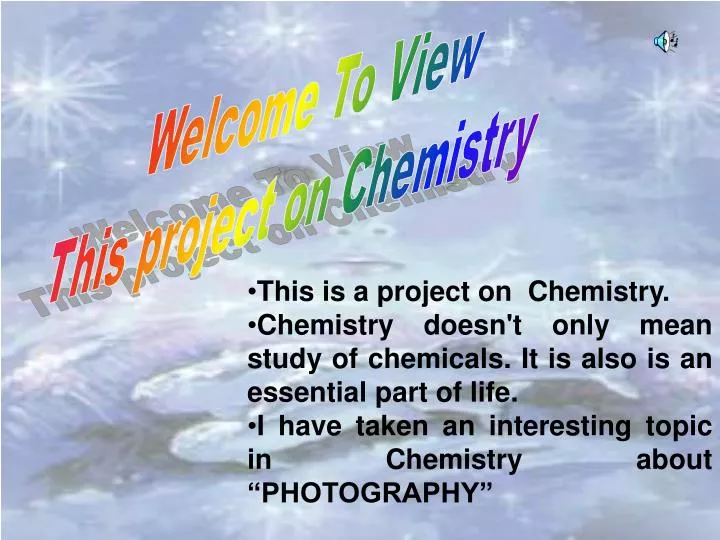
Welcome To View This project on Chemistry . This is a project on Chemistry. Chemistry doesn't only mean study of chemicals. It is also is an essential part of life. I have taken an interesting topic in Chemistry about “PHOTOGRAPHY”. Chemistry of Photography.

E N D
Welcome To View This project on Chemistry • This is a project on Chemistry. • Chemistry doesn't only mean study of chemicals. It is also is an essential part of life. • I have taken an interesting topic in Chemistry about “PHOTOGRAPHY”
Chemistry of Photography • While it is easy to make comparisons between the pupil of the eye and the f-stop of a camera or between the retina of the eye and photographic film, once we get past the basic similarities of the optics of the two systems, comparisons begin to rapidly break down. The eye is not only much more complex than a camera and its film, but the two imaging devices function by different chemical mechanisms. The photographer (or the automatic exposure system of the camera) regulates the f-stop opening and time of exposure of her camera to match the sensitivity of film, while the iris and retina sensitivity of the eye adjust to correspond to the light level of the scene. • While science is slowly putting together the pieces to explain the functioning of our vision system, the basic nuts and bolts of classical photography have been known for years, although certain details remain the subject of some discussion. Just as in the human eye, classical photographic systems are composed of two separate, but interrelated processes – the basic black and white image structure and the finer points of color reproduction. • This first installment on the chemistry of photography is intended to introduce, in a simplified way, the basic concepts of silver halide photography. It will not delve into the physics of optics, the functioning of cameras and lenses, photographic techniques, non-silver processes, or the artistic aspects of photography. Nor will it go beyond a cursory mention of color photographic processes, which will be left for the future. Anyone interested in more detail is referred to the selected bibliographic material cited at the end.
A Brief History of Black and White Silver Halide Photography • Perhaps the earliest reference to the concept of silver-based black and white photography is that of J. H. Schulze who observed in 1727 that a mixture of silver nitrate and chalk darkened on exposure to light. The first semi-permanent images were obtained in 1824 by Nicéphore Niepce, a French physicist, using glass plates coated with a dispersion of silver salts in bitumen (a coal derivative). In the early 1830’s, Niepce's partner, Louis Daguerre, discovered by accident that mercury vapor was capable of developing an image on a silver-plated copper sheet that had been previously sensitized by iodine vapor. The image, which was called a daguerreotype, could be made permanent by washing the plate with hot concentrated salt solution. In 1889 Daguerre demonstrated his photographic process to the Academy of Sciences in Paris. The process was later improved by using sodium thiosulfate to wash off the unexposed silver salts. • In 1841, an Englishman, William Henry Fox Talbot introduced a new system, the calotype process. The Talbot process involved a paper than had been sensitized to light by a coating of silver iodide. A negative image was produced on the exposed light-sensitive paper by bathing it in a solution of gallic acid in a development process essentially the same as that used today. If the paper base employed was semitransparent, the original negative image could be laid over another piece of sensitized paper which, when exposed and developed, yielded a "positive," or direct copy of the original. The process would be equivalent to what is termed "contact printing" today. Although the calotype process required less time than that of Daguerre, the Talbot images were not particularly sharp because of the fluidity of the medium employed to suspend the silver iodide crystals. • Originally, the silver salts were held on glass using egg white as a binder. This provided relatively sharp images although they were easily damaged. By 1871, the problem had been solved by Dr. R. L. Maddox, an amateur photographer and physician, who discovered a way to prepare gelatin dispersions of silver salts on glass plates. In 1887 George Eastman introduced the Kodak system in which a silver halide-in-gelatin dispersion was coated on a cellulose nitrate base and loaded into a camera. The camera could take 100 pictures and when all were exposed, camera and film were returned to Rochester, New York, for processing. With those innovations the age of modern photography had arrived.
Section 1 -- The Components of a Developer Experiment 1 -- Determining the Optimum Conditions • Step 1 Obtain several sheets of photographic paper. Caution: this paper is, of course, very sensitive to light. Be certain it never sees the "light of day." • Step 2 Place approximately 100 mL each of the prepared developer, stop bath, fixer and deionized water into 4 different 400 mL beakers; label each beaker. [Note: developer and stop bath can be disposed of down the drain. Fixer must be placed in the used fixer container because it contains silver.) • Step 3 Set up the exposing light as shown in the figure. Step 4 Using only red safety lights, remove a piece of photographic paper from its storage space and place it directly under the light with emulsion side up. Place the negative on top of the paper and a piece of glass on top of the negative. Step 5 Turn on the light for 15 seconds to expose the paper. • Step 3 Set up the exposing light as shown in the figure. • Step 4 Using only red safety lights, remove a piece of photographic paper from its storage space and place it directly under the light with emulsion side up. Place the negative on top of the paper and a piece of glass on top of the negative.x
Step 5 Turn on the light for 15 seconds to expose the paper.Step 6 Develop the print (still in safety light) by placing it in the beaker containing the developer for 30 seconds (caution: use tongs), then the stop bath for 5 seconds, the fixer for 5 minutes and the deionized water wash for 5 minutes. While the paper is in the developer and stop bath, be certain that you agitate it by holding it with tongs and swishing about in the solution. Place the print on a papertowel to dry. Record the temperature of the developer, the Variac setting, and the exposure and developer times.Step 7 Try to improve the print. If it is too dark, reduce the exposure or the developing time. The exposure can be reduced by reducing the exposure time, raising the bulb or reducing the setting on the Variac. If the print is too light, the opposite remedies should be applied. Becertain to keep an accurate record of your conditions for each experiment. Your goal here is to find the conditions for the best print possible. You will use these conditions as a starting point in the subsequent sections for your developer.
Section 3 -- Chemical Kinetics Experiment 1: The Effect of Temperature on Reaction Rate This experiment will focus on answering the question: What role does temperature play in the development of a photographic print? We can answer this question by actually developing a print in solutions with different temperatures. Procedure: Prepare developer, stop bath and fixer exactly as described in Section 1, Experiment 5 and Experiment 2. Assemble a controlled temperature bath for your developer solution as shown in the figure.
Next, expose three pieces of photographic paper for identical time intervals. Adjust the temperature of the developer in the inner beaker to exactly 25ºC by adding warm water or ice to the outer beaker. Develop, stop, fix and wash one contact print using your optimum times from Experiment 1. Record the time required for the appearance of the image on the print while it is in the developer solution. Adjust the temperature of the developer solution to 15°C by adding ice to the outer beaker. Develop, stop, fix, and wash another print using the same times as above. Be certain the temperature does not vary by more than 1°C during the developing stage. Finally, adjust the temperature of the developer to 35°C. Repeat the development process as above. What is the effect of the temperature change on the time for image formation and on the finished print? Explain. Chemists have a rule of thumb which states that "for every temperature increase of 10°C, the reaction rate doubles." Can you think of some way to test this rule on the reactions involved in development? In exposure?
Photochemistry of Silver Salts • To understand the fundamental chemistry of silver-based photography, we must look at the photochemistry of silver salts. A typical photographic film contains tiny crystals of very slightly soluble silver halide salts such as silver bromide (AgBr) commonly referred to as "grains." The grains are suspended in a gelatin matrix and the resulting gelatin dispersion, incorrectly (from a physical chemistry standpoint), but traditionally referred to as an "emulsion," is melted and applied as a thin coating on a polymer base or, as in older applications, on a glass plate. • Figure 1 shows a schematic representation of the silver halide process. When light or radiation of appropriate wavelength strikes one of the silver halide crystals, a series of reactions begins that produces a small amount of free silver in the grain. Initially, a free bromine atom is produced when the bromide ion absorbs the photon of light: • Ag+Br- (crystal) + hv (radiation) ® Ag+ + Br + e- • The silver ion can then combine with the electron to produce a silver atom. • Ag+ + e- ® Ag0 • Association within the grains produces species such as Ag2+, Ag20, Ag3+, Ag30, Ag4+, and Ag40. The free silver produced in the exposed silver halide grains constitutes what is referred to as the "latent image," which is later amplified by the development process. • The grains containing the free silver in the form of Ag4º are readily reduced by chemicals referred to as "developers" forming relatively large amounts of free silver; that deposit of free silver produces a dark area in that section of the film. The developer under the same conditions does not significantly affect the unexposed grains. • The radiation or light sensitivity of a silver halide film (referred to in the trade as its "speed" and denoted on commercial film as its ASA in the United States or DIN in Europe) is related to the size of the grain and to the specific halide composition employed. In general, as the grain size in the emulsion increases, the effective light sensitivity of the film increases - up to a point. An optimum value of grain size for a given sensitivity is found to exist because the same number of silver atoms are needed to initiate reduction of the entire grain by the developer despite the grain size, so that producing larger grains reaches a point of diminishing returns and no further benefit is obtained. • All photographic emulsions contain crystals of varying sizes, but within a given emulsion the range is from less than 0.1 micron in slow emulsions (e.g., for paper prints) to a few microns in "fast" negative emulsions.
An interesting modern innovation in photographic emulsion technology is related to the basic concept of silver halide grain geometry. In a classical silver halide crystal, typically a cubic crystal lattice, the structure will be relatively symmetrical in that the orientation of the crystal in the coated film will always present the same approximate surface area to be exposed. Extensive research efforts led to the development of grain precipitation processes that produced flatter "tablet" grains in which the crystals possessed a more asymmetric geometry, and in which a larger surface area was presented for exposure for the same given weight of silver halide (Fig. 2). That development resulted in significant improvements in film sensitivity and reductions in the amount of silver needed to obtain a given sensitivity – and a potentially important reduction in the cost of the film.
Thus we can understand about use of Chemistry in our day to day life. Thanks For Viewing This Project