Download
1 / 19
210 likes | 427 Vues
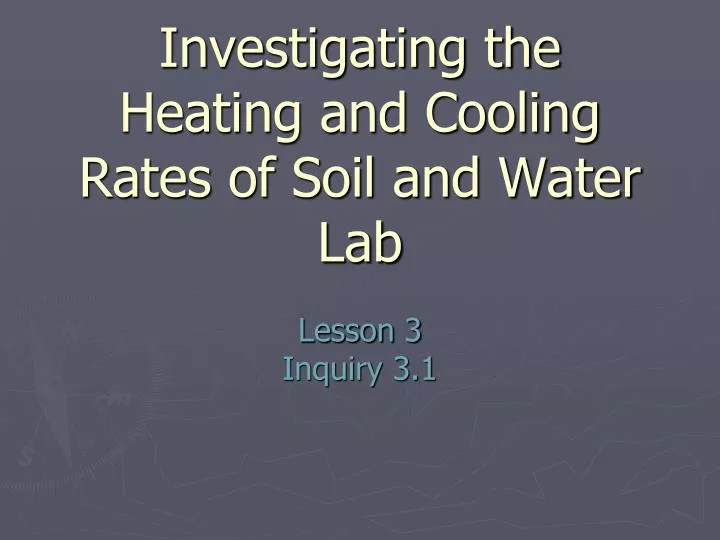
Investigating the Heating and Cooling Rates of Soil and Water Lab. Lesson 3 Inquiry 3.1. Have you ever walked barefoot on a sidewalk in the early summer? The concrete probably felt hot against your feet. But if you jumped into a pool on the same day, you might have felt cold. How could this be?

E N D
Investigating the Heating and Cooling Rates of Soil and Water Lab Lesson 3 Inquiry 3.1
Have you ever walked barefoot on a sidewalk in the early summer? The concrete probably felt hot against your feet. But if you jumped into a pool on the same day, you might have felt cold. How could this be? Part of the explanation has to do with the way the earth's surfaces receive and give off heat. All the surfaces on the earth absorb some of the sun's energy and give off heat to the air as they cool—but they do it at different rates. Did you know that the earth's surfaces heat and cool differently? In this lesson, you will investigate the rates at which soil and water heat and cool. In later lessons, you will see that this uneven heating affects the circulation of air on the earth and helps create storms. Heating Earth’s Surfaces Hot concrete and cool water are signs that the earth's surfaces heat and cool at different rates.
Earth's Surfaces Big Question What is the difference in the heating and cooling rates of soil and water? Hypothesis What do you think will happen to the temperature of the soil and the water when you turn on the lamp? What will happen to their temperatures when you turn off the lamp? Why do you think this? (When you answer these questions you will have written your hypothesis for this lab experiment.) I think the temperature of the soil and water will ___________ when I turn on the lamp because _________. When I turn off the lamp the temperature of the soil and water will __________ because __________.
Materials and Constants • How will you make certain that your investigation of the heating and cooling of soil and water will be a fair test? Record all the things that you will need to keep the same in both setups. You may draw a picture here and label it. (Under your hypothesis write the title Materials and Constants. This is where you will record the materials used in the lab, and the things that you will keep the same for both setups.) • Materials: soil, water, digital thermometers, beakers, heat lamp • Things we will keep the same: - equal amounts of soil and water - both thermometers set to Celsius- both thermometers at the same depth- soil and water equal distance from heat lamp- soil and water must be under heat lamp the same amount of time
Figure 3.1 • Soil and Water setup
Procedure • Measure exactly 100ml of water and 100ml of soil. (Do not pack soil.) • Put one thermometer in each beaker up to the taped line. • Turn on thermometers and take beginning temperature. This may take a couple of minutes until the temperature reading no longer shows any sign of changing. • When the reading stabilizes, record the first temperature on your table next to the time 0:00.
Put the beakers under the lamp 30 cm from the bookends. Turn on the lamp & start the stopwatch! Important : DO NOT PUT THE BEAKERS DIRECTLY UNDER THE LAMP! • Record the temperature of both the soil and water every minute for ten minutes. Do not stop the stopwatch in between readings. BLUE – READ SOIL TEMPERATURE RED – READ WATER TEMPERATURE YELLOW – WATCH THE STOPWATCH GREEN – RECORD TEMPERATURES ON TABLE
As soon as you record the temperature for 10:00, turn off lamp and DO NOT stop the stopwatch. • Record the sametemperature for ten minutes in both the heating and cooling column of table. (SEE TABLE & HIGHLIGHT). • Record the temperature of the cooling water and soil every minute for ten minutes. Record temperatures on table. • After recording the temperature at time 20:00, as a group figure out the total temperature change for both the heating and cooling of the water and soil.
Questions before we begin… Look at Table 3.1a • What do the numbers in the first column of the table represent? • Which section of the table represents times in which the lamp is on and times when the lamp is off? • Why should you not reset the stopwatch to 0.00 after each minute reading? • How can you calculate temperature change?
Time for the Experiment!!!Observations/Data/Results • Set up materials with thermometers in the soil and water. Red you are in charge of getting the water & Blue is in charge of getting the soil. • Take the temperature reading for 0:00 but DO NOT turn on lamp yet! • We will all turn on the lamps and begin timing at the same time.
Conclusion • Restate the big question(What is the difference in the heating and cooling rates of soil and water?) The difference in the heating and cooling rates of soil and water …….. • Revisit your original hypothesis(What did you think would happen to the temperature of the soil and the water when you turned on the lamp? What would happen to their temperatures when you turned off the lamp? Why did you think this? Was your hypothesis proven to be true or false? Why)
Heating and Cooling Reflection • How would you describe the heating and cooling rates of soil and water in the investigation? • Which material held its heat longer? • What factors may have influenced your results? • Reread the Introduction to this lesson. Can you explain now why concrete feels hot under your feet in early summer, while water in a pool feels cold? • On the basis of your investigation, how do you think the temperature of the ocean compares with the temperature of the land nearby?
Heating Cooling Time (minutes) Soil Temperature (°C) Water Temperature (°C) Time (minutes) Soil Temperature (°C) Water Temperature (°C) 0:00 10:00 1:00 11:00 2:00 12:00 3:00 13:00 4:00 14:00 5:00 15:00 6:00 16:00 7:00 17:00 8:00 18:00 9:00 19:00 10:00 20:00 Total temperature change Total temperature change Heating and Cooling Data Table 1
Graphing Your Data • What title will you give your graph? • How will you label each axis to show the temperature and time changes? • What will be the first number on each axis? How will you space the numbers on each axis? How many degrees will each interval between the numbers represent? • What techniques will you use to make the graph more readable?
Heating and Cooling Rates of Soil and Water SAMPLE GRAPH T E M P E R A T U R E (y) (x) T I M E (Minutes)