Download
1 / 22
220 likes | 377 Vues
Using a Desktop CCTV (Video Magnifier). CTWorks Assistive Technology.

E N D
Using a Desktop CCTV (Video Magnifier)
CTWorks Assistive Technology This presentation is intended to provide information about and how to use the assistive technology available in each of the CTWorks Career Centers. The information will be helpful to employers, job seekers, service providers and Career Center staff.
CTWorks Assistive Technology Presentation team members include Michelle Laramie, Rehabilitation Technologist for the CT Board of Education and Services for the Blind, Arlene Lugo, Program Director of the Connecticut Tech Act for the Bureau of Rehabilitation Services of the CT Department of Social Services, Kathleen Marioni, Operations Coordinator for the CT Department of Labor, and Joyce Barcley, AVP Special Projects for The WorkPlace, Inc. This presentation was developed by members of the Connecticut State Leaders Innovation Institute, funded by a grant from the U.S. Department of Labor, Office of Disability Employment Policy (Number OD-16563-07-75-4-34). The opinions expressed herein do not necessarily reflect the views or policies of the U.S. Department of Labor, nor does mention of trade names, commercial products, or organizations imply the endorsement of the U.S. Department of Labor.
Disclaimer This tutorial provides general information on devices called CCTV’s or Video Magnifiers. Specific information will be provided on using the SmartView Synergy manufactured by HumanWare. It is by no means a comprehensive tutorial of the entire product and its features. In addition, many similar devices can perform similar functions, Please consult the User Guide within the product or the manufacturer for comprehensive support.
Using a Desktop CCTV (Video Magnifier) In this course you will learn about CCTV’s. By the end of this course you will be able to answer the following questions: • Who would use this product? • What can it be used to do? • How are the major features used and configured?
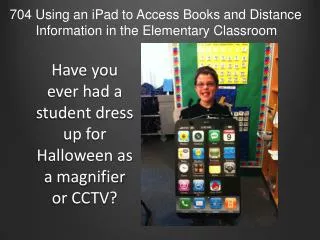
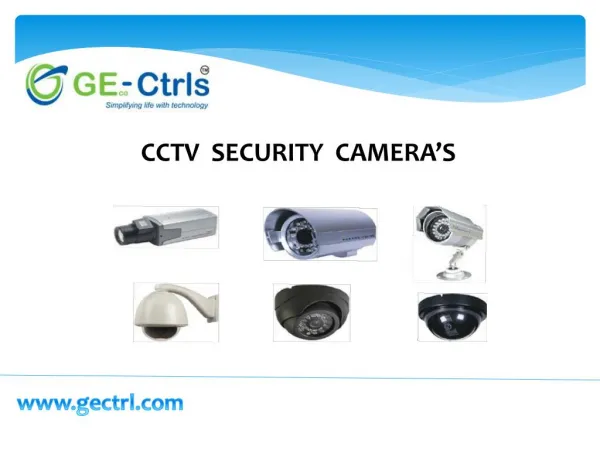
What is a CCTV? • A CCTV or video magnifier system uses a stand-mounted or handheld video camera to project a magnified text, objects and actions onto a video monitor. • Some units produce full color images, some only black and white. • A CCTV can also change the color and/or contrast of items placed under the camera.
Who Will Benefit From Using A CCTV? • People who have reduced vision but who can still see things when they are made larger. • People who need a different color combination to best see the computer for example white letters on a black background.
Who Will NOT Benefit From Using A CCTV? • People who are totally blind or who have too little usable sight to see things even when magnified. • People who experience eye fatigue or other physical issues such as back or neck pain from reading or viewing magnified images on a screen.
Specific Features of the SmartView Synergy and How to Use Them
The SmartView Synergy • The major parts of the Synergy are: the LCD Screen, Control Panel and Reading Table. • The unit can show magnified items in full color. • It can create a variety of color combinations for viewing text.
Adjusting the LCD Screen • Hold both sides of the LCD screen. • Move the screen up or down to adjust to your eye level. • Tilt the screen forward and backward and swivel left or right.
The Reading Table • The Reading Table is used to move text items left, right and down so that a whole document may be read. • Text is placed all the way to the back of the table until it reaches the raised edge. • Any object that will fit under the camera can also be placed on the Reading Table and magnified.
Unlocking and Adjusting the Reading Table • The Table Lock is located in the center of the Reading Table. • When it is all the way to the right the table is locked and will not move. This is used for writing and transporting the unit. • Moving the Table Lock to the left unlocks the table and decreases resistance for smooth movement while reading.
Reading Text with a CCTV • With the text all the way to the rear of the table, pull the table toward the person until the first sentence appears. • Move the table to the left to follow the sentence. • To change lines, move the table to the right and slightly away.
Enhanced contrast button Color button Page Locator button Zoom knob Line and blinds button Brightness knob Power button The Advanced Control Panel
The Power Button • The Power Button is located on the far right of the Control Panel highlighted with a red circle in the picture. • Press the button to turn on the unit. The lights over the table will turn on when the button is pressed. • The Power Button glows green when the unit is on
The Brightness Knob • The Brightness Knob is located second from the right of the Control Panel highlighted with a red square in the picture. • It changes the level of brightness of the image on the screen
The Lines and Blinds Button • The Lines and Blinds is located third from the right of the Control Panel highlighted with a red rectangle in the picture. • It adds a line or block unwanted text • Short presses of the button will cycle through the options. • The Brightness Knob changes its position
The Zoom Knob • The Zoom Knob is located in the center of the Control Panel highlighted with a red circle in the picture. • It increases and decreases the size of the image on the screen by turning the knob left or right
The Page Locator Button • The Page Locator is located third from the left on the Control Panel highlighted with a red rectangle in the picture. • It pinpoints the center of what is captured by the camera. • Pressing the button turns it on and off
The Full Color Mode Button • The Full Color Mode Button is located second from the left on the Control Panel highlighted with a red circle in the picture. • When pressed images are displayed in full color.
Enhanced Contrast Mode Button • The Enhanced Contrast Mode Button is located first on the left on the Control Panel highlighted with a red circle in the picture. • When pressed the unit cycles through 16 color combinations to improve readability of text.