Download
1 / 32
320 likes | 468 Vues
Local Alarm Station. Data Acquisition, Storage and Visualization for Radiation Portal Monitor (RPM). Course Outline. I. Introduction A. Purpose of System B. Definitions and Abbreviations C. Basic Architecture D. User Profiles and Responsibilities. II. Getting Started A. Installation

E N D
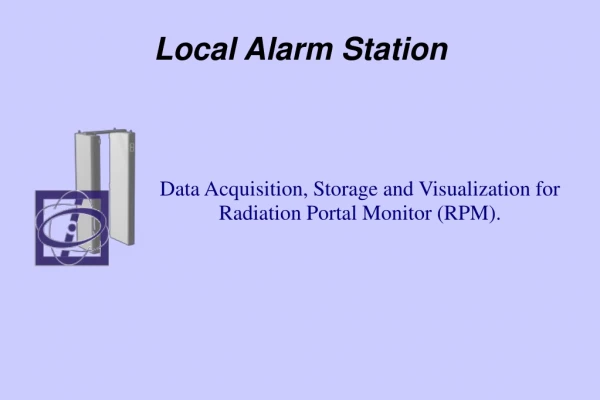
Local Alarm Station Data Acquisition, Storage and Visualization for Radiation Portal Monitor (RPM).
Course Outline I. Introduction A. Purpose of System B. Definitions and Abbreviations C. Basic Architecture D. User Profiles and Responsibilities II. Getting Started A. Installation B. Configuration С. Current State of System III. Operation Order A. Current State of System B. Alarm processing C. LAS events browser IV. Standart Operating Procedures A. Data backup
Automatic data acquisition from all the radiation monitors in real time Storing data on the events of radiation monitors in the database Visualization of the data on system operator screen in real time Logging of the decisions taken by the operator for detection events Creating and printing reports on system events I. Introduction: A. Purpose of LAS
I. Introduction: B. Definitions and Abbreviations LAS – Local Alarm Station System (hardware, software, communications infrastructure) for collecting, storing and visualizing data from RPMs RPM – Radiation Portal Monitor Workstation – automated workplace of the system operator LAS service – program that communicates with all the RPM of system; runs in hidden mode at startup Videoserver – program that communicates with all the video cameras of system; runs in hidden mode at startup DB – Database of LAS, software for centralized data storage; runs in hidden mode at startup
I. Introduction: B. Используемые определения и сокращения (продолжение) LAS Client – GUI program, provides management interfaces for the system operator INSN – (Integrated Nuclear Security Network) System for centralized collecting data from LASes for monitoring RPMs status and enabling expert assistance Daily Files – Text file of raw RPM data; generated on a daily basis Files contain information regarding occupancies, alarms, and other conditions User Files – files of various formats usually alarm reports, RID-specra, etc. used INSN to transmit additional information on a specific detection
Before LAS configuration it is necessary to have a list of all RPM with the following parameters: IP-address of RPMs Daily Files prefix assigned to the given RPM Number of counting gamma and neutron channels with indication of their location on pillars Availability and type of backup power for each RPM In the presence of video system: List of IP-addresses and access port number for each video cameras For each RPM - a list of cameras aimed at the detection zone of the RPM II. Getting Started: A. Installation
II. Getting Started: B. Configuration Select "Database..." Setting of LAS database connection Enter database IP-address and port number Usually LAS client and database are installed on one computer. In this case IP-address of the service is 127.0.0.1 Default port is 3306
II. Getting Started: B. Configuration Select “Basic configuration...” LAS Service Enter the location of the LAS. This title will be used in reports Enter LAS server IP-address and access port number 127.0.0.1 and 8082 by default
Allow to record Daily Files II. Getting Started: B. Configuration Daily Files “Basic configuration...” item Enter Daily Files name prefix Set Daily Files storage time
Allow the use of video system II. Getting Started: B. Configuration Video system “Basic configuration...” item Enter video server IP-address and access port number Push to add a video camera
Set the display name of the camera II. Getting Started: B. Configuration Video system: camera “Basic configuration...” item Enter camera IP-address and access port number Push to delete the camera
Specify the location of RPM detectors II. Getting Started: B. Configuration Add RPM “Basic configuration...” item Set RPM display name Set the prefix for the names of the RPM Daily Files Set RPM IP-address and access port number Allow or diable alarm state auto reset Specify the type of backup power Set the camera bound with a given RPM Push to remove the RPM
II. Getting Started: B. Configuration Binding camera to RPM “Basic configuration...” item Enable the binding of the RPM to a video system Add the camera to the list of cameras associated with the RPM
II. Getting Started: B. Configuration Check camera or multiple cameras associated with the RPM Binding camera to RPM “Basic configuration...” item One RPM can be associated with multiple cameras aimed at the detection zone of the RPM One camera can be associated with several RPMs, located close to each other
II. Getting Started: B. Configuration Adding next RPM “Basic configuration...” item Push “Apply” to accept changes Click on the "Monitor"and add the remaining RPM Push to remove the RPM
II. Getting Started: B. Configuration Select “User accounts...” User’s account manager There are two access levels in the program – Administrator and Operator Push the “Add” button to add new user
II. Getting Started: B. Configuration “User accounts...” item User’s account manager System settings can be changed only by administrator, not by operator Enter login and access level Enter user password Push “ОК” button
II. Getting Started: B. Configuration Use the “Lock” button if you want to temporally lock user’s access User’s account manager Administrator only can edit user’s account list “User accounts...” item Use the “Edit” button if you want to change password or user’s access level Press the “OK” button to apply changes Press the “Remove” button to delete user
II. Getting Started: C. Current State RPM icons Main window The panel of the current session event log Visibility of the panel controlled by item "Event's log" of "View " menu Indication of the workstation goes on battery backup
II. Getting Started: C. Current State RPM State indication Measure state Disconnected state Preparing state Ready state Alarm in progress state, measurements are continuing Alarm state Malfunction state Malfunction that allows further operation
III. Operation Order: A. Current State of RPM Monitor status with readings temperature sensors and a list of malfunctions Panel display the live video from cameras bound to a monitor Panel view of the current total count rate Yellow color indicates the “Measure” time intervals Red color - alarm
III. Operation Order: B. Alarm processing This window is closed after a few minutes or on mouse click Button to go to the list of alarms A message box about the alarm event
III. Operation Order: B. Alarm processing Step 1 Enter information about the object that alarm triggered Choose the best shot Go to next step
III. Operation Order: B. Alarm processing Step 2 Count rate profiles for object movement Yellow color indicates the “Measure” time intervals in red - the excess of threshold Go to next step
III. Operation Order: B. Alarm processing Step 3 If the detection is “false” or “innocent”, select the corresponding field enter a comment and push “PROCEED” button Push “Secondary” button if you need additional verification
III. Operation Order: B. Alarm processing Step 3 (Secondary inspection) Enter the results of additional inspection Attach a file of the spectrum from the RID Specify the category of detection based on additional inspection enter a comment and push “PROCEED” button
Select “DB browser...” III. Operation Order: C. LAS events browser Select monitors for viewing Select a date range Choose a category and type of events Push “Apply” button
III. Operation Order: C. LAS events browser Creating and printing tabular report on the event list Create a report on the specified detection event Export a file of the spectrum
III. Operation Order: C. LAS events browser A alarm report Save as PDF-file Print out
IV. Standard Operating Procedures:A. Data backup Data backup and Archiving is recommended Daily Files are stored in the directories specified during system configuration. Default paths are: %ALLUSERSAPPDATA%\YaLocalPost\Daily_Files It is recommended that this directory be copied to external storage (external HDD, USB flash, or other storage media) at least once per week. For information on backing up MySQL database data, refer to the Administration database MySQL.