Download
1 / 37
470 likes | 833 Vues
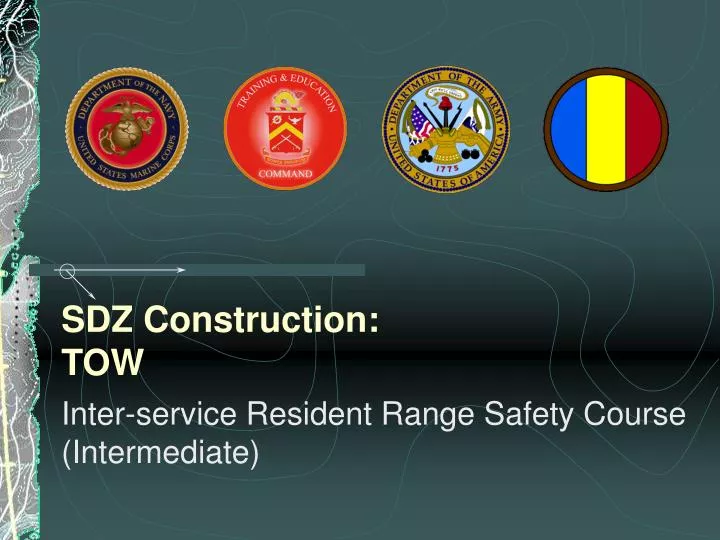
SDZ Construction: TOW. Inter-service Resident Range Safety Course (Intermediate). TOW missiles engage and destroy enemy armored vehicles, primarily tanks. The basic TOW Weapon System was fielded in 1970. TOW 2 Missile has extended probe. It was first introduced with ITOW.

E N D
SDZ Construction:TOW Inter-service Resident Range Safety Course (Intermediate)
TOW missiles engage and destroy enemy armored vehicles, primarily tanks. August 2003
The basic TOW Weapon System was fielded in 1970. August 2003
TOW 2 Missile has extended probe. It was first introduced with ITOW. August 2003
BGM-71A Basic TOW: The original TOW missile had a diameter of 5” and a range of 3000 meters. August 2003
BGM-71C Improved TOW (ITOW): This missile includes an extended probe for greater standoff and penetration. August 2003
BGM-71D TOW 2: The TOW 2 and TOW 2A have an improved propellant in the flight motors, and the guidance links have been hardened. August 2003
BGM-71E TOW 2A: The TOW2A has the capability to defeat reactive armor. August 2003
BGM-71F TOW 2B: The TOW 2B Missile incorporates new fly-over, shoot-down technology. August 2003
Legend for the TOW August 2003
Constructing an SDZ for the TOW • Construct an SDZ for the Basic TOW (ground launch) High Explosive warhead. • Map scale: 1:50,000 • Dimensions of the SDZ for this weapon system are given in DA-PAM 385-63, Chapter 15, Table 15-1, and Figures 15-1 and 15-2. August 2003
Plot the target. • Plot the missile target line. • Plot the firing point. August 2003
From Table 15-1, find Distance X. • Distance X = 5000m • Annotate Distance X on the legend. Distance X August 2003
200m Distance X • To locate the downrange limit of the Dispersion Area, at Distance X, draw a line that extends 200m to the left and right of the missile target line. • The missile target line now looks like a “T”. August 2003
200m Distance X 47° 47° • Measure 47° to the right and left of the missile target line. • Draw tic marks as shown. August 2003
200m Distance X 47° 47° Distance D • From Table 15-1, find Distance D (ground). • Distance D = 3800m • From the firing point, draw straight lines the length of Distance D through the tic marks just drawn. August 2003
200m Dispersion Area Distance X 47° 47° Distance D • Connect the lines at Distance D to the “T” downrange. • This completes the Dispersion Area. August 2003
Area H • Area H the Area to the rear of a weapon system (e.g., TOW missile) which contains warhead particles (collapsed-shape charge and warhead fragments) during an “eject-only firing event.” August 2003
Dispersion Area Distance X • From Table 15-1, find the radius for Area H (high explosive warhead). • Radius of Area H = 3200m 3200m August 2003
Dispersion Area Distance X 3200m Area H • To the rear of the firing point, scribe an arc with the radius of 3200m from the left to the right limits of the Dispersion Area. • Area H is now complete. • Annotate Area H on the legend. August 2003
Dispersion Area Distance X 3200m Area H • From table 15-1, find the measurement for Area A. • Area A = 750m • Lightly draw lines perpendicular to sides of the Dispersion Area nearest the firing point. • Draw tic marks at 750m. August 2003
Dispersion Area Distance X 3200m Area H • Draw straight lines through the tic marks. • From Table 15-1, find the measure-ment for Area B. • Area B = 750m • Lightly draw lines perpendicular to the remainder of the Dispersion Area. August 2003
Dispersion Area Distance X 3200m Area H • Draw tic marks at 750m. • Draw straight lines through the tic marks parallel to the sides of the Dispersion Area. August 2003
Dispersion Area Distance X 3200m Area H • To locate the corner limits of Area A, set the needle of the compass on the corners of the Dispersion Areas and scribe an arc between the limits of Areas A and B. August 2003
Dispersion Area Distance X 3200m Area H • To locate the downrange limit of Area B, set the needle of your compass the firing point and scribe an arc through the tic mark between the limits of Area B. August 2003
Dispersion Area Distance X 3200m Area H • This completes Areas A and B. August 2003
Area B Dispersion Area Distance X 3200m Area H Area A • This completes Areas A and B. • Annotate on the legend. • Erase any unnecessary lines. August 2003
Area B Dispersion Area Distance X 3200m Area H Area A • This completes Areas A and B. • Annotate on the legend. • Erase any unnecessary lines. August 2003
Area I • Area I is the Area immediately in front of certain missile weapon systems designated as the initial zone of impact for “eject-only” firing events. Area I may not be occupied under any condition or deviation. August 2003
Area B Dispersion Area Distance X 3800m Area H Area A • The measure-ment for Area I is 800m. • Make a tic mark on the line of fire 800m from the firing point. • From the firing point, scribe an arc between the left and right limits of the Dispersion Area using 800m as the radius. August 2003
Area B Dispersion Area Distance X Area I 3800m Area H Area A • This completes Area I. • Annotate Area I on the legend. August 2003
Area F There are three parts to Area F. • The Primary Danger Area is a 90° cone with the apex of the cone centered at the rear of the missile launcher having a radius of 50m. • Caution Area 1 is an area extending radially from each side of the primary danger Area to the firing line with a radius of 50m. • Caution Area 2 is an extension of the primary danger Area with a radius of 75m. August 2003
50m 75m Note: Scale for Area F is 1:500 • Locate the launch point and the baseline. • From the launch point, extend the missile target line 75m, the measurement of Caution Area 2. • From the launch point, place a tic mark at 50m from the baseline. August 2003
45° 45° 50m 75m • Scribe an arc from the 50m tic mark to the left and right sides of the baseline. • From the launch point, measure 45° from the baseline. August 2003
45° 45° 50m 75m • Draw tic marks. • Draw straight lines through the tic marks to a length of 75m. August 2003
50m 75m Caution Area 1 Primary Danger Area Caution Area 2 • Scribe an arc to form a cone. • Annotate the Primary Danger Area. • Annotate Caution Area 1. • Annotate Caution Area 2. August 2003
Legend for the TOW August 2003