Download
1 / 18
180 likes | 400 Vues
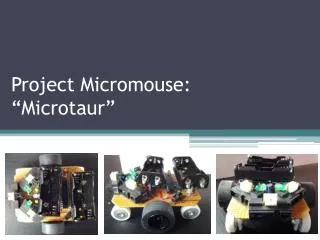
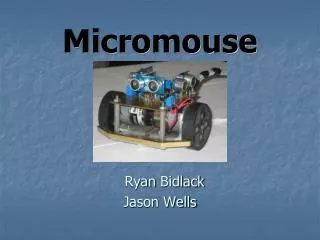
Micromouse Meeting #4 Lecture #3 Sensors. Signals. We deal with voltage signals Sensors convert environment data to electrical signals Output: Voltage Input: Time/Distance/Whatever. Move Receiver around. Use sensors for:. Cell Counting. Wall Detection. Accurate Turning. IR LED Sensors.

E N D
Signals • We deal with voltage signals • Sensors convert environment data to electrical signals • Output: Voltage • Input: Time/Distance/Whatever Move Receiver around
Use sensors for: Cell Counting Wall Detection Accurate Turning IR LED Sensors Gyro Rotary Encoder *Covered in Meeting #3 Powerpoint
Rotary Encoder *Covered in Meeting #3 Powerpoint • Used to measure distance traveled • Two major flavors • LED emitter/receiver pair with optically marked disk • Hall effect sensor with magnetically marked disk
Infrared LED Sensors • One emitter/receiver pair can be used to detect walls in one direction • Use infrared light to avoid visible ambient light interference LEDs emit light with luminance dependent on voltage/current. They work the other way too
Receiver Types • Custom sensors • Emitter-Receiver pair required • Can be specially chosen for your needs • Requires an IR LED Driver circuit: Darlington Driver IC • Narrow emission angle is necessary in LEDs • Potentially more accurate, but can be harder to calibrate • Sharp sensors • Model GP2Y0A21YK • Pre-made and assembled • Very easy to use, but they are bulky • Provides single analog output to use • Slow response time
Choosing LED Emitters/Receivers Two Important Characteristics: How sharp of an angle the LED emits light at How brightly the LED emits
Choosing a LED Emitter Look for narrow emission angle • Maximizes power efficiency • Maximizes signal amplitude received by the receiver Also indicated by “viewing angle” This angle should be small Power Density • Measures light intensity/solid angle • In data sheets, often measure in mW/sr • Higher means more light emitter/better • Check datasheet for directivity graphs, which show intensity vs. angle
Choosing a LED Receiver • Match emitter wavelength with the receiver’s most sensitive wavelength • Receivers also have directivity – minimize this • Reduces interference from other IR light sources • Most common wavelengths are 850 nm and 950 nm • Check datasheets for this information This receiver is most sensitive to 950 nm light This emitter emits most at 940 nm IR LED emitters and receivers are often sold together and are wavelength-matched already Receivers also have directivity – Look for narrow ellipses
LED Emitter/Receiver • Need at least 3 pairs to detect walls in front and sides • 4 or more is recommended for calibration • 2 to detect side walls • 2 pointing front to detect front walls and front wall alignment • Used to straighten the mouse
IR LED Data • Get distance to wall by reading the voltage output of the receiver • Read the voltage output with MCU • Relate Voltage output with distance • LEDs are nonlinear • Find the relation experimentally
Gyroscope • Optional, but highly recommended • Encoders can be used to measure angular velocity instead • But they are less accurate and susceptible to wheels slipping • Used to measure rotation of the mouse • Needs stable power source • Otherwise, lots of noise generated Gyros output angular velocity about a axis SMD on breakout board style SMD style
Choosing a Gyro Only need to measure one axis • Analog or digital output: MCU can handle either • Most important characteristic: Range • Typically measured in degrees/second • What range you need depends on how fast your mouse spins • +- 1000 degrees/second is plenty
Gyro Data • Analog output: • When not turning, voltage is half of maximum • Turning clockwise/counterclockwise will change the output positively/negatively, depending on specific gyro • Digital output: • Uses a serial scheme such as I2C or SPI • Same output as analog output, but numbers are encoded digitally (bits) For this analog gyro: Turning counterclockwise decreases voltage Turning clockwise increases voltage
Gyro Data Processing • Gyros measure angular velocity • Integrate angular velocity to get angular position (which is more useful to know) • Gyro output is recorded as discrete samples, so the integration is a summation
Gyro Data Processing • Relate voltage output summation with angle • Can be done experimentally • Non-ideality:Gyro drift • Gyros do not measure angular velocity perfectly • Integration of the velocity result in an error that increases linearly over time • Measure the error and subtract it out • We’ll cover how to do this next time
Future Things • Algorithms! • EAGLE tutorial next week • Learn how to design printed circuit boards in EAGLE • Hosted by our Projects Manager Julian Brown • Nov. 14, 6 PM, location TBD