Download
1 / 18
180 likes | 188 Vues
Learn about the fascinating world of biology and the study of microscopic organisms through this interactive activity. Discover the correct order of size from largest to smallest and explore the use of light microscopes and electron microscopes. Gain a deeper understanding of microscopy and learn how to properly use a microscope.

E N D
The study of Biology involves the study of a lot of things that can’t be seen without the aid of a microscope. Activity #1: http://learn.genetics.utah.edu/content/begin/cells/scale/ Determine what you think the correct order of the items is: Biggest (1) to Smallest (9). Getting some Perspective
coffee bean grain of salt amoeba paramecium human egg cell skin cell red blood cell sperm cell baker's yeast mitochondria E. coli bacteria Influenza virus ribosome antibody hemoglobin phospholipid glucose adenine carbon atom Solution for Coffee to Carbon
Light microscopes Light (or optical) microscopes use lenses to project a magnified image of an object onto the eye. Magnificationis a measure of how many times bigger the image is than the object: size of image actual size of the object magnification = Light microscopes are limited to a magnification of 1500× by their resolving power (resolution). This is a measure of their ability to distinguish between two separate points. A light microscope cannot resolve two points that are closer than half a wavelength of visible light (250nm).
Two views of the Ebola virus http://connect.in.com/ebola/photos-ebolavirusundermicroscope-1190603392496.html
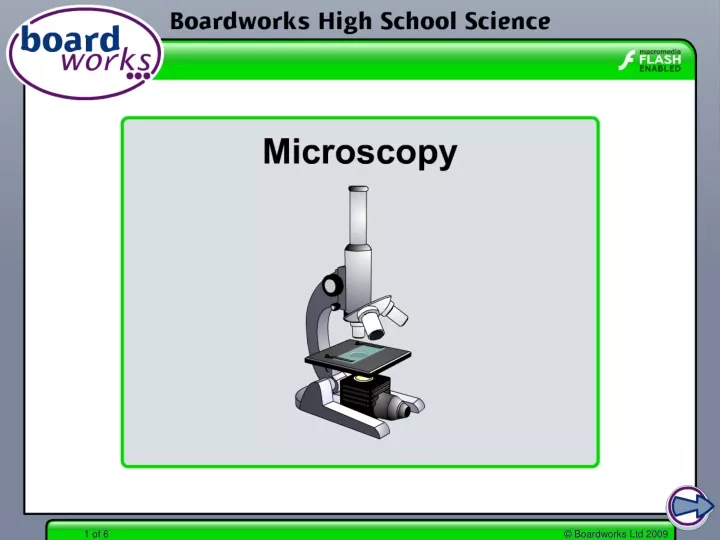
Optical, or light, microscopes are what you’ll be using in class to observe cells. More about Light Microscopes
Preparing a specimen for microscopy Electron microscopes contain a vacuum, as air particles would interfere with the beam of electrons. Water boils at room temperature in a vacuum, so the specimen must be dried out completely (dead). Optical microscopes can be used to view living specimens. Colored dyes (stains) can be used to make specific structures more visible under a light microscope.
ALWAYS carry a microscope with 2 hands. One under the base and one holding the arm of the microscope. Proper Use of the Microscope: Important!
Orient the microscope so thestage is facing you, not the microscope arm. Turn/twist the eyepiece around so it is angled toward you. The focus knobs will be on your right. Turn on the light. Rotate the nosepiece to put the scanning power objective lens in place, centered over the hole in the stage. The shortest lens; the lowest magnification power. Total magnification = eyepiece lens x objective lens Proper set-up and use of the microscope
10x rotate 4x, 10x, 40x
Place the glass slide under the stage clips, center the specimen. Visually place the “specimen” on the slide over the small circle on the stage where light shines through. Look through the eyepiece. Use the coarse adjustment knob to move the stage and bring the “specimen” into focus. The diaphragm under the stage adjusts the amount of light coming through.
Moves the stage Light
Turn the nosepiece to center the low power objective over the slide. It must “click” into place. Use the fine focus adjustment knob to bring the specimen into focus. If directed, when you go to high power, only use the fine focus adjustment! If the specimen goes out of focus, back up to low power or even scanning power and start again.
Making a “wet mount” 1-2 drops of water or stain put over the specimen. Put coverslip down at a 45° angle and slowly lay it down. Wick away any excess liquid.