Download
1 / 30
300 likes | 319 Vues
This project aims to consolidate and develop existing practices by creating a quick start guide to Working Walls, promoting the learning journey approach. Working Walls are interactive displays situated close to the teaching area, storing information, ideas, and facilitating collaboration among students. This guide provides tips and ideas on how to effectively use and adapt Working Walls in various subjects.

E N D
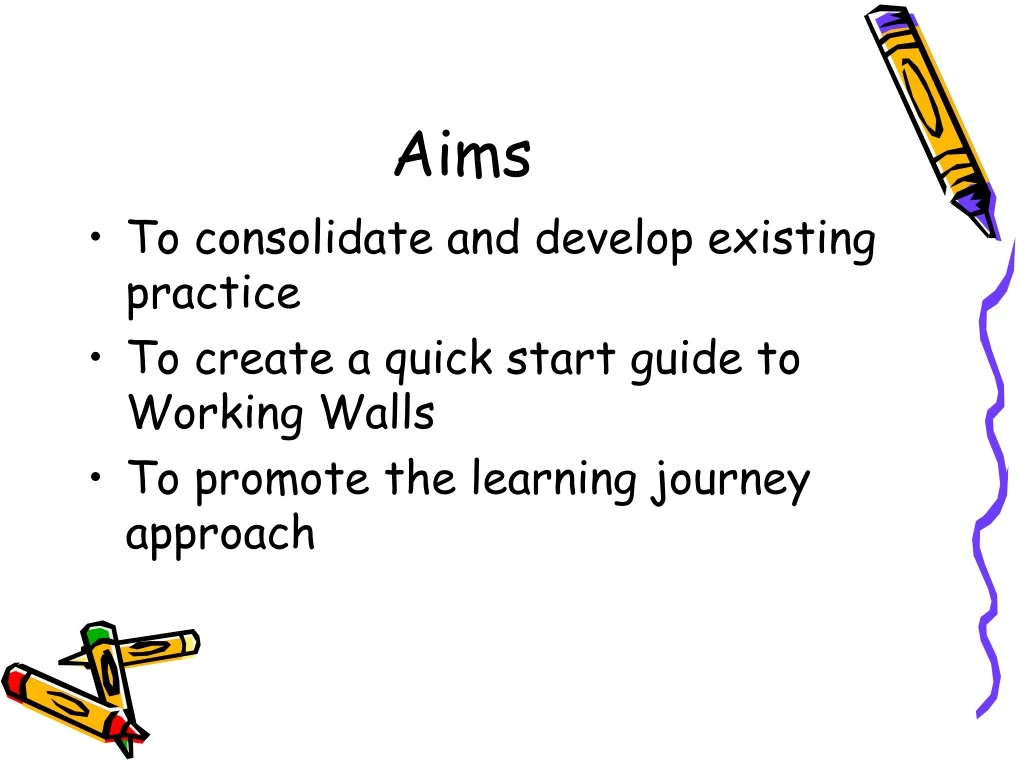
Aims • To consolidate and develop existing practice • To create a quick start guide to Working Walls • To promote the learning journey approach
What is a Working Wall • A WORKING WALL IS : • Situated close to where I most often teach • A place where children can find key information about their current learning • Added to over a series of lessons • A place where anyone can make a contribution • A storehouse of information and ideas – vocabulary, guidance, images, diagrams • Frequently changed to be current • Adapted to suit purpose
Working Wall part 2 • A place to display targets • Explicit acknowledgement of children’s contributions • A place that has visual impact • Confidence building • Constantly used and referred to • A place for planning / structure of children’s work • A teaching aid reinforcing teaching points
Block D (year 5 or 6) • Calculating, measuring, understanding shape
Your wall may start the block with very little on it, apart from key vocabulary. However, it may start with relevant models and images displayed.
Have key vocabulary on removable cards. Hand these to children when asking for full sentence answers
You may also wish to show examples of maths vocabulary in full sentences.
Link current work to previous skills taught in this block by using string
WAGOLL What AGood One Looks Like
Photocopy examples of children’s work as the unit progresses. Blu-tac onto laminated WAGOLL sheets
Lots of WAGOLLs may go up on a particular day. However, most of them would be removed as the wall develops on subsequent days.
If a child shows their understanding through dialogue, write their statement onto a speech bubble and add to the wall.
Photograph each of the children. Cut out their head shots. Keep their photos in a plastic wallet attached to the wall. As their work is added to the working wall, display their picture next to their WAGOLL or speech bubble.
Models and images are still needed, no matter the age or ability of the child.
Use glue or blu-tak to secure post-it notes to prevent them falling off.
Plan for children to use self and peer assessment to evaluate work against process success criteria (success steps)
Take screen shot photos of any useful models or images. Print and put on the working wall
Do not leave process success steps up permanently. Encourage children to refine the steps, gradually removing them altogether
Decide which aspects of the working wall should move to the permanent maths display at the end of the block
Consider beginning the unit of work by introducing the ‘Big maths problem’ that will be solved at the end of the unit. Put the problem on the working wall. Unpick the skills needed to solve the problem. Add to the wall with each new skill. This ‘Learning Journey’ approach helps children to see a purpose for gaining new maths skills.
Lets make a Working Wall! • What hook can we use to engage the children? • What will the grand finale be?
Habitats • What do you already know? • I wonder…………. • Choose one animal and write down 5 things about it… • Box it up…… • Put into a picture stimulus….. • Write a report about it………