Download
1 / 11
120 likes | 324 Vues
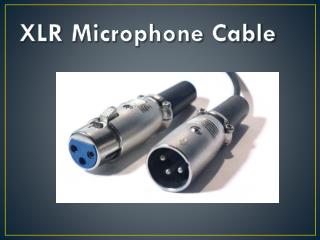
XLR Cables. How to assemble your own XLR in 10 easy steps!. 1. Cut a length of cable. 2. Slide a shield over the end of the Cable. 3. Strip the end of the rubber of off the wire. 4. Separate the shield (ground) wires from the hot and cold wires. Strip the ends of the hot and cold.

E N D
XLR Cables How to assemble your own XLR in 10 easy steps!
4. Separate the shield (ground) wires from the hot and cold wires. Strip the ends of the hot and cold.
5. Position the wire and the XLR head (male) into the clamp. Get ready to solder!
6. Place the shield (ground) wire into receptor No. 1 and solder into place
7. Repeat the process for the hot and cold wires; the red (hot, +) solders to receptor No. 2, and the black (cold, -) to No. 3.
8. Repeat steps 2 through 7 for the other end of the Cable (female)
9. Check connections. Test each contact on one end with each contact on the other (9 tests). There should only be a reading for like connections (hot-hot, cold-cold, ground-ground).
10. Screw the shields onto the XLR heads, hold the cable proudly, and admire your work!