Download
1 / 26
260 likes | 396 Vues
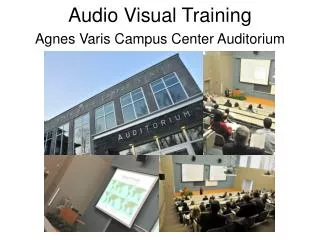
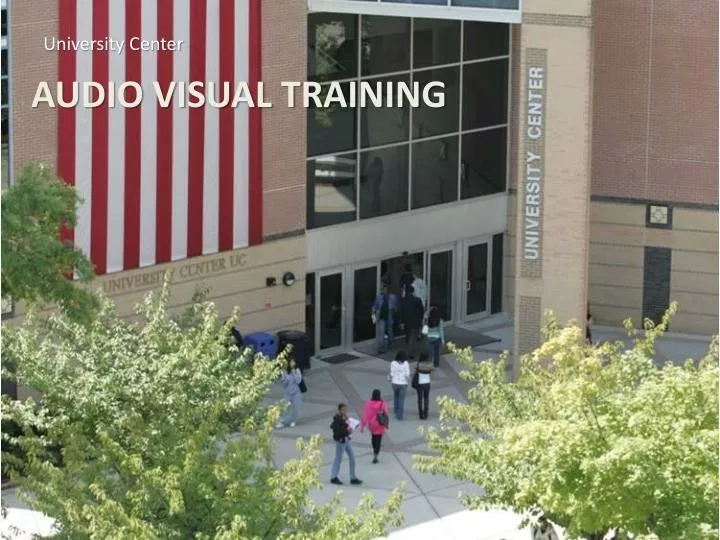
University Center. Audio Visual Training. LCD Projector/Built In Screen Laptop Connection (VGA Cord) Control Panel Black Box (DVD/VCR inside). University Center. Black Box Equipment in class. University Center.

E N D
University Center Audio Visual Training
LCD Projector/Built In Screen • Laptop Connection (VGA Cord) • Control Panel • Black Box (DVD/VCR inside) University Center Black Box Equipment in class
University Center Use the key provided by the University Center front desk to unlock the black box. Turning on A/v System
Once the black box is open, pull out the drawer located inside and you’ll find a VGA cord, plug it into your laptop. If you have a Mac laptop use your VGA adapter. University Center Turning on A/v System
University Center *Turn Master Switch on inside the black box. Turning on A/v System *Master Switch will light up red if it is in the ON position.
University Center • Press the “ON” button located on the top left hand side of the control panel and the projector will begin turning on. Turning on A/v System
University Center Once the projector is completely on, press the “PC” button on the control panel and your laptop will project onto the screen. Projecting a laptop
If your PC laptop does not project onto the screen, press and hold the “FN” key located on the bottom left hand side of your laptop’s keyboard. While holding the “FN” key press the “F8” key if you have a Dell laptop. “ F4” key if you have an HP laptop. or “F5” key if you have a Toshiba/Sony laptop. Then release them both at the same time. University Center Projecting a Laptop
If your Mac laptop does not display go into your System Preferences and double click “Displays”. When Display window opens, click “Detect Displays”. Then click on the “Arrangements” tab. After Arrangement Tab opens check the box in the bottom left hand corner that says “Mirror Displays”. University Center Projecting a laptop
University Center To adjust the volume coming from your *laptop press the “VOL +” and “VOL –” buttons on the right hand side of the control panel. Projecting a Laptop *Please note, volume must also be turned up on your laptop to receive sound.
University Center To play a DVD, turn on your DVD/VCR combo player by pressing the “Power” button on the bottom left hand corner of the player. Projecting a DVD
Press the Eject button next to the DVD player to open it. Place DVD in player with label up. Push the Eject button again to close and load the DVD player. University Center Projecting a DVD
University Center Press the “DVD” button on the right hand side of the control panel to have projector display the DVD player. Projecting a DVD
There are 3 ways to control your DVD: Use control buttons located on the bottom of Control Panel. 2. Use control buttons located on the DVD player itself. 3.Use the remote located in the Black Box drawer if there is a menu you need to navigate through. University Center Projecting a DVD
To adjust the volume coming from the DVD press the “VOL +” and “VOL –” buttons on the right hand side of the Control Panel. University Center Playing a DVD
To stop the DVD press the STOP button located on the bottom left hand corner of the DVD player. Press the “Eject” button to retrieve your DVD. University Center Playing a DVD
University Center To play a VHS, turn on your DVD/VCR combo player by pressing the “Power” button on the bottom left hand corner of the player. Projecting a VHS
University Center Put your VHS tape into the slot on the right hand side of the player. Projecting a VHS
University Center Press the “VCR” button on the left hand side of the control panel to have projector display the VHS tape. Projecting a VHS
There are 3 ways to control your VHS: Use control buttons located on the bottom of Control Panel. 2. Use control buttons located on the VCR player itself 3.Use the remote located in the Black Box drawer. University Center Projecting a VHS
To adjust the volume coming from the VHS press the “VOL +” and “VOL –” buttons on the right hand side of the control panel. University Center Projecting a VHS
To stop the VHS press the STOP button located on the bottom left hand corner of the VCR. Press the “Eject” button to retrieve your VHS. University Center Projecting a VHS
To turn off the A/V System press the “OFF” button located on the top left hand corner of the control panel twice. University Center Turning oFF the A/v System
Turn off your laptop, disconnect it from the VGA cord and you have completed shutting down the A/V system. Please place back all items removed from the drawer. (remotes, VGA cord, etc). University Center Turning oFF the A/v System
University Center Lock the Black Box and return the key to the University Center front desk. Turning OFF A/v System
Office Phone: Ext. 76120 • Office Email: avt@kean.edu • Office Location: Technology Building Room 110 • Office Website: http://www.kean.edu/~avt/ University Center Audio Visual Contact info This presentation was created by Katherine Roba kroba@kean.edu ~ 908 737 6122