Download
1 / 4
40 likes | 151 Vues
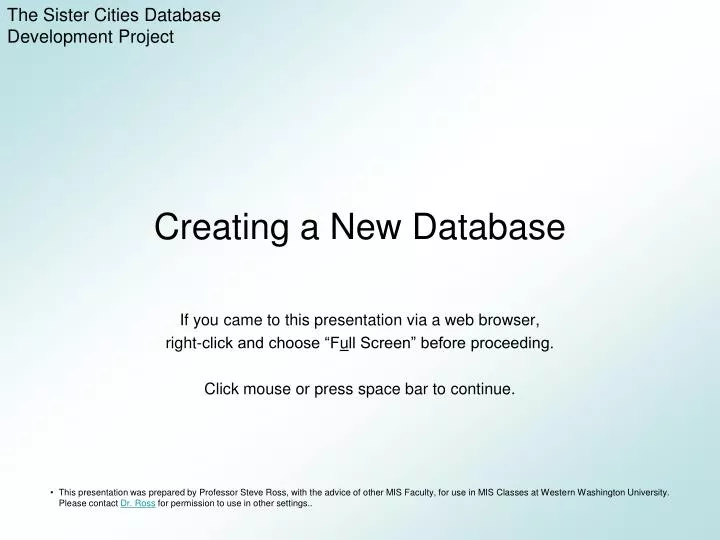
The Sister Cities Database Development Project. Creating a New Database. If you came to this presentation via a web browser, right-click and choose “F u ll Screen” before proceeding. Click mouse or press space bar to continue.

E N D
The Sister Cities Database Development Project Creating a New Database If you came to this presentation via a web browser, right-click and choose “Full Screen” before proceeding. Click mouse or press space bar to continue. • This presentation was prepared by Professor Steve Ross, with the advice of other MIS Faculty, for use in MIS Classes at Western Washington University. Please contact Dr. Ross for permission to use in other settings..
Logging into the DSCI Student DBMS Before you can log in, your instructor will need to create your account. • Open Management Studio and connect to the database engine • Enter the DBMS (server name) as shown in the illustration • Click Connect
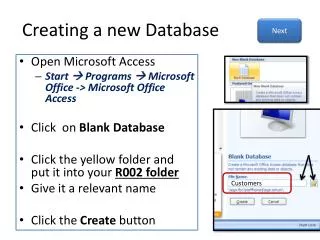
Creating a New Database • Open Management Studio and connect to the database engine • Right-Click Databases, choose New Database… • Enter Database name • Click OK
Assign Users to DBO Role (Note: students no longer have the required permissions to carry out the following steps. Your instructors will do this for you at the beginning of the lab. However, in the meantime, you can continue to work on the project, if the student who created the database is logged in.) • Expand Security; then Logins • Right-click user name, choose Properties • On User Mapping page • Select the database • Select db_owner role