Download
1 / 30
340 likes | 554 Vues
Programmable Robotic Painting Arm. Presented by: Chincholkar Apoorv R. Joshi Sanket S. Gore Rigved B. Project Guide: Mr.M.D.Patil. Index. Project Theme Literature Survey Block Diagram System Overview Module Testing Work Plan. Project Theme.

E N D
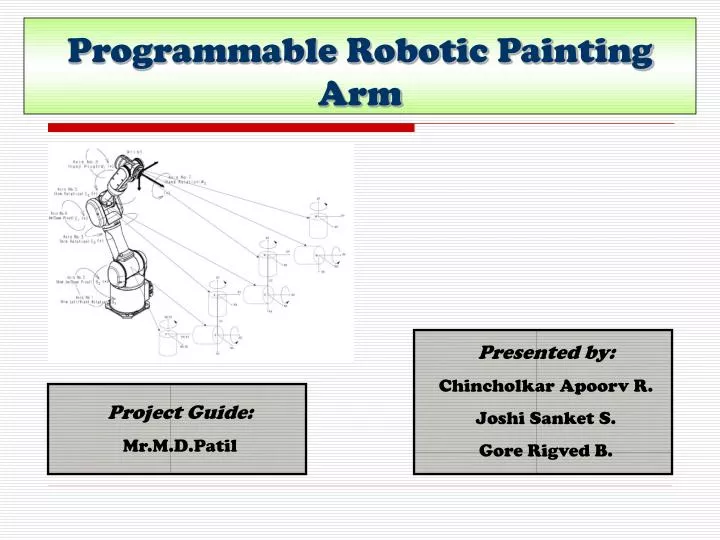
Programmable Robotic Painting Arm Presented by: Chincholkar Apoorv R. Joshi Sanket S. Gore Rigved B. Project Guide: Mr.M.D.Patil
Index • Project Theme • Literature Survey • Block Diagram • System Overview • Module Testing • Work Plan
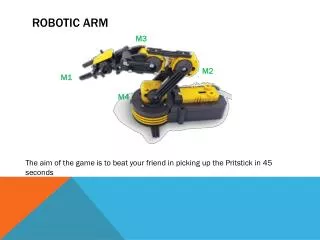
Project Theme • A robotic painting arm, which can paint given object. • This robotic arm can be programmed by guiding it, by user as per his needs. • Once guided properly, it stores the coordinates in EEPROM, and work accordingly afterwards. • Advantage of this robot is repeatability, time saving, ease of operation and higher degree of accuracy with minimum initial investment.
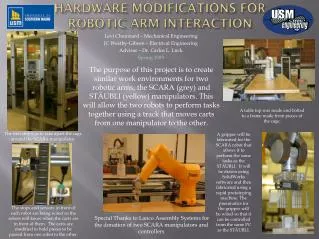
Literature Survey • Leading car manufacturing companies use advanced robotic systems for paint job. • These robots are controlled by CNC systems. • Companies like Honda, Hitachi, FANUC, Kawasaki and Motoman build painting robotic systems. • Paint material used can be powder based, oil based or water based.
Block Diagram Painting Tool Solenoid Valve Micro Controller ATMEGA AVR Position Encoders Motor Driver Motors EEPROM
System Overview • Two modes: ( I ) Training Mode ( II ) Repeat Mode ( I ) Training Mode: In this mode the robotic hand can be guided by a skilled person, only for one time. All the movement is then stored in EEPROM as coordinates. • ( II ) Repeat Mode: • Robotic painter simply manipulate the arm according to the data stored in EEPROM.
Module Testing • Hardware modules • Stepper Motor Driver • I2C EEPROM bank • Software Modules • Stepper motor movement with pre-stored user data • Starting position locator using limit switch • LCD display in 4 bit mode • I2C bus - EEPROM communication
Stepper Module in robotics • Relative positioning is very precise • Constant speed • Motor can be locked at any position. • Available in various size and packages • Easy to interface • Easily available
STEPS IN STEPPER MOTOR • Full step One coil is energized at a time. • Half step Two coils are energized to get rotor in between step. • Micro step Two coils are energized at different current levels.
A 4 B 3 C 2 D 1 comment 1 0 0 0 start here 1 1 0 0 half a step clockwise 0 1 0 0 complete the first full step clockwise 0 1 1 0 another half step 0 0 1 0 complete that step 0 0 1 1 another half step 0 0 0 1 complete that step 1 0 0 1 final half step 1 0 0 0 back to the starting position HALF STEP SEQUENCE
Testing method : Stepper module • Create an instance of the stepper class, specifying the number of steps of the motor and the pins it's attached to using Stepper(steps,pin1,pin2,pin3,pin4) function. • Set the speed of the motor to required RPMs using SetSpeed(RPM). • Until the limit switch is open, keep motor rotating slowly in anti-clockwise direction using step(no. of steps) function. • On closing the limit switch start taking values from predefined array & perform the steps accordingly.
EEPROM MODULE • EEROM is essential for storage of data files. A data file contains no. of steps to be performed for each motor as well as file name. • EEPROM used in this project is I2C bus driven EEROM IC AT24LC512 which comes in 8-pin DIP package. • Memory size available is 512Kbits which translate in to 64Kbytes of usable memory. • Up to 8 similar EEPROMs can be tied on a single 2 wire I2C bus using address arbitration.
Testing method : EEPROM • Assemble the circuit on breadboard. • Connect a potentiometer to the ‘analog 0’ pin of arduino. • Write a program to take the values from ADC, and store then into EEPROM at the rate of 50 samples/sec. • Hence, WRITE operation is performed here. • Next step is to READ the stored data. The data is read, and the output is given as analog output, in the form of PWM wave. • An LED can be connected to this pin, to see the output. • This program was implemented, and tested successfully.