Download
1 / 18
220 likes | 571 Vues
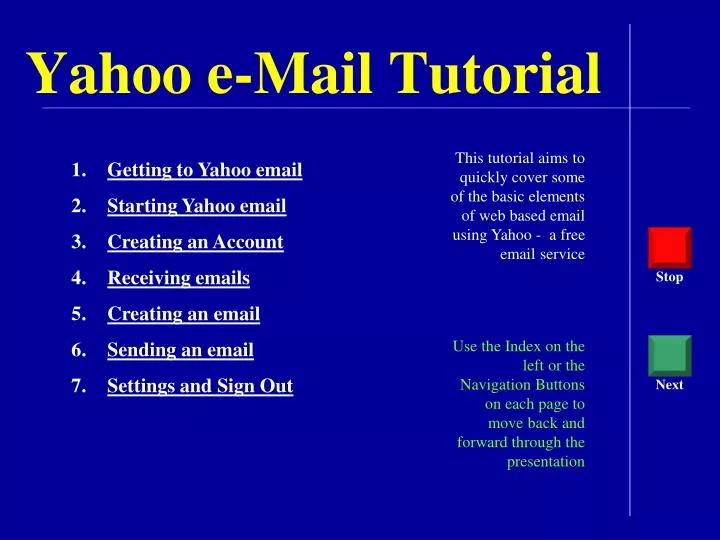
This tutorial aims to quickly cover some of the basic elements of web based email using Yahoo - a free email service Use the Index on the left or the Navigation Buttons on each page to move back and forward through the presentation. Getting to Yahoo email Starting Yahoo email

E N D
This tutorial aims to quickly cover some of the basic elements of web based email using Yahoo - a free email service Use the Index on the left or the Navigation Buttons on each page to move back and forward through the presentation • Getting to Yahoo email • Starting Yahoo email • Creating an Account • Receiving emails • Creating an email • Sending an email • Settings and Sign Out Yahoo e-Mail Tutorial Stop Next
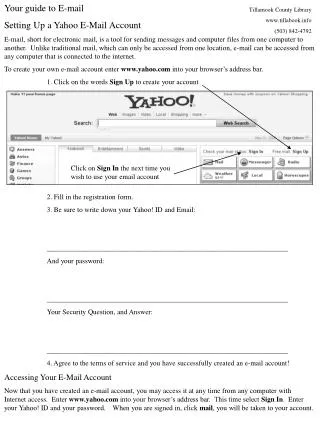
Getting To Yahoo Mail Type www.yahoo.com.au into the address bar of your browser. This will take you to the Yahoo site Note: the address will appear as http://au.yahoo.com Click on the either the “Yahoo7 Mail” button or the "Mail" icon to begin
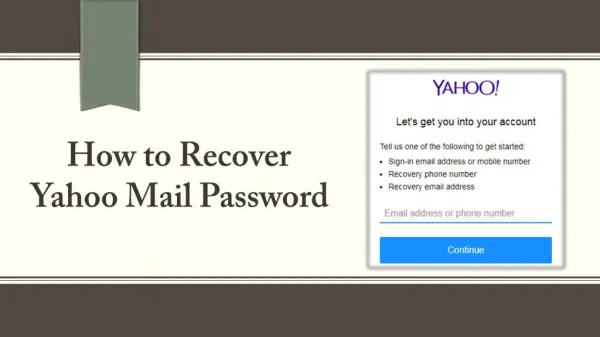
Starting Your Mail If you have an account, type your ID and password in here and then click the “Sign In” button Make sure you have the “Stay signed in” box UNCHECKED – especially if you are using a public computer If you do NOT have an account, click on the “Create New Account” button
Creating an Account (1) Fill in the required information Tip: Use the TAB key on the keyboard to move to the next box – this way you will not miss anything 1. Click in the box and type in your first name. Then, in the next box, type your last name: Tip: for security reasons do not use your real surname – instead, use the first 3 or 4 letters or make something up 2. Select and type in a Login Name - this will be your Yahoo identity and will form part of your email address 3. Then click on the “Check” button
Creating an Account (2) It is possible that the name you have chosen may be unavailable If it is not available you can either: a) choose one of the suggested names by clicking on the name or b) try typing another name Tip: choose carefully because this will be the name of your email address Click the “Check” button again until you find an available name
Creating an Account (3) Here we have tried a few alternatives until we have found the name “petbur15” to be available 4. You will now need to create a password for your accountTip: try to think of a password that you will easily remember
Creating an Account (4) You will need to type a password with a minimum of 6 characters, preferably a combination of letters and numbers. For security purposes, the characters that you type will not be visible Tip: write down your password straight away so you don’t forget it As you type your password, Google will tell you whether your password is weak or strong 5. You will need to re-type your password to verify that you typed it correctly the first time
Creating an Account (5) 6. You will now have to establish two security questions This is required to recover either your password or account name should you ever forget either of these You can choose either a suggested Security Question or you can write your own question(s) Click on the “selector arrow” for the drop down menu to appear
Creating an Account (6) Select the question you would like to use by putting your mouse pointer over the suggested Security question and then clicking the mouse button or Click on the “Type your question here” option and type in your own question Type the answers to your security questions in each of the “Your Answer” boxes
Creating an Account (7) 7. You will need to complete the Verification process This is required to ensure that you are actually a real person completing the form Click on “Audio code” if you find the writing too hard to understand This involves typing the distorted characters in the image into the box beneath Tip: Be careful to type the characters correctly otherwise your submission will be rejected and you may have to fill the entire form again. wtvhz47 8. Finally, when you are sure everything is alright - click the “Create My Account” button
Creating an Account (8) If your application is rejected like this example, don’t worry. This often happens on the first attempt. Yahoo will highlight, in red writing, the parts which need to be corrected The verification characters are sometimes hard to recognise. They are meant to be difficult to recognise for security reasons. Don’t worry, just try typing them again. Note: the verification characters will change upon every re-try.
Creating an Account (9) This page reports back all the information that you have provided CHECK IT CAREFULLY and make sure that you have indeed typed what you thought - especially your Yahoo ID When you are satisfied that everything is correct, click on the "Continue" button Uncheck this box if you do not want to receive advertising emails Note: your email address isyour_yahoo_id@yahoo.com.au
Receiving emails This row of options will help you “manage” your emails Click on "Inbox" to view a “list” of emails you have received These are the emails you have received. They can be opened by clicking on any of the text Note: any darkened text indicates that the email has not yet been opened.
Creating an email (1) Click on the “Compose Message” button to create a new email Insert the Subject (or Title) of your email in this space Start writing your email by clicking in this area
Creating an email (2) Click on “Attachments” to add any documents you wish to send with your email Use the “Save as Draft” button if you need to leave an unfinished email to complete later Click on “Check Spelling” to word check your email Use these buttons to format your email
Sending an email Click the “Send” button when you have completed and checked everything Insert the email address of the person/s you wish to send an email Tip: Do this at the very end to ensure that you do not accidentally send the email before you have finished Use the “Cc” and “Bcc” buttons to add other recipients for your email
Settings and Sign Out It is wise to click on the "Sign Out" option when you are certain you are finished, especially if you are on a public computer Click on the “Options” button to modify your email settings
Have Fun Previous Experiment Stop Index Enjoy