Download
1 / 8
80 likes | 228 Vues
Removal of Radiance Neph. Disable the humidifier power remove water reservoir at top of neph disconnect power, computer and sensor cables disconnect and cap inlet disconnect outlet undo bolts on top plate undo screws on bottom plate slide neph out of bracket (holding on to bottom plate)

E N D
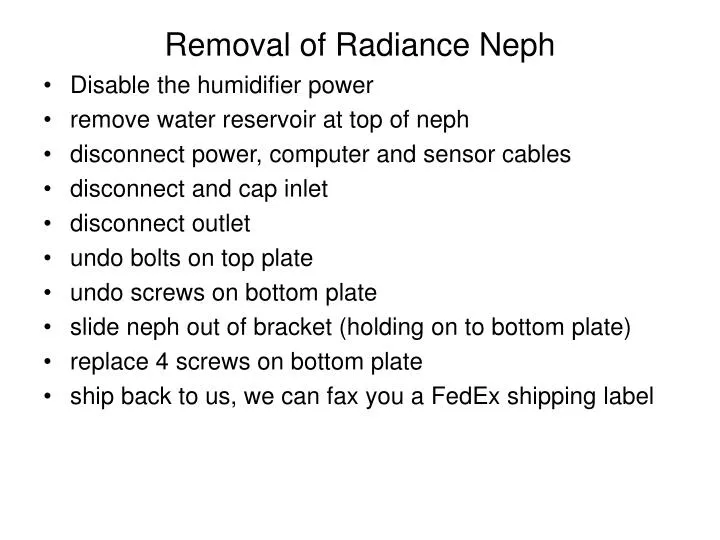
Removal of Radiance Neph • Disable the humidifier power • remove water reservoir at top of neph • disconnect power, computer and sensor cables • disconnect and cap inlet • disconnect outlet • undo bolts on top plate • undo screws on bottom plate • slide neph out of bracket (holding on to bottom plate) • replace 4 screws on bottom plate • ship back to us, we can fax you a FedEx shipping label
Disable Humidifier Power make sure this breaker is pulled out, and remains pulled out while humidifier is disconnected
remove two screws from top plate for water reservoir. You’ll need a Phillips head screw driver and 3/8” wrench. Phillips head screws may need to be replaced. Attach screws to reservoir holder so that they don’t get lost. screws
disconnect sensor, power and computer cables sensor cables Power Cable 9 pin computer cable
detach the inlet to the humidifier with a 7/8” wrench. inlet flow meter on outlet • detach the outlet to the RH sensor and flow meter with a 7/8” wrench
Cap the inlet with a ½” cap. there should be a plastic container with pipe fittings in the blue Rubbermaid container that has a cap that will fit on the inlet tube to the small neph. inlet fitting with sensor Cap
undo 4 bolts (need 3/8” wrench and 3/8” socket wrench) from the instrument square plate and the top angle brackets. tools are in bottom shelve of white plastic shelf case w/wheels Bolts
Remove 4 screws from base plate of instrument (will need a Phillips head screw driver) remove screws in bottom of plate through instrument base Carefully remove neph from rack supporting the bottom plate so that it doesn’t fall out. replace 4 Phillips head screws into the instrument bottom plate