Download
1 / 17
170 likes | 372 Vues
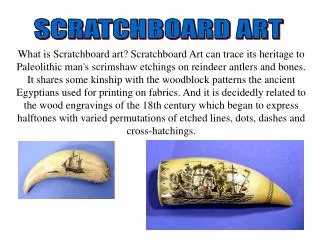
How to Make a Scratchboard Radial Design. Materials. Compass Pencil Ink Pen Sharpie Computer Paper Scratchboard Etching Tools. Step 1. Fold one sheet of computer paper in half (hamburger) Fold it again (hot dog)

E N D
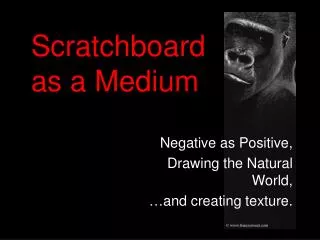
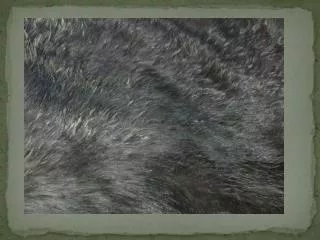
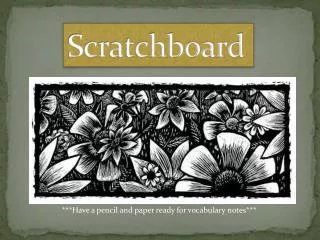
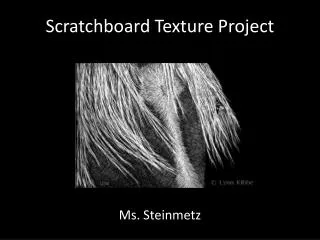
How to Make a Scratchboard Radial Design
Materials Compass Pencil Ink Pen Sharpie Computer Paper Scratchboard Etching Tools
Step 1 • Fold one sheet of computer paper in half (hamburger) • Fold it again (hot dog) • Open it up- you should have folds that cross in the exact center of your paper
Step 2 • Use a compass to draw a LARGE circle • To do this, place the gold brad in the center of the paper where it folds. Place a pencil in one of the holes near the edge of the paper. Draw a circle that fills the page. Use the hole that is one hole past the 4” radius mark.
Step 3 • Fold the paper again the way you did before (hamburger then hotdog) Make sure y our circle lines up evenly!!! • Then fold the paper in half again, this time from the center- dividing your circle into 8 even sections • Open up the paper
Step 4 • Your paper should have a circle that has been divided by folds into 8 even sections. • Outline 1/8th (or one section) of your circle with ink pen CAREFULLY
Step 5 • Lay a second piece of computer paper on top of the first. • Trace the 1/8th Section onto the second paper
Step 6 • Set the paper with the circle aside • CAREFULLY cut out the 1/8th wedge • CAREFULLY and PRECISELY fold the 1/8th wedge in half from tip to top (it must be EXACT) • Open it again to see the fold
Step 7 • Draw a design on ½ of the triangle in pencil **Note: you need to plan to shade/decorate your design with hatching and crosshatching. Keep this in mind when your make your design!
Step 8 • Fold the design over again so that the drawing is inside the triangle. • Hold the drawing up to a window so you can see through the paper and see the design • Trace the design with a pen while holding the paper to the window- push hard!
Step 9 • Open the paper. • The pencil should have rubbed off onto the other side of the triangle making a symmetrical design • Go over the entire design with a thin sharpie
Step 10 • Place the original piece of paper (the one with the circle) on top of the paper with the 1/8th drawing • Hold them up to a window • Trace the segment 8 times, filling the entire circle with the radial design
Step 11 • Get a piece of scratchboard from the teacher (YOU ONLY GET ONE- BE CAREFUL!)
Step 12 • Lay the computer paper with the completed circle on top of the scratchboard • Center it! • Use a pen to go over all of the lines- throughout the entire design • This will impress (or leave indentations) the design onto the scratch board.
Step 13 • RENT a scratching or etching tool from the teacher • RENTING: where the student trades in either a student ID or a shoe for a tool • Students MUST return their tools at the end of the class period
Step 14 • Use the scratch tool to scratch out the design • Each student MUST use HATCHING and/or CROSSHATCHING to shade and enhance their project
Step 15 • Create a pattern to fill the additional space outside of the circle • Emboss it into the scratch board • Scratch it out with a tool