Download
1 / 3
50 likes | 551 Vues
Creating a Multiview Drawing. A step-by-step approach. Draw Isometric First. Begin by drawing a 3D box Make sure all lines are parallel to other lines on the box (Lines should only be at 3 angles) Fill in construction lines to make shape Darken in the object lines. Begin the front view.

E N D
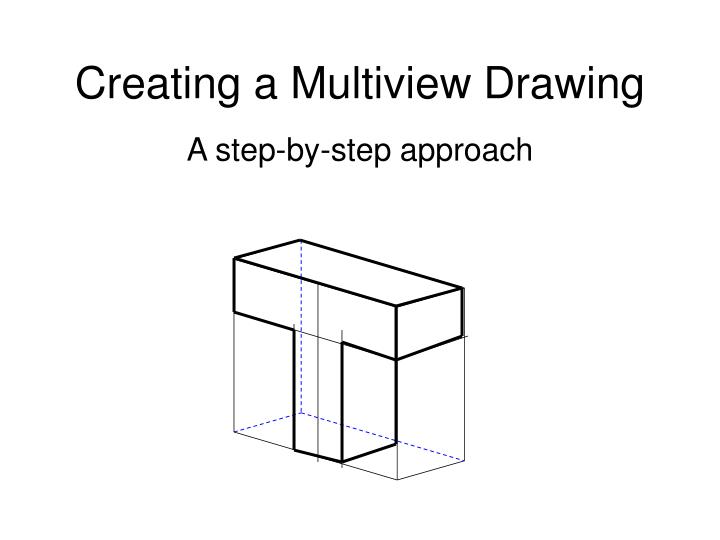
Creating a Multiview Drawing A step-by-step approach
Draw Isometric First • Begin by drawing a 3D box • Make sure all lines are parallel to other lines on the box (Lines should only be at 3 angles) • Fill in construction lines to make shape • Darken in the object lines
Begin the front view Start by locating the lower, left-hand corner and projecting up and across. Look for any hidden lines and detail lines, then draw them appropriately. Darken in all primary view outlines Project the horizontal boundaries of the top view to the right. Project all intersections with the 45 deg. line, down into the right side view. Now project the horizontal details across to the right side view, and project the vertical details up to the top view Find the height of the object in the front view and project across to the right side view. Draw a 45 degree line up and to the right from the top right corner of the front view. Now locate the width of the object in the front view and project up to the top view.