Download
1 / 36
360 likes | 522 Vues
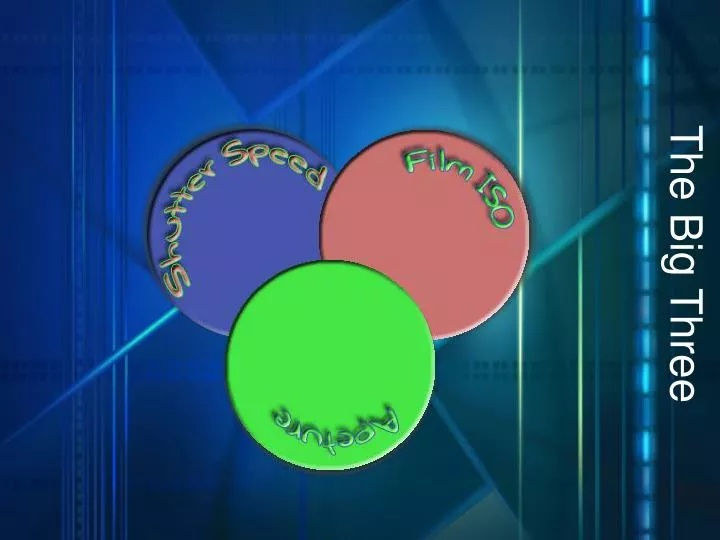
The Big Three. A Window Example :. Aperture is the size of the window. If it’s bigger more light gets through and the room is brighter. A Window Example :. Shutter Speed is the amount of time you leave the window open. The longer you leave them open the more light comes in.

E N D
A Window Example: Aperture is the size of the window. If it’s bigger more light gets through and the room is brighter.
A Window Example: Shutter Speed is the amount of time you leave the window open. The longer you leave them open the more light comes in.
A Window Example: ISO is the sensitivity to light of the person inside the room. If they are wearing sunglasses (low ISO) it will take more light for them to see the image then if they are staring at it wide-eyed (high ISO).
Shutter Speed • The length of time that the shutter remains open. • Each progression represents half as much light. • Common shutter settings: 1 second, 1/2, 1/4, 1/8, 1/15, 1/30, 1/60, 1/125, 1/250, 1/500, 1/1000, and 1/2000 second.
Fast Shutter Speed • ADVANTAGES • Reduces blurriness as image is ‘seen’ only briefly • Freeze Fast Motion • Great for sports events. • DISADVANTAGES • Less time for light to enter camera • Requires bright conditions
Slow Shutter Speed • ADVANTAGES • Great for Darker Conditions • Soften Consistent Motion • DISADVANTAGES • Increased chance for bluriness • Often requires Tripod
Slow Shutter Speed Sample More: http://www.digital-photography-school.com/blur-movement
Shutter Speed Assignment • Using Manual Shutter Speed Settings take one picture each • of the following: • a)Freeze Fast Motion b)Same motion but blurry • Soften or Purposefully Blur Consistent/Constant Motion • Add Motion to moving subject with blurry Background • Stationary subject with blurry background • One Additional Creative Use of Shutter Speed • * Number pictures as listed above • * Include shutter speed settings in title • * Example Title: “1a Fast Motion 1/125”
F~What?!? • Camera Aperture • The size of the opening that lets light in • Also Called F-Stop • F = Fractional opening relative to lens length
Nonsense Numbers?!? • F-Stop Numbering • Common Stops: f2.8, f4, f5.6, f8, f11, f16, f22 • Small Numbers = Wide Opening • Large Numbers = Narrow Opening • Wide Opening = Short/Shallow Depth of Field • Narrow Opening = Long/Deep Depth of Field • Small Number = Shallow (small) Depth of Field • Large Number = Deep (Large) Depth of Field • Confused Yet, No Worries Me Too…
F-Stop Visual Basics Portrait Landscape Shallow Depth of Field Deep Depth of Field http://photographertips.net
Depth and Defocus Blur sensor plane of focus lens circle of confusion subject rays from point in focus converge to single pixel defocus blur depends on distance from plane of focus
Depth and Defocus Blur sensor plane of focus lens aperture circle of confusion subject defocus blur depends on aperture size http://photographertips.net
Narrow Apertures Usage • Advantages • Gives Deep Depth of Field • Shows complete scene • Landscape Photography • Disadvantages • Requires more Light • May require longer Shutter Speed • Increases chance for blur
Wide Apertures Usage • Advantages • Less Light Required • Allows for Faster Shutter Speed • Give focus to objects on focal • plane • Disadvantages • Shallow DOF • Can produced Washed-out, Over lit images
Lens Length The “X”Factor • Depth of field is dependent on Lens Length • F-Stop is a “Fraction” of lens length • The longer the lens the more room the light rays have to get off-track • Zoom usually results in reduced DOF • DOF Calculations • DOF is generally 1/3 in front of and 2/3 behind focal plane. • Numerous Online Calculators: • http://www.dofmaster.com/dofjs.html
Aperture Pictures • Using Manual Aperture Settings take one picture each • of the following: • A Landscape photo with deep depth of field • A Mid-Shot Portrait with (a) shallow DOF (b) Deep DOF • A macro CU with Shallow DOF • A posed Portrait with initial foreground blurry, shallow DOF, far background blurry • * Number pictures as listed above • * Include Aperture settings in title • * Example Title: “2a Shallow DOF f22”
ISO • What is ISO • The sensitivity of the sensor to light • Terminology • Low=Slow, High=Fast Slow Fast
More ISO • Refer to Class handout for more information regarding ISO.
ISO Pictures • By Adjusting the ISO settings take 3 shots of each of the following subjects • A Landscape photo (Slow ISO, Med ISO, Fast ISO) • A Mid-Shot Portrait (Slow ISO, Med ISO, Fast ISO) • A ECU (Slow ISO, Med ISO, Fast ISO) • * Number pictures and name pictures as listed above