Download
1 / 11
110 likes | 162 Vues
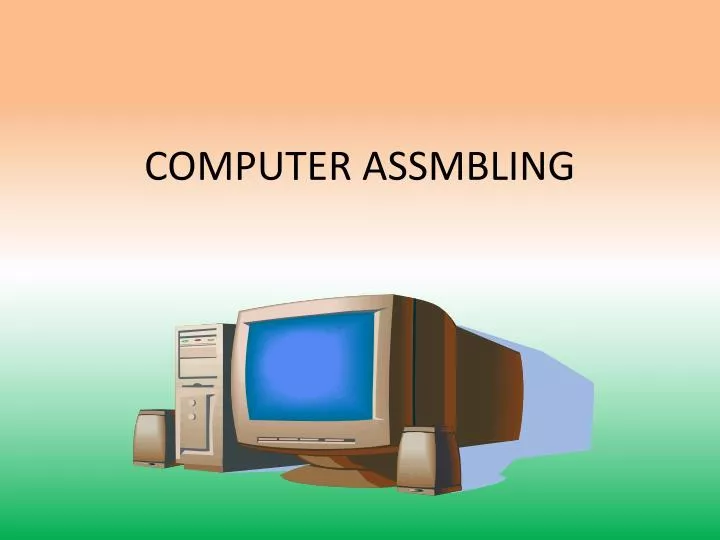
COMPUTER ASSMBLING. Objectictives of Assembling. Finding Cheap Computers & Parts

E N D
Objectictives of Assembling • Finding Cheap Computers & Parts • If you are looking to buy a cheap computer or find cheap computer hardware, you have come to the right place. When we say "cheap" we don't mean poor quality. Instead we mean high quality, brand name parts for a low price.
Why build it yourself? • Save hundreds of dollars • Customize it any way you want • Inexpensively upgrade in the future • Pay only for the components you will use • No need to wait on slow and expensive technicians • Go at your own pace • Add components when you can afford them • It's as simple as putting together a puzzle
Purchase the component • Case (cabinet) • Motherboard • Processor • Hard disk • RAM • UPS • Mouse • Keyboard • Cables • Screws • CD/DVD ROM • System Disk ( driver and OS)
Case Connection • Read the manual • Connect the mother board to cabinet • Connect the power to the motherboard • Connect the CPU fan to the power • Study the case connectors • Connect the case, reset switch • Connect the power LED, Hard drive activity LED • Connect the PC speakers • Double check ur work
Inserting CPU • Check the pins • Open the zif socket • Orient the chip • Insert the processor • Close zif socket • Fix processor fan
Connecting Hard disk • Attach power cable • Attach the sata cable
Connecting CD ROM • Attach the power supply to the drive • Attach the sata cable
Inserting RAM • Decide which slot u r going to use • Install the memory
Testing the system • Check the LED s on the front of the case • Check the hard disk • Check the fan • Make sure that cdroms have good eject button • Be sure that reset buttons works let the system run for 10-15 mnts • Now turn of the system and touch the CPU and hard disk and make sure it is cooled