Download

1 / 14
150 likes | 295 Vues
FlexiForce Pressure Sensor. Ben Nadeau Chris Hashem Megan Joiner. Objective. To convert the output of an analog sensor to digital and have the digital output read out on the computer. Our Process. There were a couple ways to do the A/D conversion:

E N D
FlexiForce Pressure Sensor Ben Nadeau Chris Hashem Megan Joiner
Objective • To convert the output of an analog sensor to digital and have the digital output read out on the computer
Our Process There were a couple ways to do the A/D conversion: Use a microcontroller with an A/D converter Use a digital acquisition unit (DAQ) and use LabView to process data.
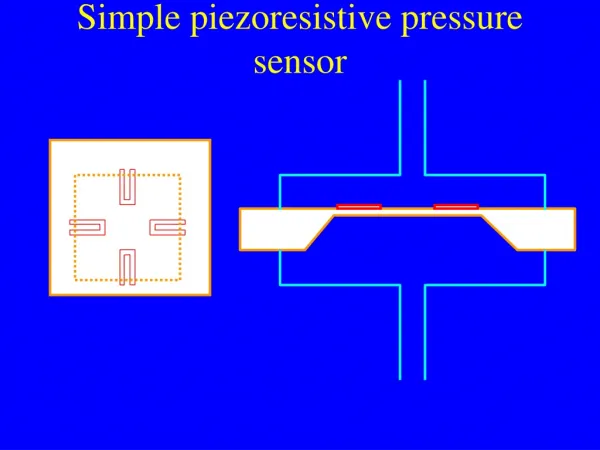
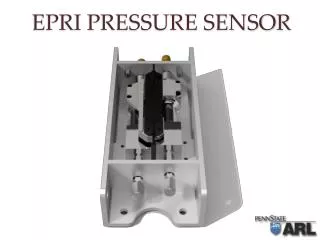
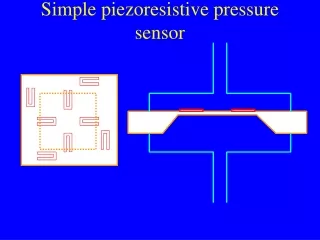
Our Sensor • We used the FlexiForce Pressure sensor • The sensor acts as a variable resistance • The pressure applied to the sensor is inversely proportional to the resistance output by the sensor
Our First A/D Converter • We started out using the MSP430 • We were able to obtain a hexadecimal value which can be converted to a voltage • Acquiring the voltage required us to manually break the program and do the conversion
Program for MSP430 • #include <msp430x20x3.h> • void main(void) • { • WDTCTL = WDTPW + WDTHOLD; // Stop watchdog timer • P1DIR |= 0x01; // Set P1.0 to output direction • SD16CTL = SD16REFON + SD16SSEL_1; // 1.2V ref, SMCLK • SD16INCTL0 = SD16INCH_1; // A1+/- • SD16CCTL0 = SD16UNI + SD16IE; // 256OSR, unipolar, interrupt enable • SD16AE = SD16AE2; // P1.1 A1+, A1- = VSS • SD16CCTL0 |= SD16SC; // Set bit to start conversion • _BIS_SR(LPM0_bits + GIE); • } • #pragma vector = SD16_VECTOR • __interrupt void SD16ISR(void) • { • if (SD16MEM0 < 0x7FFF) // SD16MEM0 > 0.3V?, clears IFG • P1OUT &= ~0x01; • else • P1OUT |= 0x01; • }
Our New A/D Converter • We used the Arduino Mega microcontroller to do our A/D conversion • Connects to the computer via USB • Has analog input pins • Outputs a digital signal to the computer that can be read in real-time
Program for Arduino Mega • #define SENSOR 0 // select the input pin for the • // sensor resistor • intval = 0; // variable to store the value coming • // from the sensor • void setup() { • Serial.begin(300); // open the serial port to send • // data back to the computer at • // 300 bits per second • } • void loop() { • val = analogRead(SENSOR); // read the value from • // the sensor • Serial.println(val); // print the value to • // the serial port • delay(100); // wait 100ms between • // each send • }
How We Can Help You Finish • If you haven’t yet acquired a sensor or A/D converter, do so as soon as possible. • If you are having trouble with the MSP430, we strongly suggest ordering another microcontroller or DAQ • If you insist on using the MSP430, take a look at Professor Johnson’s old labs from last year for tips • If you have an Arduino Mega and are having trouble coding/setting it up, talk to us. • Feel free to ask us any questions at all • Our emails: • nadeaub1@wit.edu • hashemc@wit.edu • joinerm@wit.edu
Resources/References • http://www.arduino.cc/ • http://www.tekscan.com/flexiforce/flexiforce.html • The MSP430 CD • myweb.wit.edu/johnsont • Zach Baron