Download
1 / 3
30 likes | 102 Vues
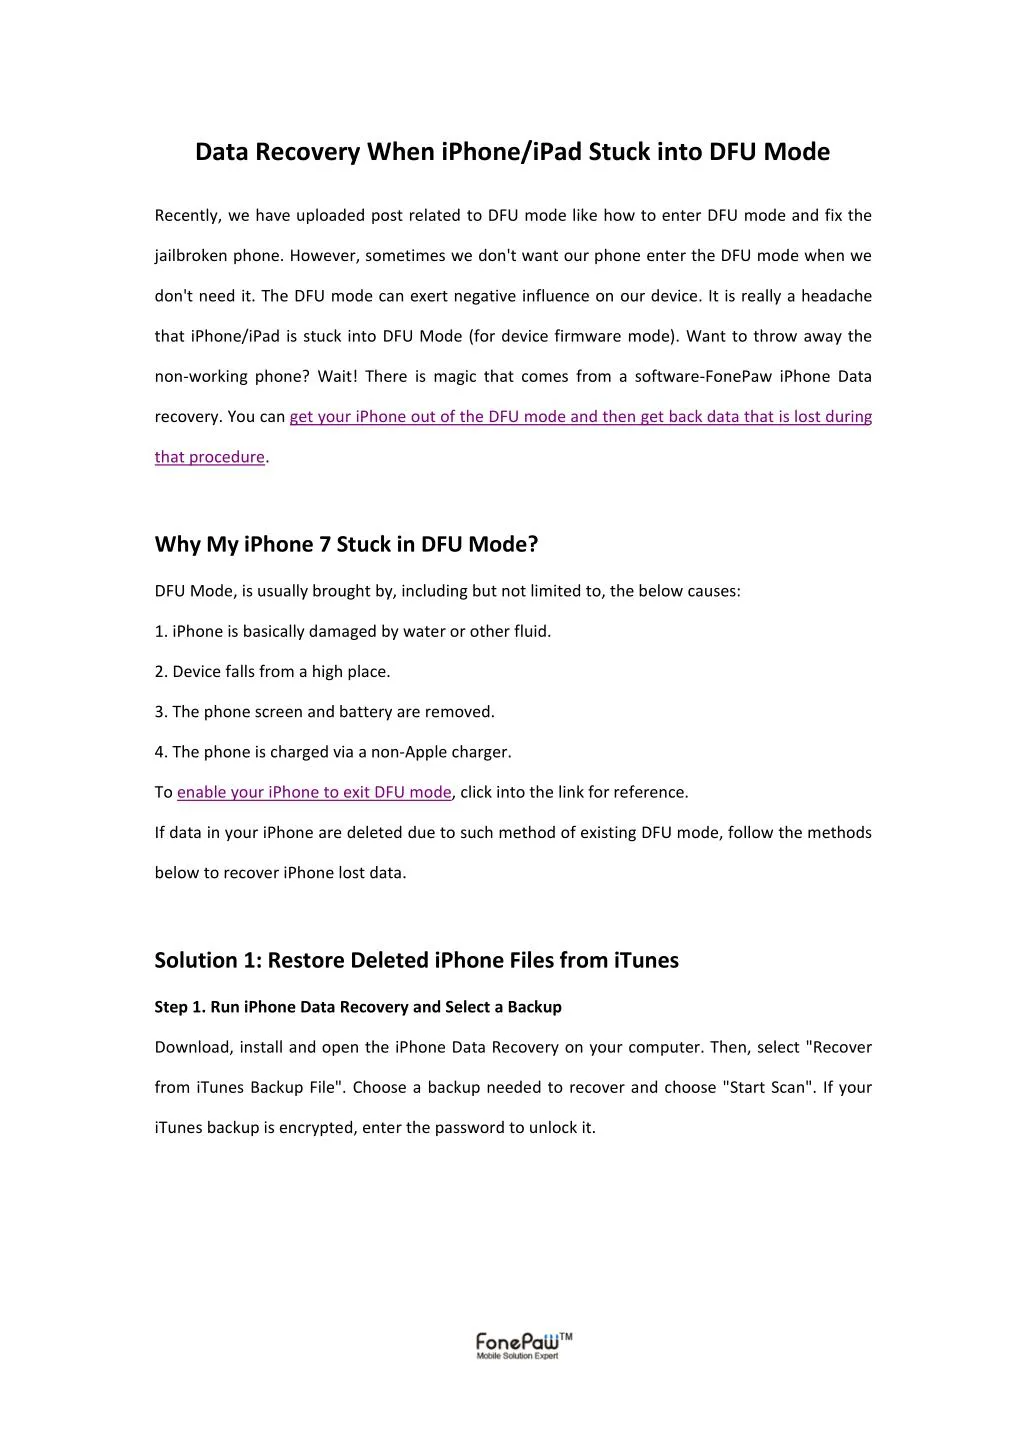
Data Recovery When iPhone/iPad Stuck into DFU Mode

E N D
Data Recovery When iPhone/iPad Stuck into DFU Mode Recently, we have uploaded post related to DFU mode like how to enter DFU mode and fix the jailbroken phone. However, sometimes we don't want our phone enter the DFU mode when we don't need it. The DFU mode can exert negative influence on our device. It is really a headache that iPhone/iPad is stuck into DFU Mode (for device firmware mode). Want to throw away the non-working phone? Wait! There is magic that comes from a software-FonePaw iPhone Data recovery. You can get your iPhone out of the DFU mode and then get back data that is lost during that procedure. Why My iPhone 7 Stuck in DFU Mode? DFU Mode, is usually brought by, including but not limited to, the below causes: 1. iPhone is basically damaged by water or other fluid. 2. Device falls from a high place. 3. The phone screen and battery are removed. 4. The phone is charged via a non-Apple charger. To enable your iPhone to exit DFU mode, click into the link for reference. If data in your iPhone are deleted due to such method of existing DFU mode, follow the methods below to recover iPhone lost data. Solution 1: Restore Deleted iPhone Files from iTunes Step 1. Run iPhone Data Recovery and Select a Backup Download, install and open the iPhone Data Recovery on your computer. Then, select "Recover from iTunes Backup File". Choose a backup needed to recover and choose "Start Scan". If your iTunes backup is encrypted, enter the password to unlock it.
Step 2. Preview and Recover iPhone Files When scan is completed, choose a catalogue that contains files you want. Then preview data in details. After that, you can choose items you want and click the "Recover" button. Solution 2: Retrieve Files from iCloud Files Step 1. Sign into iCloud Install and launch iPhone Data Recovery on your computer. Then select "Recover from iCloud Backup File" from the left pane. Input your iCloud account and password to log into iCloud. Then select a backup package including files you want, usually the latest one. Click the "Download" button.
Step 2. Scan and Recover iPhone Data When iCloud backup is downloaded, you can select file types from the left pane for previewing in details. Then select contents you want and click the "Recover" button to get them back. Note: Regularly back up your iPhone so that you can permanently preserve your phone data.