Download
1 / 42
450 likes | 894 Vues
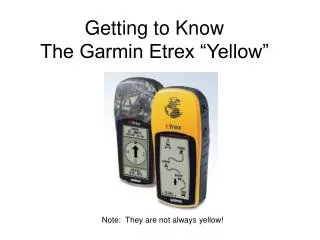
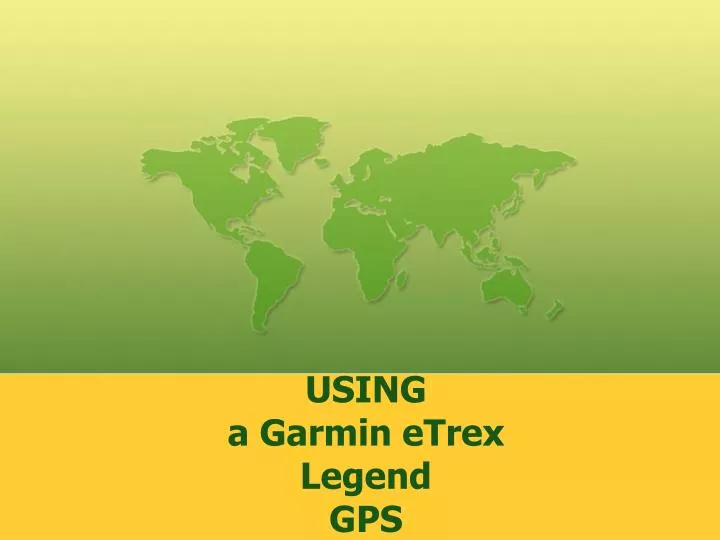
USING a Garmin eTrex Legend GPS. Garmin Legend in Use. Satellite Page. If you want to change it: Press the CLICK STICK down to highlight Track Up or North Up, depending what it is currently setting. Press in on the CLICK STOP to change it. . From the Satellite screen:

E N D
If you want to change it: Press the CLICK STICK down to highlight Track Up or North Up, depending what it is currently setting. Press in on the CLICK STOP to change it. . From the Satellite screen: Move the CLICK STICK to the left to select the Options Menu. Press in on the CLICK STICK (The screen will look like it does at the left). Check to see if the setting is what you want Choose ‘North Up’ or ‘Track Up’
Find Command The FIND Button is located on the bottom left
Enhancements to Accuracy (WAAS) • Wide Area Augmentation System • Geo-stationary Satellites • ~25 ground stations of known location (N. Amer.) • corrects for GPS signal errors caused by ionospheric disturbances, timing and satellite orbit errors • Improves accuracy to 3-5m • Limits • antenna/receiver must be powered 100% of time. • Must have good view of sky – in MB near horizon which limits use in hiking and some canoeing.
WAYPOINTS Hold the Click Stick down until this screen appears
Mark a New Waypoint • Now you are ready to enter the latitude and Longitude for a known location
What Is Geocaching? • GEO for geography, and CACHING for the process of hiding a cache (cash) or treasure • Hike in the woods • Treasure hunt • Outdoor enjoyment • Family/Scout outing
What is Geo-Caching? • Treasure hunt with GPS unit to find locations • Database of locations kept online • It’s all about the trek • What is in the cache: • Logbook • Treasure (can be anything) • Clues • One rule: Take from the cache and leave something of your own http://www.geocaching.com (FAQs)
Cache Containers • Micros – • 35 MM film container • Altoids tin • Regular – • Tupperware and Rubbermaid sandwich & 1-2 Qt. Containers • Ammo boxes • PCV pipe • Large – • 5 gal. Buckets • Tool boxes
How do I start to Geocache? • Go to www.geocaching.com(or other geocache site) • Click on “Hide and Seek” • Enter a zip code, city and state or coordinates near where you want to hunt. • Note the level of difficulty, the type of cache and when it was last found. • Once you have selected a cache to hunt for, you can: • Download or manually enter the “waypoint” to your GPS • Print out the page with the coordinates, hint and logs
SBO Geocache • WayPoint A01 N37° 04.411 • W076° 29.654 • Waypoint A02 N37° 04.402 • W076° 29.710 • Cache N37° 04.362 • W076° 29.724
Clearing Waypoints • To Delete a Waypoint • Go to Find Feature • Select Waypoints • Select Nearest • Select the Options Menu button on the top right • Select Find by name, Delete ALL or Delete All by Symbol
Clearing Tracks • Select the Main Menu • Go to Find Feature • Select TRACKS • Select the Options Menu button on the top right • Select • Setup Track Log • Delete All Saved