Download
1 / 28
280 likes | 294 Vues
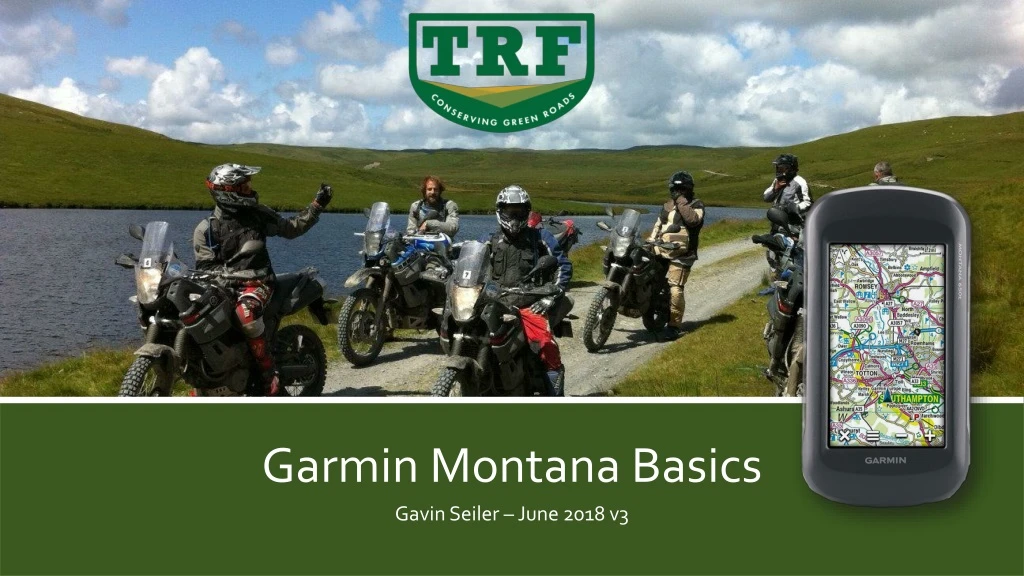
Garmin Montana Basics. Gavin Seiler – June 2018 v3. Contents. Using Routes 19 Where To 20 POI’s 21 Creating a route 22 Using the Trip Computer 24 Using the Dashboard . 25 Further Help and Information 27. Montana 600 series GPS Intro 3 Activities Profiles Overview 4

E N D
Garmin Montana Basics Gavin Seiler – June 2018 v3
Contents • Using Routes 19 • Where To 20 • POI’s 21 • Creating a route 22 • Using the Trip Computer 24 • Using the Dashboard. 25 • Further Help and Information 27 Montana 600 series GPS • Intro 3 • Activities Profiles Overview 4 • Profile Creation 5 • Profile Deleting 8 • User Settings 9 • Units 11 • Heading 12 • Routing 13 • Tracks 14 • Map 15 • System 17 • Display 18
Intro The Garmin Montana 600 series is a high end satellite navigation unit that is not only rugged and waterproof but is also highly configurable to meet the needs of a wide range of activities. This presentation covers some of the main aspects of setting up and using it for Trail riding. The Montana is configurable to suit your personal tastes, everyone is different and everyone can have their own individual solution. Most of information in this presentation applies equally to the Oregon series of units too.
Activity Profiles Overview A good way to get a highly personalised set up is to use profiles ... Activity profiles are a collection of settings that optimize your device based on how you are using it. For example, the settings and data screens are different when you are using the device for running than for riding your bike. When you are using a profile and you change settings such as data fields or alerts, the changes are saved automatically as part of the profile. Unfortunately Garmin do not have a profile that’s really suitable for trail riding. But luckily it’s really straight forward for us to create one...
Profile Creation Lets create a profile for Trail Riding ...
Profile renaming Lets rename our profile to something we can recognise ...
Profile Creation Now we have created our new profile any changes we make to our other settings will be automatically stored in this new profile “Trail”
Now we can go to Settings > Profiles Select the profile you wish to delete. And on the options page that opens up select Delete Profile Deleting To delete a profile we need to ensure it is not active . Select Profile Change and change to another profile.
User Settings Now we have created our new “Trail” profile we can now set it up to suit our activity. Lets start by setting the units we wish to use ...
User Settings Now we have created our new “Trail” profile we can now set it up to suit our activity. Lets start by setting the units we wish to use ...
User Settings - Units Click on the desired setting and select the units you wish to work with. When finished click on the back icon in the bottom corner. Now we have created our new “Trail” profile we can now set it up to suit our activity. Lets start by setting the units we wish to use ...
User Settings - Heading Setting the Heading ... From the Settings menu select Heading
User Settings - Routing Route Transitions effects when the GPS will switch to using the next waypoint to provide a smooth transitions along your route. Setting the Routing ... From the Settings menu select Routing
User Settings - Tracks Tracks ... From the Settings menu select Tracks
User Settings - Map Maps ... Basic settings ...
User Settings - Maps Maps ... Selecting the map to use ... Ideally we should only be using one main map at a time plus overlays. (Overlays are special maps that have transparent backgrounds allowing the map underneath to still be seen.) * Always have Worldwide Base map on. *
User Settings - System System ... (GPS+GLONASS for Montana 610/680) (Montana 650 shown)
User Settings - Display Display .. Setting the screen orientation.
Using Routes – Where To Selecting a Route from the Routing menu ... Generally speaking it is easier to create routes in Basecamp rather than on the unit itself for Trail riding but there will be occasions when you will want to do it on the unit. Selecting a Route you have already uploaded from Basecamp ...
Where To – POI’s The “Where To” function on the unit can be really useful for finding destinations on the fly (i.e. during emergencies). Depending on the map installed on the unit many of thousands of POI’s (points of information) are available from Petrol Stations to Hospitals. Just select the type of POI you are looking for.
Where To – POI’s Click Go to route directly to the POI. The results are listed with the closest first and its bearing from your current location.
Creating a Route Scroll the Map to your first point and tap Use In sequence scroll the map to the subsequent turn points and at each tap the Use button. When you reach the end of your route tap the return button.
Creating a Route Your Route will be created and numbered with the next higher number from any existing routes (in this case Route 004) To select and use our new route is simply as before using the “Where To” button on the main menu. Each of the blue pins represents a waypoint we defined during creation of the route. N.B. A route can have a max of 250 waypoints.
Trip Computer To zero the counters select the options bar. Never this One! (almost a factory reset) The trip computer is similar to one found in your car or road bike and can contain a lot of useful information.
Map Screen Dash Board Because we have changed our settings our screen should always be Track Up We also enabled our Dashboard to be visible. We can now configure it. We can now see our Dashboard down the side of the screen (or at the top or bottom if using in portrait mode) If the Dashboard is unlocked we can simply press on the feature we wish to change. If it is locked simply press on the menu bar and select lock / unlock Data Fields to make it accessible.
Map Screen Dash Board To change the data field (once unlocked) press on it. Select the Category you would like to use. Select a field to replace the original with. Once you have your fields setup it is a good idea to select the menu icon and switch it back to Locked
Additional Help The Garmin website has some great help and video: • Online help manual • https://www8.garmin.com/manuals/webhelp/montana610-680/EN-US/GUID-D0EEDA43-7743-4077-B4C4-F5989F1D6DDE-homepage.html • Setup • https://www.youtube.com/watch?v=ALHdmuHpwVQ • Downloading and Updating Data • https://www.youtube.com/watch?v=PdPgse1tHdY • Recording Track Logs • https://www.youtube.com/watch?v=kSy8vFZ_8C4