Download

1 / 1
10 likes | 20 Vues
Do-it-yourself has been a trend in recent years u2013 thanks to a surge increase in prices of the services. However, it has reached a different level of insanity during the lockdown phase. So, if you are planning for some renovation whilst staying at home, then here are a few tips for you. Today, we will discuss some professional tips from drywall contractors that can help you with hanging drywall.

E N D
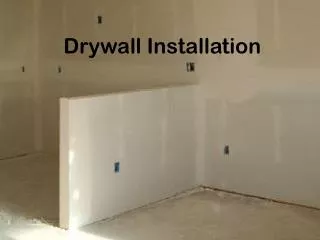
Some Tips to Hang A Drywall Do-it-yourself has been a trend in recent years – thanks to a surge increase in prices of the services. However, it has reached a different level of insanity during the lockdown phase. So, if you are planning for some renovation whilst staying at home, then here are a few tips for you. Today, we will discuss some professional tips from drywall contractors that can help you with hanging drywall. 1.Start with A Layout Things won’t go right without a plan. So, start with planning a layout and then marking the same with a pencil mark on your ceiling and floor. This is where your studs will go for placing the drywall and make the frame for it. Now, you may either place the drywall vertically or horizontally. However, the professional method is to go horizontally by placing the top one first. 2.Fix the Studs and Then the Panels Now that you have a layout, fix the studs and then start attaching the firewall panels with driving some nails or screws to hold it in place. While using screws or nails, make sure that you only press it hard enough forgetting ‘dimple’ in the panel and not breaking the surface paper. 3.Make Cutouts for Switches and Outlets The panels will need cutouts for outlets and switches. So, be careful while taking measurements for cutouts and marking the panels of the same. The best method to do so is using colored chalks to mark the edges of the box and taking an impression of the same on the panels by placing it on the drywall surface. Cut the area according to the markings to avoid any unfinished look in your interior. With this final step, you are ready with a newly renovated room with new drywall. So, enjoy the feel of it and relax down to appreciate your handiwork. Contact: Ranjith CTS Building Supplies 733 Progress Avenue Scarborough, Ontario M1H 2W7 (416) 840 4538 info@ctsbuildingsupplies.com https://www.ctsbuildingsupplies.com/