Download
1 / 2
20 likes | 32 Vues
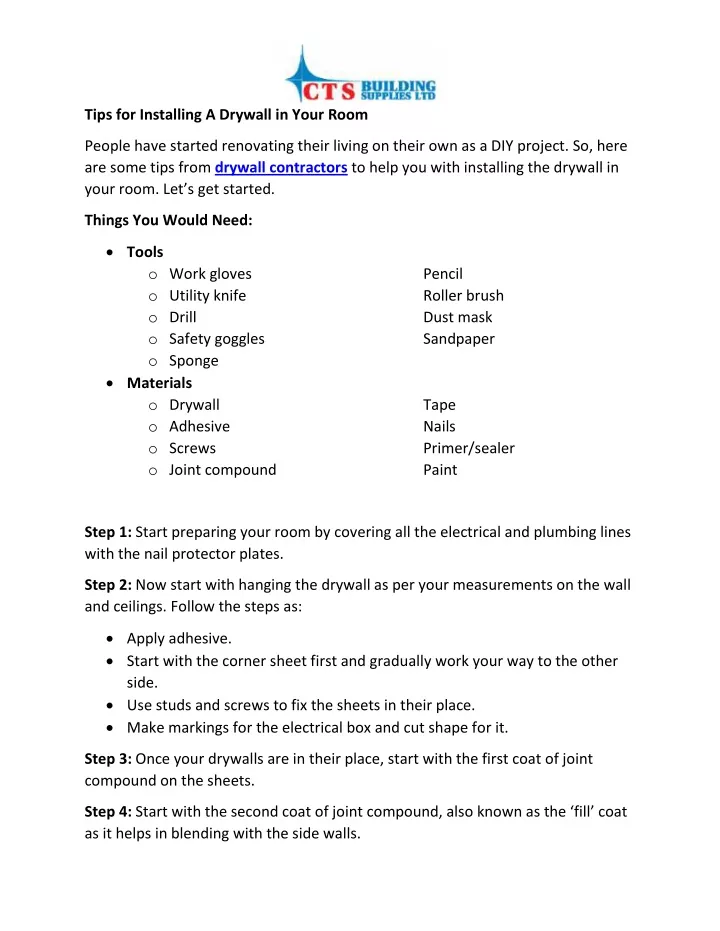
People have started renovating their living on their own as a DIY project. So, here are some tips from drywall contractors to help you with installing the drywall in your room.

E N D
Tips for Installing A Drywall in Your Room People have started renovating their living on their own as a DIY project. So, here are some tips from drywall contractors to help you with installing the drywall in your room. Let’s get started. Things You Would Need: Tools oWork gloves oUtility knife oDrill oSafety goggles oSponge Materials oDrywall oAdhesive oScrews oJoint compound Pencil Roller brush Dust mask Sandpaper Tape Nails Primer/sealer Paint Step 1: Start preparing your room by covering all the electrical and plumbing lines with the nail protector plates. Step 2: Now start with hanging the drywall as per your measurements on the wall and ceilings. Follow the steps as: Apply adhesive. Start with the corner sheet first and gradually work your way to the other side. Use studs and screws to fix the sheets in their place. Make markings for the electrical box and cut shape for it. Step 3: Once your drywalls are in their place, start with the first coat of joint compound on the sheets. Step 4:Start with the second coat of joint compound, also known as the ‘fill’ coat as it helps in blending with the side walls.
Step 5: Apply the third and final coat of the joint compound to get a linear and smooth finish to your drywalls. Step 6: Once done with the joint compound, the next step is to prep and apply the skim coat using a paint roller. Step 7: Using sandpaper makes the surface smooth and ready for applying paint. Step 8: Start with the primer to set the base for the paint. Step 9: Finish it off with a coat or two of paint to your drywalls. Just nine easy steps and your room is as good as new. So, start with your DIY projects and change the feel and vibe of your interiors. To check about the drywalls and get one, you can contact us. Contact: Ranjith CTS Building Supplies 733 Progress Avenue Scarborough, Ontario M1H 2W7 (416) 840 4538 info@ctsbuildingsupplies.com https://www.ctsbuildingsupplies.com/building-materials/drywall.html