Download
1 / 6
60 likes | 65 Vues
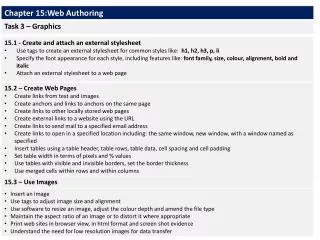
Learn various photo editing techniques like cropping, black and white layer mask, brightness/contrast adjustment, hue/saturation adjustment, color balance layer mask, clone stamping, and more to enhance your images and bring out more detail. This tutorial also covers combining multiple photos, adding text, and using different brushes and tools.

E N D
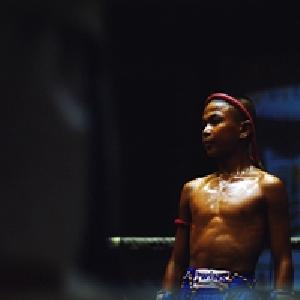
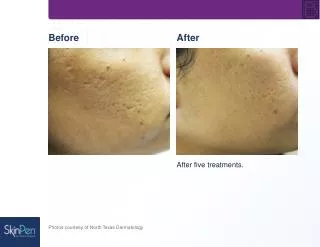
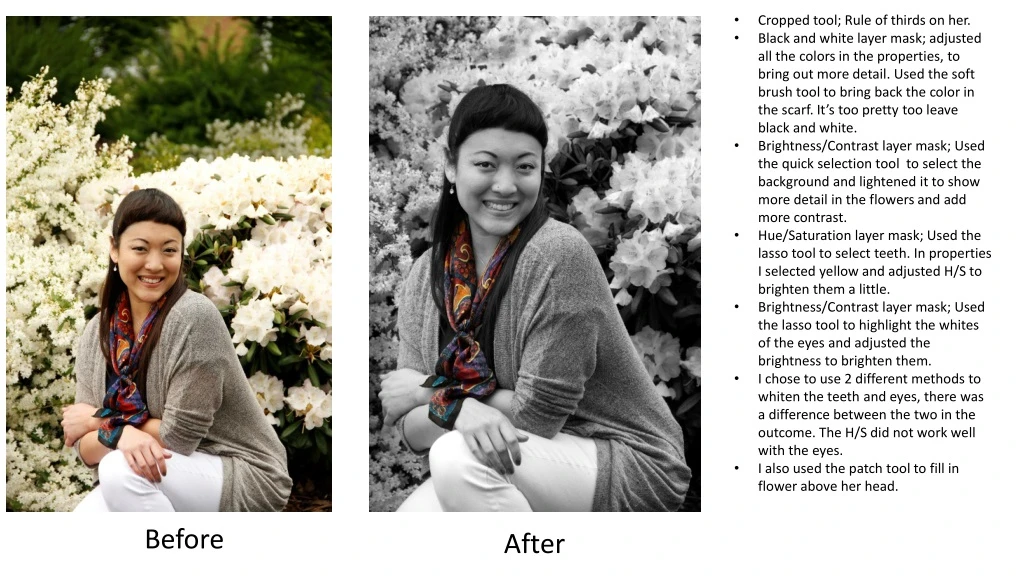
Cropped tool; Rule of thirds on her. • Black and white layer mask; adjusted all the colors in the properties, to bring out more detail. Used the soft brush tool to bring back the color in the scarf. It’s too pretty too leave black and white. • Brightness/Contrast layer mask; Used the quick selection tool to select the background and lightened it to show more detail in the flowers and add more contrast. • Hue/Saturation layer mask; Used the lasso tool to select teeth. In properties I selected yellow and adjusted H/S to brighten them a little. • Brightness/Contrast layer mask; Used the lasso tool to highlight the whites of the eyes and adjusted the brightness to brighten them. • I chose to use 2 different methods to whiten the teeth and eyes, there was a difference between the two in the outcome. The H/S did not work well with the eyes. • I also used the patch tool to fill in flower above her head. Before After
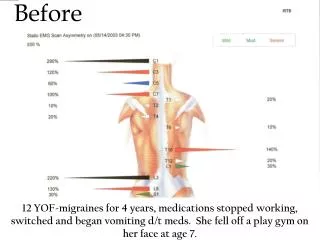
Cropped tool; rule of thirds on her face. • Black and white layer mask; I made it black and white, used the quick selection tool to highlight her, refined edge, inverted the selection, used the soft brush tool to bring back the color in the playground. Used the brush tool for color in the shirt and earrings. • Color Balance layer mask; Change the balance of the color using a selection and hard brush tool in the colored areas. Used the patch tool to fill in the sky. And the brush tool again to bring back the original color of the ground, green slide and trees. Before After
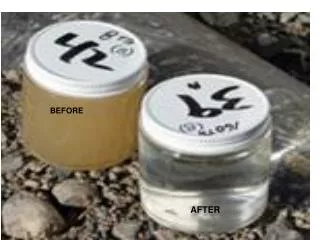
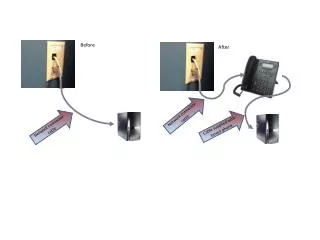
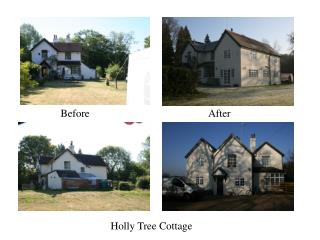
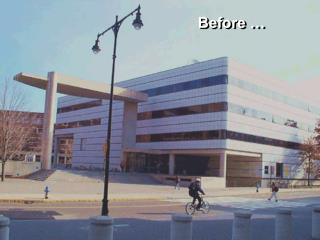
After • Combined two Photos from Bridge, checked for same size; tool, Photoshop, load files into PS,. • Layer via cut; the bush in the middle of the art work, changed the opacity and fill down. • Changed the normal filter to multiply filter in the layers panel. • Text layer; used eyedropper to get the red and green, applied drop shadow with some effects. • Brightness/Contracts adjustment layer; adjusted up a bit. Before
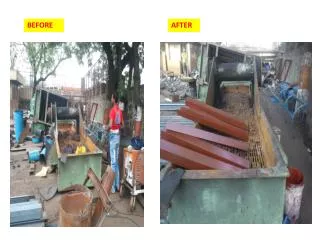
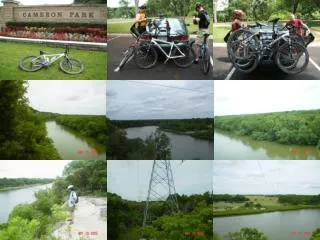
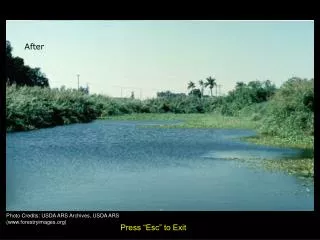
After Before • Cropped the photo; 1/3rd at the top of the bike. After crop in the upper left there was the sled with the blue and some of the white tarp still in the picture. On the mid right there was some of the base of the tree and the roots still in the picture. Also some of the piece of the wood above the chairs were still in the picture. • Spot healing tool to get rid of white, blue and sled. Patch tool to get rid of the tree base and wood above chair. Clone stamping tool to fine tune the ground where sled and tree base were. • Layer via copy head lamp; hard brush tool to with color, changed from normal to color in the layers panel to give a glow. • Text layer; eyedropper, color from orange flower center added a drop shadow. • Hue/Saturation flowers adjustment layer; Quick select tool around flowers, refined edge, changed hue and saturation for a pop. • Chair layer; Quick select tool around chair, hard brush colored red, lowered fill to give a rusty look. Finished with a soft brush around the pipe framing of the chair
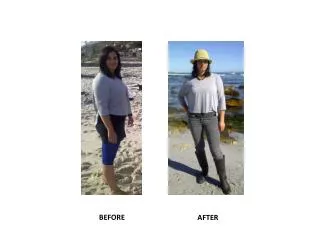
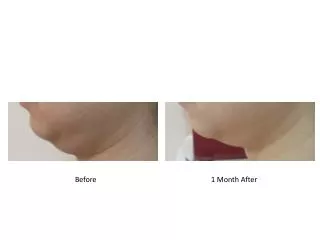
Before After • Base Layer; Cropped the photo; 1/3rd up and down on Lara and side to side on me. Redeye removal tool to remove redeye. Clone stamping tool to remove all people from the left and right by continue the background down. Noise reduction tool minor adjustments. • Hue/Saturation adjustment layer teeth; to brighten my teeth. Lasso tool to select teeth, changed from master to yellow in properties, adjusted hue and saturation to brighten teeth. • Layer via copy noise/soften background; Quick select tool around us, refined edge, inverted, adjusted noise with reduce noise filter and softened the background. Saved selection to reuse. • Brightness/Contrast Background adjustment layer; Loaded saved selection, inverted, adjusted brightness and contrast. • Hue/Saturation adjustment background; Loaded saved selection, inverted, adjusted hue and saturation for a nicer glow.
Before After • Quick select tool; I selected the selfie of myself in my truck mirror, refined edge, cut and pasted a new layer into the landscape photo. I used the eraser tool to fix some edges and there were some black rings from the mirror frame I erased as well. I also did matting and defringe. • Hue/Saturation layer; I tweaked the hue and saturation a bit. • Text layer; outer glow, inner glow and bevel and emboss. I used the green from a leaf and the pink from the little red spot on the flower using the eyedropper for the colors. Created a new style, me tree. • Shape layer; Custom shape tool, added the shape and used the style I made from the text layer and lowered the opacity a bit.