Download
1 / 37
370 likes | 483 Vues
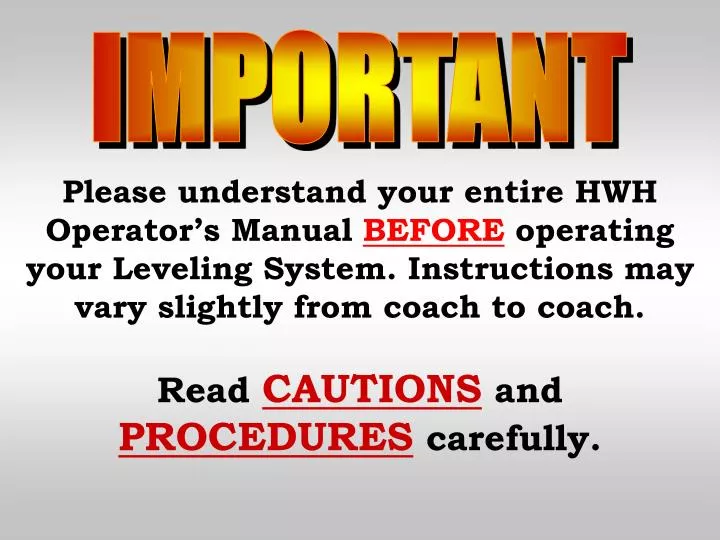
IMPORTANT. Please understand your entire HWH Operator’s Manual BEFORE operating your Leveling System. Instructions may vary slightly from coach to coach. Read CAUTIONS and PROCEDURES carefully.

E N D
IMPORTANT Please understand your entire HWH Operator’s Manual BEFORE operating your Leveling System. Instructions may vary slightly from coach to coach. Read CAUTIONS and PROCEDURES carefully.
THE FOLLOWING PRESENTATION WILL GUIDE YOU THROUGH A TYPICAL LEVELING PROCEDURE USING AN HWH 625 SERIES COMPUTERIZED LEVELING SYSTEM THAT IS EQUIPPED WITH STRAIGHT-ACTING JACKS.
With the vehicle parked, the park brake set and the vehicle ignition in the “Accessory” position, the TRAVEL MODE light will be on.
AUTO LEVEL Press the “LEVEL” button, the level light will glow steady.
FRONT END RIGHT SIDE AUTO LEVEL In this scenario the two yellow lights indicate that the right side and the front end of the vehicle is low.
AUTO LEVEL Press the “LEVEL” button a second time, the level light will begin flashing.
AUTO LEVEL For approximately 25 seconds air will be dumped from the vehicle suspension.
AUTO LEVEL After the suspension is dumped, the system will look for yellow lights. A side yellow light will be recognized before a front or rear yellow light.
AUTO LEVEL This yellow light indicates that the right side of the vehicle is low.
AUTO LEVEL The right side jacks will extend. As the jacks extend their (red) WARNING lights will come on.
AUTO LEVEL The jacks will continue to extend until the right side yellow light goes out.
In this scenario the front yellow light is still on. AUTO LEVEL
AUTO LEVEL Both front jacks will extend to raise the front of the vehicle. The left front jack (red) WARNING light will come on.
AUTO LEVEL As the front jacks extend the front of the vehicle will raise and the front yellow light will go out.
AUTO LEVEL With no yellow lights on the vehicle is level. The system will now stabilize the vehicle by extending any remaining jacks.
STABILIZE The jack will continue to extend until it is seated firmly on the ground. In this scenario the left rear jack will be extended. It’s (red) WARNING light will come on.
STABILIZE With the vehicle level and stabile the system will shut down.
STABILIZE With the vehicle level and stabile the system will shut down.
With the vehicle parked, the park brake set and the vehicle ignition in the “Accessory” position, the TRAVEL MODE light will be on.
MANUAL LEVELING Press the “LEVEL” button, the level light will glow steady.
MANUAL LEVELING Press and hold the “DUMP” button until all air is exhausted from the suspension system.
FRONT END RIGHT SIDE MANUAL LEVELING In this scenario the two yellow lights indicate that the right side and the front end of the vehicle is low.
MANUAL LEVELING Press and hold the UP ARROW closest to the side (yellow) light that is on.
MANUAL LEVELING As you hold the UP ARROW the right side jacks will extend. As the jacks extend their (red) WARNING lights will come on.
MANUAL LEVELING Release the UP ARROW when the right side yellow light goes out.
In this scenario the front yellow light is still on. MANUAL LEVELING
MANUAL LEVELING Press and hold the UP ARROW closest to the front (yellow) light that is on.
AUTO LEVEL Both front jacks will extend to raise the front of the vehicle. The left front jack (red) WARNING light will come on.
MANUAL LEVELING As the front jacks extend the front of the vehicle will raise. Release the UP ARROW when The front end yellow light goes out.
MANUAL LEVELING With no yellow lights on the vehicle is level. stabilize the vehicle by extending any remaining jacks.
STABILIZE Press and hold the UP ARROW closest to the rear of the coach symbol on the touch panel.
STABILIZE The left rear jack’s (red) WARNING light will come on.
STABILIZE Release the button when the left rear jack has reached the ground and slightly lifted the vehicle.
STABILIZE With the vehicle level and stabile press the off button.
THIS CONCLUDES THIS SLIDE PRESENTATION. HWH CORPORATION WOULD LIKE TO THANK YOU FOR YOUR PATRONAGE. THE HWH HOME PAGE WILL CONTINUALLY BE UPDATED WITH FURTHER SLIDE PRESENTATIONS REPRESENTING OTHER HWH PRODUCTS. QUESTIONS? CONTACT HWH CORPORATION AT: 1-800-321-3494 or 1-563-724-3396