Download
1 / 23
230 likes | 243 Vues
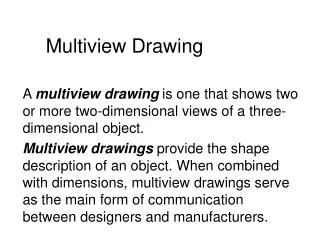
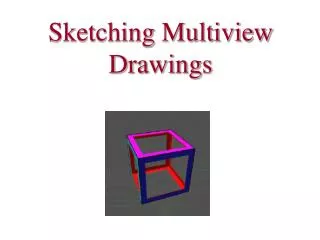
Sketching Multiview Drawings. Multiview Drawing. A multiview drawing is one that shows two or more two-dimensional views of a three-dimensional object. They provide the shape description of an object.

E N D
Multiview Drawing A multiview drawing is one that shows two or more two-dimensional views of a three-dimensional object. • They provide the shape description of an object. • When dimensioned, multiview drawings serve as a main form of communication between designers and manufacturers.
Width, Depth, and Height • All three-dimensional objects have: • width, height, and depth. • Width is associated is side-to-side • Height is top-to-bottom. • Depth is front-to-back.
Width Top View/Plan Depth Right Side View Front View Height Width, Depth, and Height
Orthographic Projection Orthographic projection is a technique that is used to create multiview drawings.
Orthographic Projection The orthographic projection is to imagine an object contained inside a glass box.
Projection Plane There are six glass walls surrounding the object. Each wall represents a projection plane. The projection plane is the surface onto which a two-dimensional view of a three-dimensional object is projected and created.
Orthographic Projection • Start by focusing only on the front projection plane. • Standing in front of the object you would see only the five corners identified in black. 3 4
Orthographic Projection Lay out the over all size of the Top, Front, and Right Side views Projection Line (45o line) 3 4
Orthographic Projection Draw in the major features from each view
Orthographic Projection Project features from one view to another
Orthographic Projection Add final features
Sketching a Multiview Drawing Step #1: Draw the Orthographic Box Step #2: Draw the surfaces that touch the box Step #3: Draw the rest of the surfaces Step #4: Add hidden and center lines (no tonal shading)
Step #1 Draw the Orthographic Box • Calculate the amount of space that the views will take up based on W H D. • Vertically D 3 H • Horizontally W 3 D • Layout the boxes within which the individual views will occur using points and construction lines.
Step #2 Surfaces that Touch the Box From every end of every line, draw construction lines to the other two views, using the projection line between top and right
Sketching a Multiview Drawing Step #1: Draw the Orthographic Box Step #2: Draw the surfaces that touch the box Step #3: Draw the rest of the surfaces Step #4: Add hidden and center lines (no tonal shading)
A Question… Each of the blocks at right has the same overall dimensions and color. What else do they have in common?
The Answer… Each of the blocks at right has the same overall dimensions and color. What else do they have in common? They all have identical top views!