Download
1 / 21
210 likes | 313 Vues
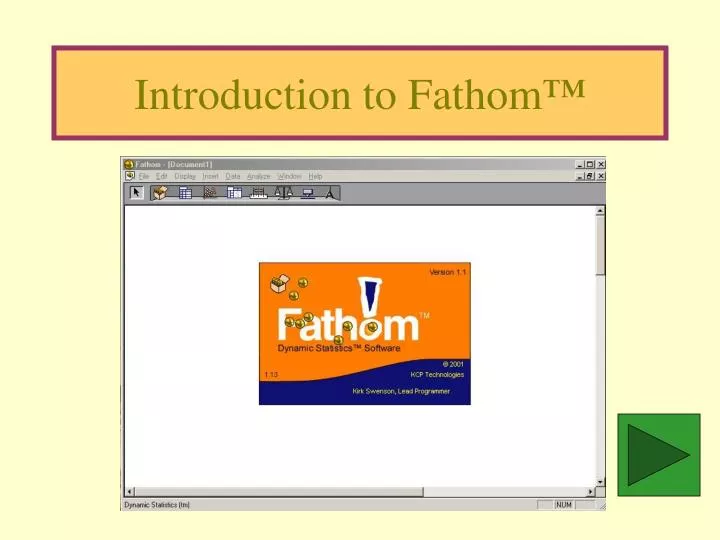
Introduction to Fathom ™. Setting up a Collection. Start Fathom ™. Drag the Case Table Icon to the work area. Naming an Attribute. Double-click on <new> . Type the name “Team” . Press Enter . Notice that a Collection has now been created. Adding More Attributes.

E N D
Setting up a Collection • Start Fathom™. • Drag the Case Table Icon to the work area.
Naming an Attribute • Double-click on <new>. • Type the name “Team”. • Press Enter. • Notice that a Collection has now been created.
Adding More Attributes • Continue adding attributes until you have them all.
Adding the Data • Enter the first team “Blades” under the Team attribute. • Press Enter. • Continue adding teams. • Continue adding all other data.
Naming the Collection • Double-click on Collection 1. • Type the new name “HockeyStats”. • Press Enter.
Create a Blank Graph • Click and drag the graph icon to the work area.
Choosing the Horizontal Axis • Click on the Team attribute and drag it to the horizontal axis.
Choosing the Vertical Axis • Click on the Points attribute and drag it to the vertical axis.
About Sorting • You can sort data according to orders of priority. • The first sort attribute is the primary sort. • Within the primary, you can specify a secondary sort. • This can be continued for all attributes.
Primary Sort • Click on the Points attribute. • From the Data menu, select Sort Descending.
Secondary and Higher Sorts • Click on the Wins attribute. • Select Sort Descending from the Data menu. • Click on the Losses attribute. • Select Sort Ascending from the Data menu. • Check your final Case Table to verify the sorts: see next slide =>
About Filtering • Data can be filtered to exclude unwanted entries. • For example, in the next slide we will filter out any teams with points 16 or over. =>
Points Filter • Click on the Data menu and select Add Filter. • Click on the plus sign beside Attributes. • Double-click on the Points attribute. • Click “<16” and the Apply button. Your final screen will look like =>
Filtered by Points Notice that the Filter condition is listed at the bottom of the table.
About Hiding Attributes • You can hide various attributes to make a custom table without actually deleting any data. • Click on the HockeyStats collection box and then drag a Case Table to the work area. • Notice that the new table does not include the filter as shown on the next slide. =>
Hiding Attributes • Click on the Wins attribute. • From the Display menu, select Hide Attribute. • Do the same for Losses, Ties, Points, and Sample.
Sort by GF • Right-click on the GF attribute and select Sort Descending. • Your final screen will look like this:
Web Connection • For more examples, data, and information on how to use Fathom™, visit: www.mcgrawhill.ca/links/MDM12