Download
1 / 11
110 likes | 116 Vues
Engage 4th grade students in a hands-on activity where they create different geometric figures using paper cubes and explore the properties of quadrilaterals, triangles, and polygons. This activity promotes problem-solving skills and prepares students for state assessments.

E N D
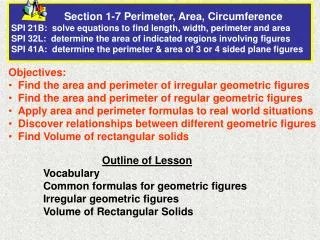
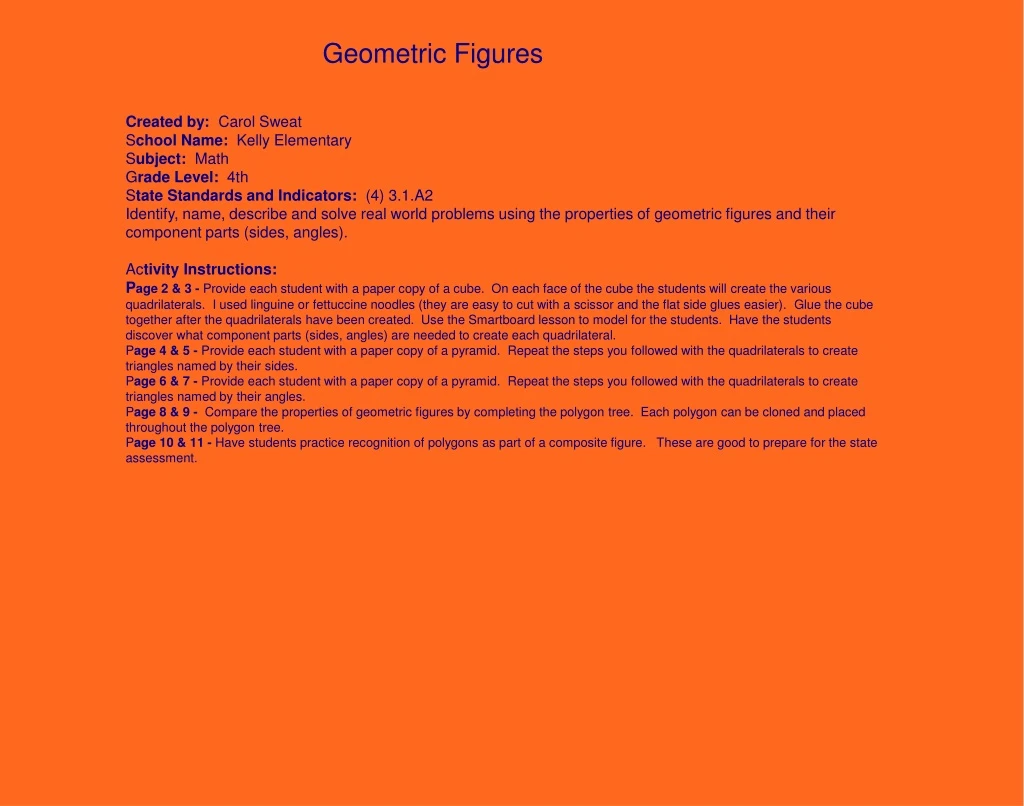
Geometric Figures Created by: Carol Sweat School Name: Kelly Elementary Subject: Math Grade Level: 4th State Standards and Indicators: (4) 3.1.A2 Identify, name, describe and solve real world problems using the properties of geometric figures and their component parts (sides, angles). Activity Instructions: Page 2 & 3 - Provide each student with a paper copy of a cube. On each face of the cube the students will create the various quadrilaterals. I used linguine or fettuccine noodles (they are easy to cut with a scissor and the flat side glues easier). Glue the cube together after the quadrilaterals have been created. Use the Smartboard lesson to model for the students. Have the students discover what component parts (sides, angles) are needed to create each quadrilateral. Page 4 & 5 - Provide each student with a paper copy of a pyramid. Repeat the steps you followed with the quadrilaterals to create triangles named by their sides. Page 6 & 7 - Provide each student with a paper copy of a pyramid. Repeat the steps you followed with the quadrilaterals to create triangles named by their angles. Page 8 & 9 - Compare the properties of geometric figures by completing the polygon tree. Each polygon can be cloned and placed throughout the polygon tree. Page 10 & 11 - Have students practice recognition of polygons as part of a composite figure. These are good to prepare for the state assessment.
rhombus square rectangle parallelogram trapezoid QUADRILATERAL Any polygon that has four sides.
Triangles named by their sides Name 3 equal sides Isosceles 2 equal sides Scalene no equal sides Equilateral
no equal sides Scalene Triangles named by their sides Name 3 equal sides Equilateral 2 equal sides Isosceles
Triangles named by their angles Name 1 obtuse angle Right Obtuse 3 acute angles 1 right angle Acute
1 right angle Right Triangles named by their angles Name 3 acute angles Acute 1 obtuse angle Obtuse
Polygons Triangles Hexagon Quadrilaterals Pentagon Trapezoids Parallelograms Rectangles Rhombus Squares
Polygons Triangles Hexagon Quadrilaterals Pentagon Trapezoids Parallelograms Rectangles Rhombus Squares
Which plane shapes were used to form this figure? a. octogon, two squares, two triangles b. hexagon, two triangles, two squares c. pentagon, two squares, two triangles d. trapezoid, two triangles, two squares
Which shape is NOT used in the picture? a. rhombus b. elipse c. rectangle d. hexagon