Download

1 / 5
50 likes | 220 Vues
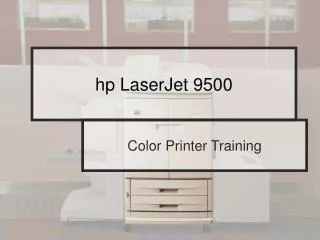
Scanning Using the HP LaserJet 4345xs. Set up Scan to E-mail –OR– Folder. Press E-mail on the touch screen Press To: Type in the recipient e-mail address using the touch screen keyboard The system will auto-complete LFCDS e-mail addresses Press Subject:

E N D
Set up Scan to E-mail –OR– Folder • Press E-mail on the touch screen • Press To: • Type in the recipient e-mail address using the touch screen keyboard • The system will auto-complete LFCDS e-mail addresses • Press Subject: • Type in a descriptive subject using the touch screen keyboard • Press E-mail Settings… Scan to E-mail OR • Press Folder on the touch screen • Press File Name: • Type in a descriptive file name using the touch screen keyboard • Press OK • Check Scans on Shared drive • Press Folder Settings… Scan to Folder NOTE: Scan to Folder saves unlimited size files. Scan to E-mail fails at the mail server message size of 15MB. Use Scan to Folder for long and/or high-resolution scans.
Configure Scanning Settings • Press Describe Original(4) • Set Size, if necessary (leave at default for nonmatching sizes) • Set Orientation to match original • Set Number of Sides to match original • Press Page Content • Select Text, Photo, or Mixed to match original • Press OK • If scanning >50 pages into 1 document, press the Advanced tab • Select Job Mode ON • Press OK • Press E-mail/Folder Settings (11) • Set Color to match original (black & white scans are much smaller in size) • Set Type (PDF for e-mail attachment or Kurzweil OCR; JPEG for picture editing) • Select Resolution(75 DPI for Web photos, 300 DPI for printing/enlarging photos, in between for OCR) • Press OK • Press OK (10)
Scan Document • Load up to 50 pages in the Automatic Document Feeder (ADF) or place 1 original on glass • Press Start • If in Multiple Page Scan Mode: • Load up to 50 pages in the ADF • Press the green Start button to continue scanning • Repeat preceding 2 steps until all pages are scanned • Press Finished on the touch screen • Scan will: • arrive via E-mail to specified address or • be saved in the Scans folder on the Shared Drive
The End! • Still have a question? Contact the IT Department for further assistance: • E-mail: IT.Support@LFCDS.org • Call: @222