Download
1 / 21
210 likes | 385 Vues
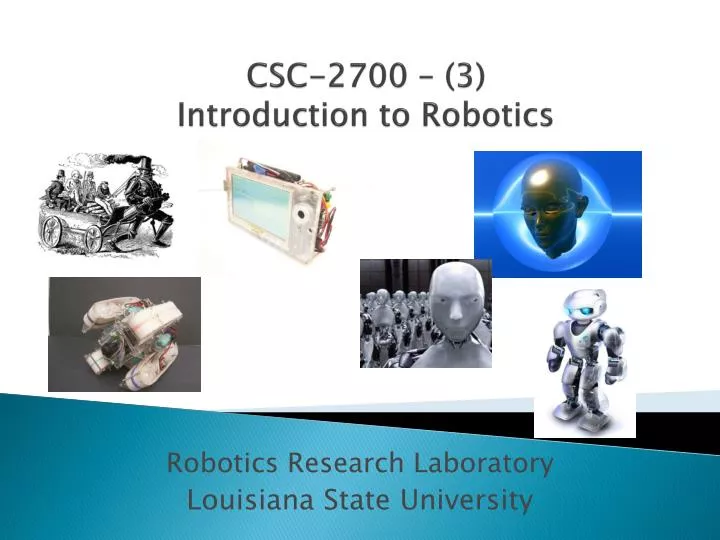
CSC-2700 – (3) Introduction to Robotics. Robotics Research Laboratory Louisiana State University. Topics for today. Class Robot Development Environment Programming Environment Major components Microcontroller Overview of the features AVR Architecture PIN layout Timer / Interrupt

E N D
CSC-2700 – (3) Introduction to Robotics Robotics Research Laboratory Louisiana State University
Topics for today • Class Robot Development Environment • Programming Environment • Major components • Microcontroller • Overview of the features • AVR Architecture • PIN layout • Timer / Interrupt • AVR-C basic • Variable type, condition, loop
Class Robot Development Environment • Programming • OS : Linux ( Ubuntu ) • Compiler: gcc-avr (avr-gcc in Ubuntu package) • Required library : gawk, avr-libc • Additional Software : subversion(svn), gtkterm • Robot parts • AVR Stamp Module and Board • Pololu USB AVR Programmer (1 ISP, 1 UART) • TB6612FNG Dual Motor Driver (1A per Channel) • Optical switch/ IR sensor • Geared DC- Motor • Jumpers (wires) • 4 AA batteries, 1 battery holder, 2 wheels, 1 omni-wheel
How to setup • Install Ubuntu • Update list of Ubuntu package • sudo apt-get update • Install required package for AVR • sudo apt-get install gcc-avravr-libc gawk avrdude • Install additional packages • sudo apt-get install subversion gtkterm • Download basic robot libraries – • svn co http://svn.gumstix.com/gumstix-buildroot/branches/projects/robostix robostix
Microcontroller • Atmel : AT series ex) ATMega128 • NXP : ARM series • Microchip : PIC series • TI (Texas Instrument) : MSP series • Motorola : 68HC908 Series
ATMega 128 Microcontroller • Advanced RISC Architecture – 8 Bit Microcontroller • 133 Powerful Instructions – Most Single Clock Cycle Execution • 32 x 8 General Purpose Working Registers • Up to 16MIPS Throughput at 16MHz • 128Kbytes of ISP Flash program memory • 4Kbytes EEPROM, 4Kbytes Internal SRAM • Two 8-bit Timer/Counters • 8 External Interrupt ports • Two Expanded 16-bit Timer/Counters • 6 PWM Channels from 2 to 16 Bits • 8-channel, 10-bit ADC • 53 Programmable I/O Lines • 4.5 - 5.5V supply power ; 0.2 W (16Mhz, 5.0V) • $5 ~ $12
ATMega128 PIN Layout • 64 pins • 53 Programmable I/O Lines • 8 ADC • 6 PWM • 2 UART • 8 External Interrupts • PORT A, B, C, D, E, F, G
ATMega128 vs. Intel Core i7 ATMega128 Intel Core i7 • 64 Pins • 4 ~ 20 Mhz • 4 KB • 0.2 W • $5 ~ $10 • 1175 Pins • 1 ~ 4 Ghz • 4 ~ 12MB cache • 30 ~ 110 W • $100 ~ $500 • PINS : • SPEED : • Memory : • Power Consumption : • Price :
AVR-C : basic structure • #include <avr/io.h> • #include “yourLibrary.h” • void yourFuctions(void) • Declare prototype functions first • Main(){ • initialize // initialize hardware • while(1) {} // One main while loop • } • void yourFuction(void){}
AVR-C : variable type uint8_t : 1 Byte 0 ~ 255 uint16_t : 2 Bytes 0 ~ 65535 uint32_t : 4 Bytes 0 ~ 232 - 1 char : 1 Byte int : 2 Byte -32768 ~ 32767 double : 4 Bytes float : 4 Bytes * : pointer char[], int[], double[], … : Array, also multi- dimensional array
AVR-C Function • void functionName(void) • No parameter, no return • void funcitonName(type parameter) • ex) void funcitonName( int parameter) : One integer parameter, no return • type funcitionName(void) • ex) intfuncitonName( void) : No parameter, return integer • type functionName(type parameter) • ex) double functionName( char parameter) - One char parameter, return double
AVR-C : condition/Loop • If ( ){}else{} / else if( ){} • switch case • for( ; ; ) • while( ) • do{}while()
Compile the code and send it to the Robot • Make • Build compiling environment with Makefile, Rules.mk, and avr-mem.sh • Create required object files • Compile the code to make a binary code (.hex) • Sending the binary code with bootloader • avrdude –c stk500v2 –p m128 –P /dev/ttyACM0 –e –F –U flash:w:light-control.hex
Let’s look at simple code • #include "Hardware.h" • #include "Timer.h" • #include “Delay.h" • intmain(void) { • InitHardware(); • while (1){ • ms_spin(1000); //1000 millisecond delay (1sec) • TOGGLE_PIN(RED_LED); // first LED • TOGGLE_PIN(BLUE_LED); // second LED • TOGGLE_PIN(YELLOW_LED); // third LED • TOGGLE_PIN(GREEN_LED); // fourth LED • } • }
Let’s look at simple code • #include "Hardware.h" • #include "Timer.h" • #include “Delay.h" • intmain(void) { • InitHardware(); • intledFlag=0; • while (1){ • if ( ledFlag == 0){ • ms_spin(300); // 300 millisecond delay • ledFlag=1 ; • }else if ( ledFlag == 1){ • ms_spin(500); // 500 millisecond delay • ledFlag=2; • }else { • ms_spin(1000); // 1000 millisecond delay • ledFlag = 0; • } • TOGGLE_PIN(RED_LED); // first LED • TOGGLE_PIN(BLUE_LED); // second LED • TOGGLE_PIN(YELLOW_LED); // third LED • TOGGLE_PIN(GREEN_LED); // fourth LED • } • } • }
Let’s look at simple code • #include "Hardware.h" • #include "Timer.h" • #include “Delay.h" • intmain(void) { • InitHardware(); • intledFlag=0; • while (1){ • switch (ledFlag){ • case (0) : • ms_spin(300); // 300 millisecond delay • ledFlag = 1 ; • break; • case (1) : • ms_spin(500); // 500 millisecond delay • ledFlag =2; • break; • default : • ms_spin(1000); // 1000 millisecond delay • ledFlag = 0; • } • TOGGLE_PIN(RED_LED); // first LED • TOGGLE_PIN(BLUE_LED); // second LED • TOGGLE_PIN(YELLOW_LED); // third LED • TOGGLE_PIN(GREEN_LED); // fourth LED • } • } • }
4 LED toggle in different times #include "Hardware.h" #include "Timer.h" #include "Delay.h" int main(void){ InitHardware(); while (1){ count++; if ((count % 1) == 0 ){ // every 2 second TOGGLE_PIN(RED_LED); // first LED } if ((count % 3) == 0 ){ // every 4 second TOGGLE_PIN(BLUE_LED); // second LED } if ((count % 2) == 0 ){ // every 3 second TOGGLE_PIN(YELLOW_LED); // third LED } if ((count % 4) == 0 ){ // every 5 second TOGGLE_PIN(GREEN_LED); // fourth LED } ms_spin(1000); } }
4 LED toggle in different times #include "Hardware.h" #include "Timer.h" #include "Delay.h" int main(void){ InitHardware(); while (1){ count++; if ((count % 1) == 0 ){ // 1 millisecond TOGGLE_PIN(RED_LED); } if ((count % 10) == 0 ){ // 10 millisecond TOGGLE_PIN(BLUE_LED); } if ((count % 100) == 0 ){ // 100 millisecond TOGGLE_PIN(YELLOW_LED); } if ((count % 1000) == 0 ){ // 1 second TOGGLE_PIN(GREEN_LED); } ms_spin(1); } }
Homework • Make LEDs blink with below patterns • (Bonus point) Make a led-control program which can control 4 led with different blinking time • Using if else • Using switch case R B Y G
Open Mind Quiz • 4 prisoners, The prisoner(A) is in Room-A, the others are in Room-B • Prisoners can’t see beyond the wall, and prisoners can see only front side • A guard put a black or white hat on each prisoner head as below picture • Let them know there are 4 prisoners and two white hats and two black hats. • Any one be released immediately if they can answer correctly what color hat on their head. • Who can answer this question correctly? Why? Room B Room A Wall