Download
1 / 13
130 likes | 355 Vues
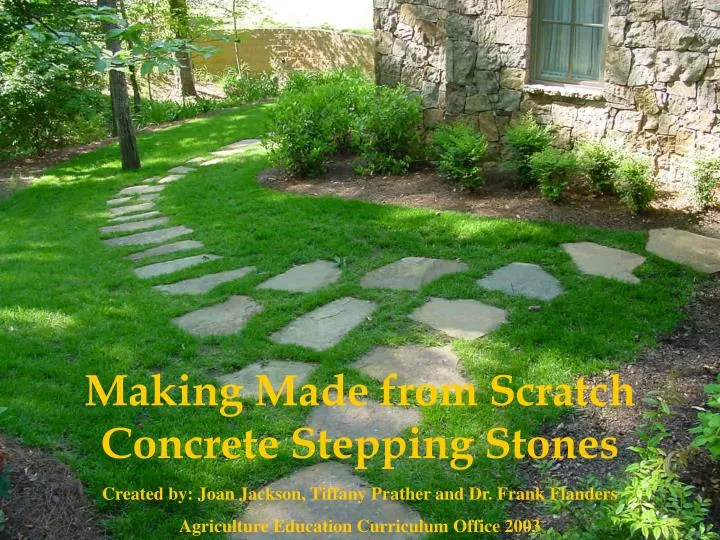
Making Made from Scratch Concrete Stepping Stones. Created by: Joan Jackson, Tiffany Prather and Dr. Frank Flanders Agriculture Education Curriculum Office 2003. Tools and Materials needed to create your concrete stepping stone. 17. 11. 1. 10. 12. 2. 6. 7. 13. 5. 3. 16. 4. 8. 15.

E N D
Making Made from Scratch Concrete Stepping Stones Created by: Joan Jackson, Tiffany Prather and Dr. Frank Flanders Agriculture Education Curriculum Office 2003
Tools and Materials needed to create your concrete stepping stone 17 11 1 10 12 2 6 7 13 5 3 16 4 8 15 9 14
nails • measuring cup • tesserae; tiles, buttons, etc • hammer • pencil, marker • box cutter • putty knife • paper • scissors • liquid concrete color • mixing bucket • plastic bag • garden spade • wooden board • latex gloves • face mask • cardboard
Components of Concrete 1 2 3 4 5 • Mortar mix 4. Medium grain Sand • Concrete mix 5. All purpose Gravel • 3. Portland Cement
Made-From-Scratch-Mold Step 2: Find a design template and trace on paper and then cut it out. Step 1: Cut strips of cardboard about 2 inches thick. These will serve as the sides of the mold.
Made-From-Scratch-Mold (cont) Step 3: Place plastic over a piece of plywood and then lay your design template on it. Step 4: Begin nailing in nails slightly around design.
Made From Scratch Mold (cont.) Step 5: Begin placing the cardboard strips around the inside of the nails. The completed mold after all nails have been nailed in.
Made From Scratch Mold (cont.) Step 6: Finally place nails in the holes of the cardboard and slightly nail them in. Click here for details. Finished Mold!
Made From Scratch Mold (cont.) Fill the mold with prepared concrete. (We prepared our own concrete mixture, but you can use ready-to-use concrete.) Red concrete coloring was also added.
Made From Scratch Mold (cont.) Be sure to remove any air bubbles by shaking the mold or hammering around the edges of the mold. Next, smooth the concrete using a putty knife and apply tesserae of your choice.
Made From Scratch Mold (cont.) Let the mold stand for 48 hours to dry before you begin taking the nails out.
Made From Scratch Mold (cont.) Using a hammer to smooth sharp surfaces. After all nails have been removed, the cardboard can now be removed. Be sure to smooth rough or sharp surfaces to ensure safety during use.
The End Finally...the finished product! A concrete stepping stone that can be used for decoration or making a walk way.